Samsung ML2510 Power Button Replacement
ID: 6908
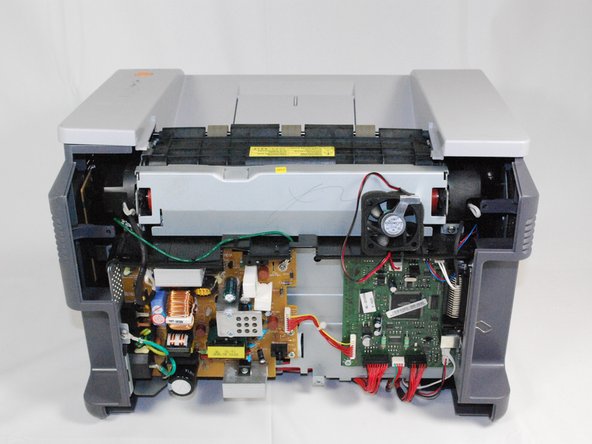
Description: This guide will help you to replace the power...
Steps:
- Remove the top hinged panel by taking out the pins at the bottom of this panel.
- Using a Phillips #2 screwdriver, remove the four screws on the back of the printer.
- Gently lift the top panel while simultaneously pulling off the back panel.
- Before pulling out the back panel entirely, make sure to remove the rear cooling fan from its slot.
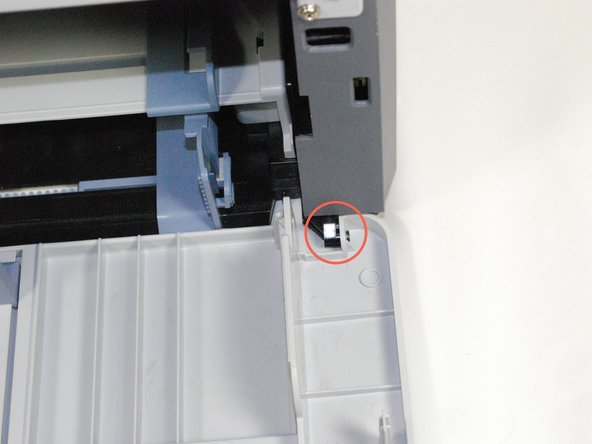
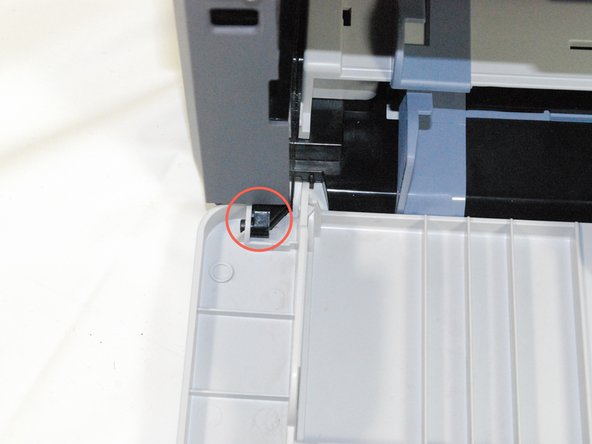
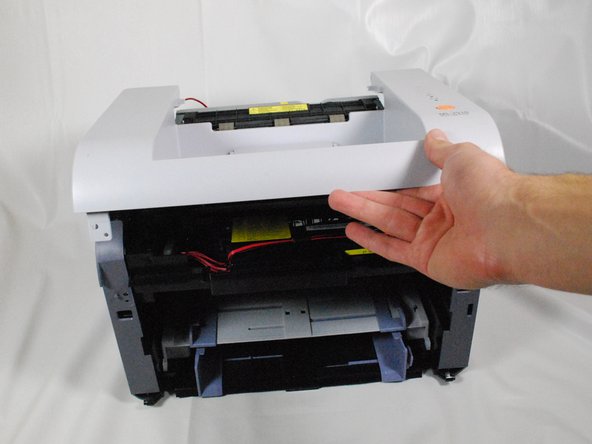
- Remove the front panel by gently separating the holes on the panel from the pegs attached to the main printer body.
- Using a Phillips #2 screwdriver, remove both 1" screws on the front face of the printer.
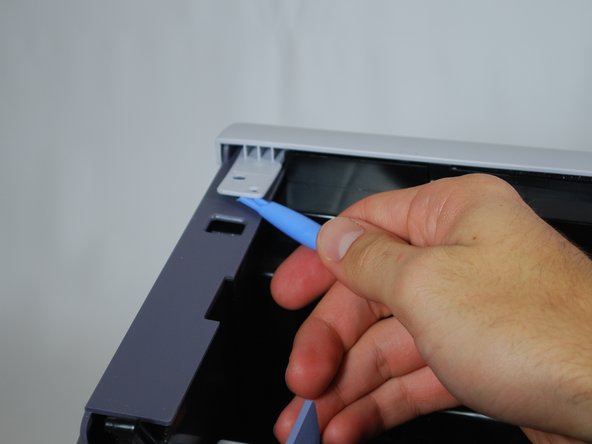
- Using a plastic opening tool, gently lift one side of the top panel from its peg.
- Repeat the last step to free the opposite side of the top panel.
- Lift the top panel from the front to remove it entirely.
- Turn over the top panel to reveal the button on the underside of the panel.
- Using a Phillips #2 screwdriver, remove both 1" screws that secure the button to the underside of the top panel.
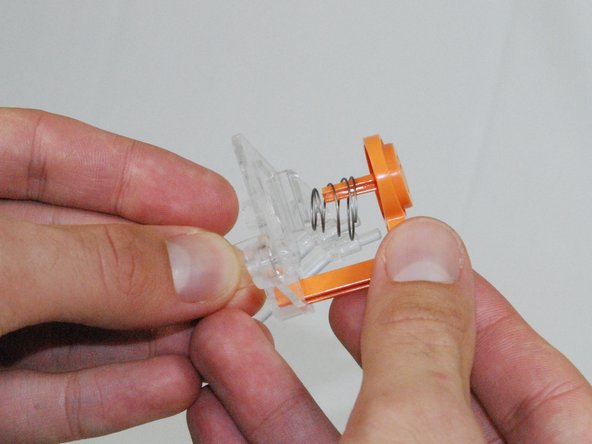
- Remove the clear plastic piece and the orange button from the panel.
- Remove the orange button and the spring from the clear plastic holder.
- Replace the button and reassemble the printer following the directions in reverse order.