Samsung ML2510 Motor Replacement
ID: 6912
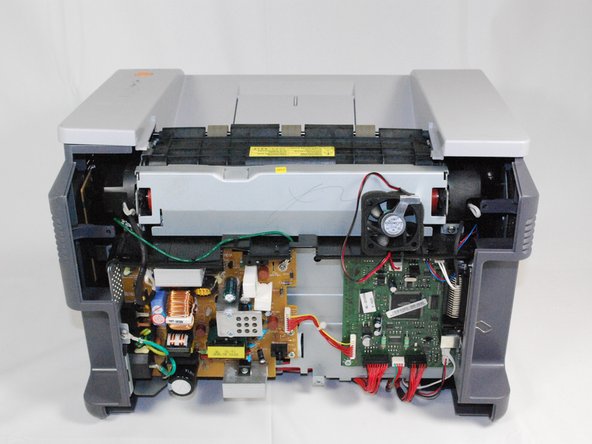
Description: You will be required to disassemble much of the...
Steps:
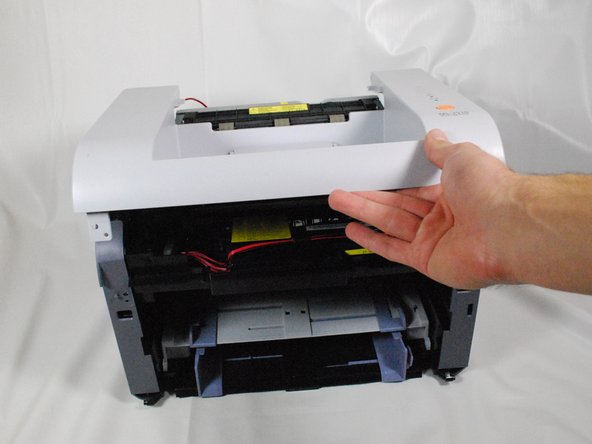
- Remove the top hinged panel by taking out the pins at the bottom of this panel.
- Using a Phillips #2 screwdriver, remove the four screws on the back of the printer.
- Gently lift the top panel while simultaneously pulling off the back panel.
- Before pulling out the back panel entirely, make sure to remove the rear cooling fan from its slot.
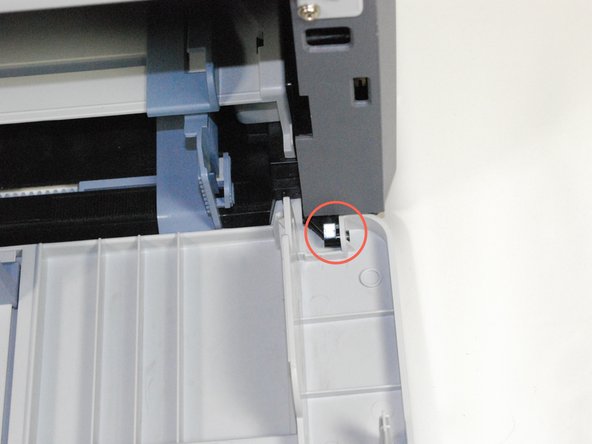
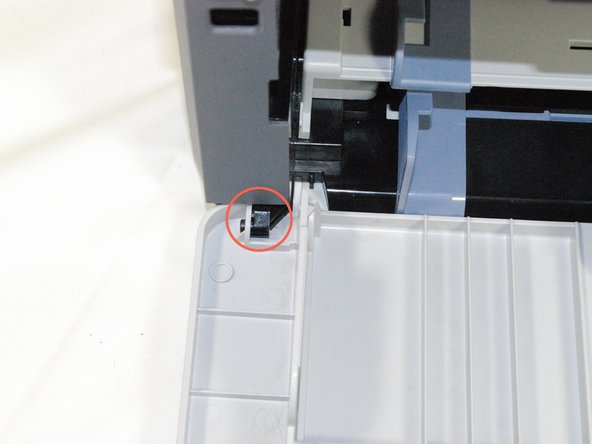
- Remove the front panel by gently moving the holes on the panel, one at a time, from the pegs attached to the main body of the printer.
- Use a Phillips #2 screwdriver to remove the two, 1", Phillips, PH#2 screws on the front face of the printer.
- Use plastic opening tool to gently lift one side of the top panel from its peg.
- Repeat the first process for the other side.
- Lift the top panel from the front of the printer to remove it entirely.
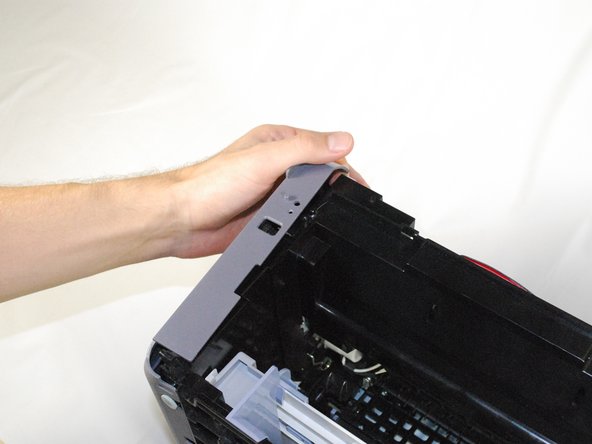
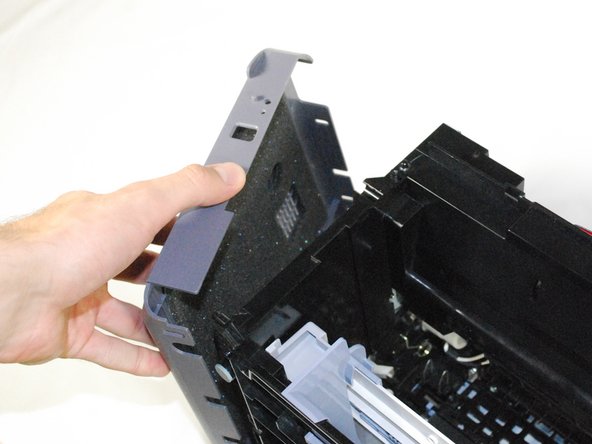
- Lift the left side panel up from the raised stops.
- Gently rotate the panel, as indicated in the picture, to remove the panel entirely.
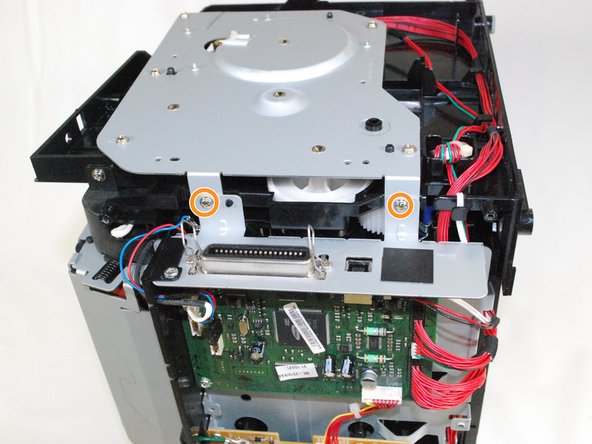
- Use Phillips #2 screwdriver to remove the five, 1", Phillips, PH#2 screws on the side metal panel.
- Remove the two, 1", Phillips, PH#2 screws on the back of the printer.
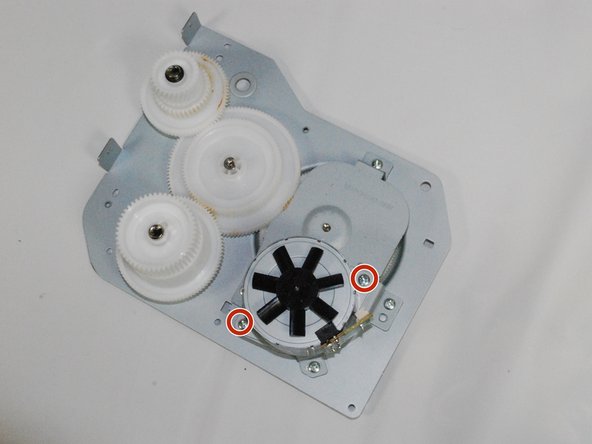
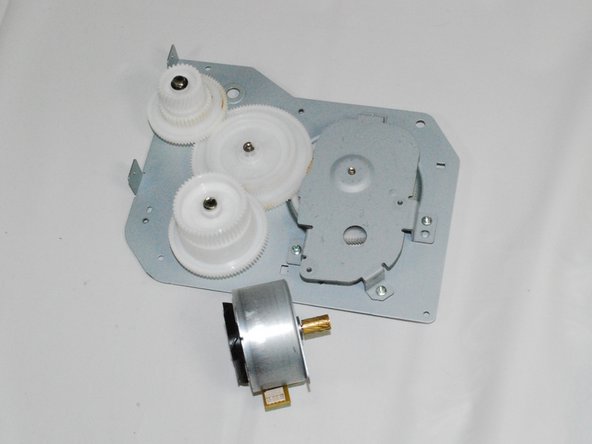
- Flip over the metal panel to reveal the gear mechanism.
- Remove the cable attached to the motor.
- The entire panel can be removed from the rest of the printer.
- Use a Phillips #2 screwdriver to remove the motor from the panel by removing the two, 1", Phillips, PH#2 screws.
- Replace the motor and reassemble the printer by following the instructions in reverse order.