Nintendo 3DS Charger port Replacement
ID: 72576
Description: The 3DS charging port is soldered to the...
Steps:
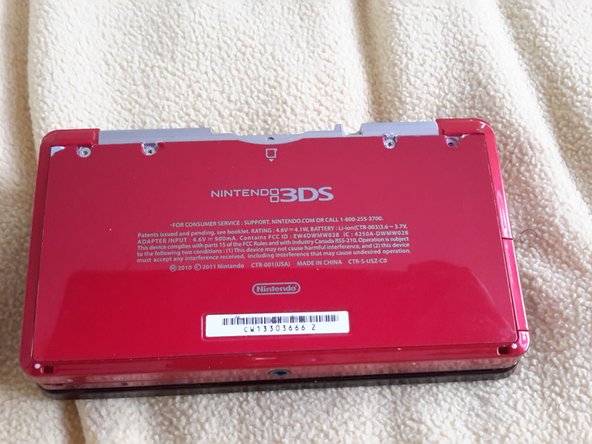
- Take out the 4 screws on the back of the system using a Phillips #00 Screwdriver.
- Remove the back cover
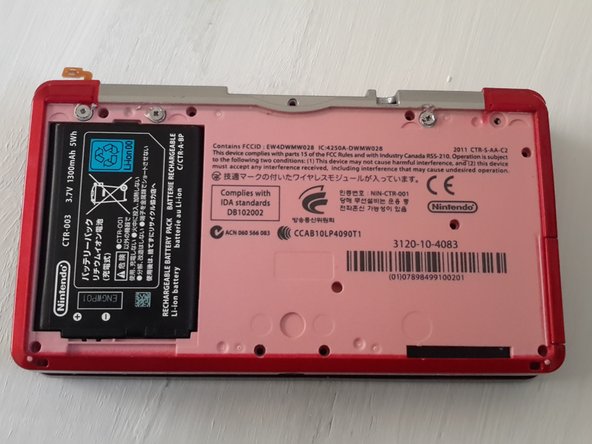
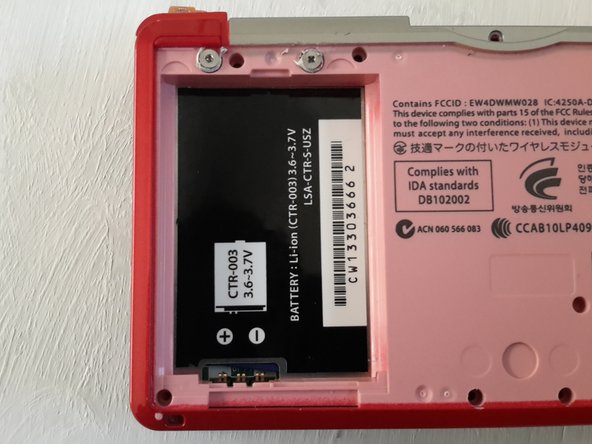
- Before proceeding, make sure you have removed the battery.
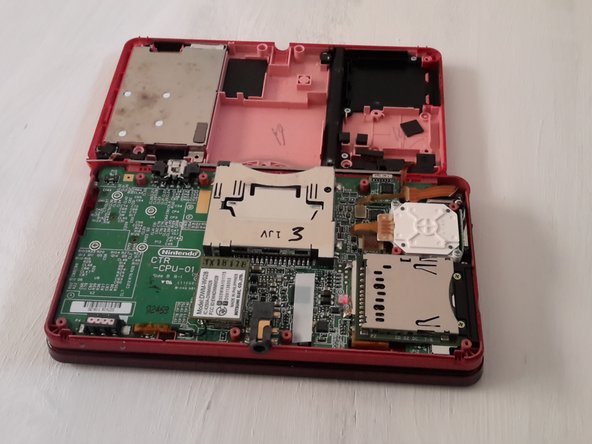
- You will see small black screws in nine different holes. make sure you use the right screwdriver and remove them. Also remove the one silver screw that holds the game cartridge slot.
- After you have unscrewed all of the screws. Carefully remove the back with a spudger.
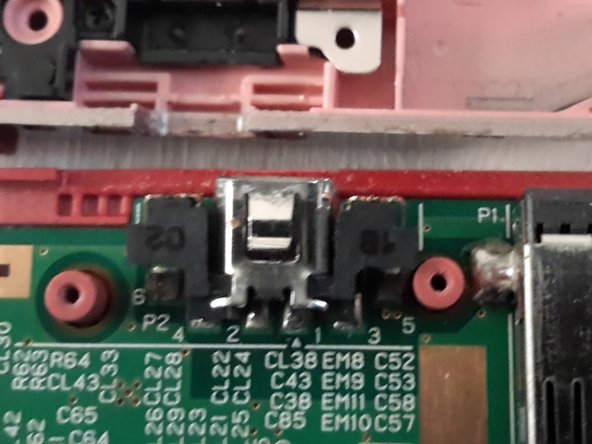
- After you pull it open, you will see the motherboard. Locate the charging port. It should look like this.
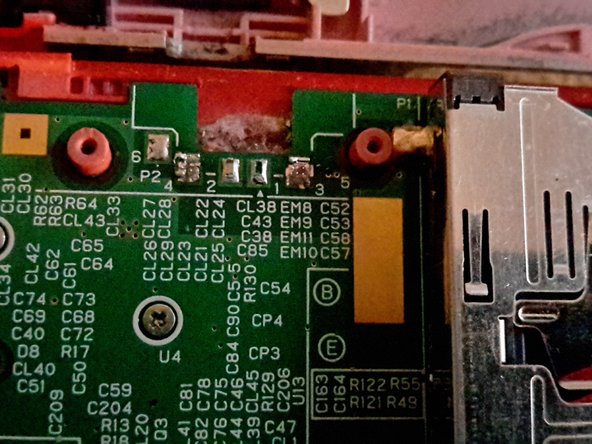
- Using a soldering iron, desolder the old charging port.
- If you got a charger port for a 3DS, you can skip this step. From another 3DS, desolder the charger port.
- Solder the new charging port to the motherboard.