AcuRite 02032 Wind Cup Assembly Replacement
ID: 72626
Description:
Steps:
- Remove the battery compartment lid by lifting upward.
- Pull the ribbon to eject the 2 X AA alkaline batteries.
- Once the batteries are removed, it is safe to proceed.
- Remove the four 0.8cm screws that attach the bottom panel to the device
- An extended driver is needed to reach 3 of these screws. If you are using the 64 - bit driver kit you can extend the driver by inserting the driver PH1, (Phillips size 1) into the size 4 hexagonal adapter.
- Gently lift the top section of the weather center away from the base. With all the screws removed it should lift off easily.
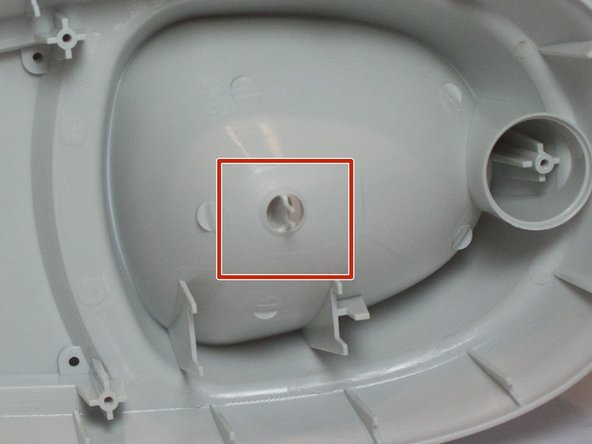
- Remove the four 0.8cm screws inside the case located near the fan using the J1 screw bit.
- With all four screws removed, the wind cup assembly should lift straight up off the middle section.
- Set down the bottom half of the weather center careful. There are two small pegs that will break with the slightest amount of pressure.
- Replace the old wind cup assembly with the new assembly that was purchased.