Nikon 1 AW 1 Internal Body Seal Replacement
ID: 72677
Description: The seal in the internal body of the camera is...
Steps:
- Using the Phillips PH00 screwdriver, remove the six 4.0mm screws marked in red. Then remove the panel cover by lightly pulling it off.
- Using the Phillips PH00 screwdriver, remove the four 5.5mm screws in the red circles. Then use a plastic opening tool to pry off the tripod socket.
- Remove the metal plate to have access to the 4.9mm screw under the orange circle, use the Phillips PH00 screwdriver to remove it.
- Using a T4 head screwdriver remove the three 5.4mm screws marked with the red circles.
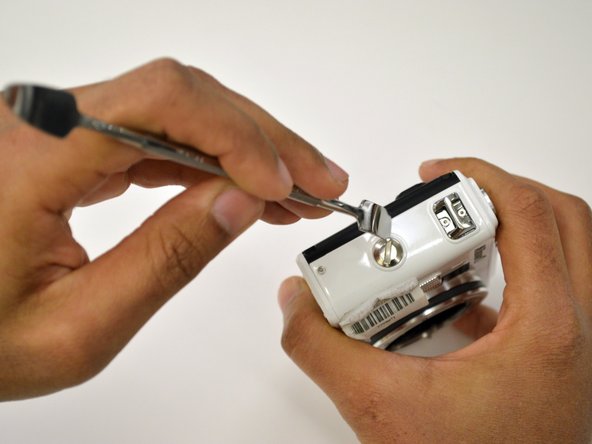
- Use a 1/4" flathead screwdriver or a flat head tool to release the grip attachment screw.
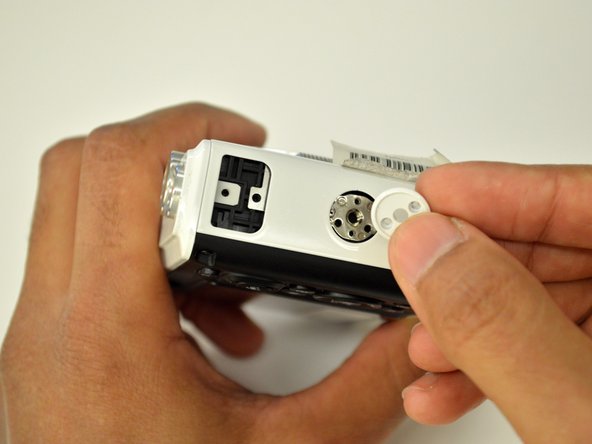
- Remove the camera strap eyelet.
- Remove the grip attachment screw.
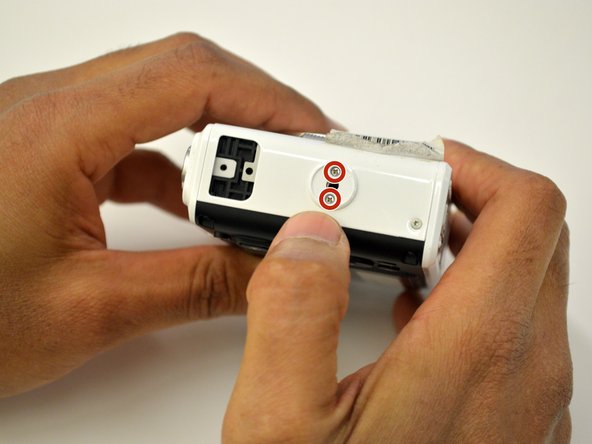
- Use a Phillips PH00 to remove the two 2.4mm screws on the grip attachment slot, then remove the slot.
- Use a T4 screwdriver to remove the three 5.4mm screw marked with the red circles and the eyelet strap.
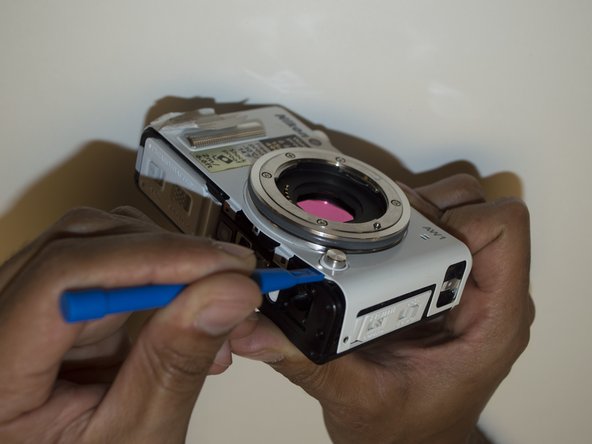
- Use a plastic opening tool to lift the front camera cover off.
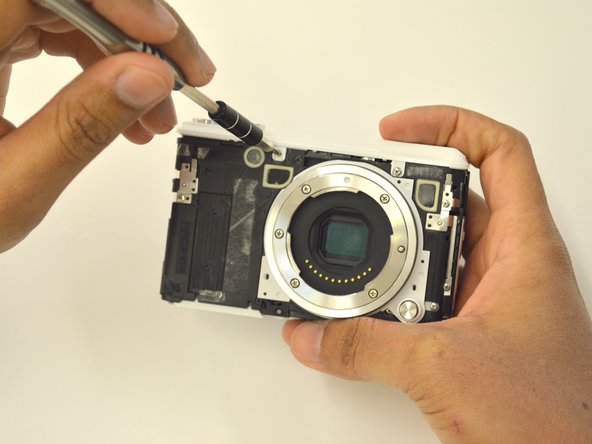
- Use a Phillips PH00 to unscrew the two 3.5mm screws in red.
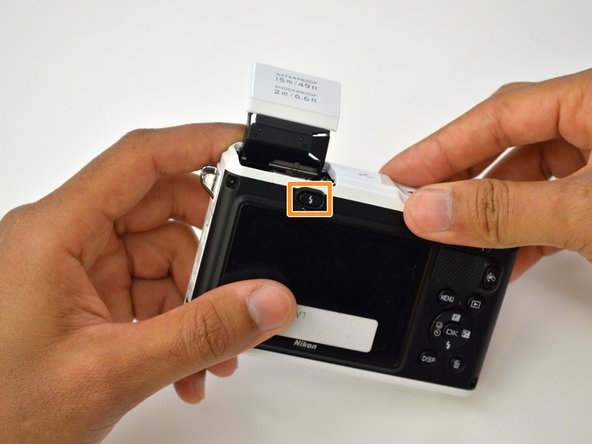
- Press the flash pop-up button in the orange rectangle to be able to remove top cover of the camera.
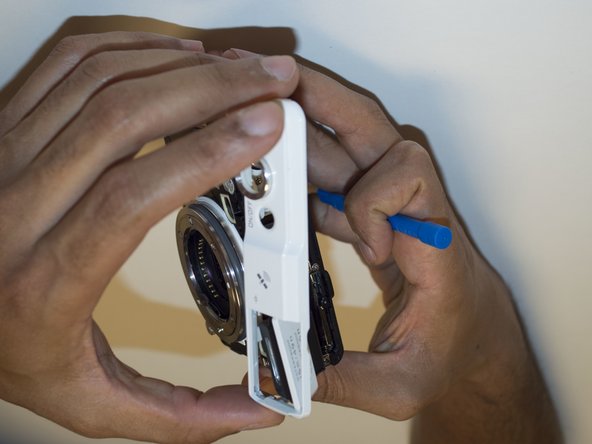
- Use a plastic opening tool to lift off the top panel.
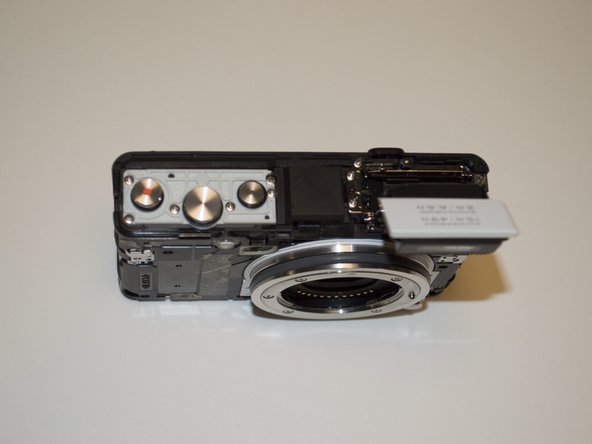
- If you needed to replace any buttons, you may now do so by pulling them off.
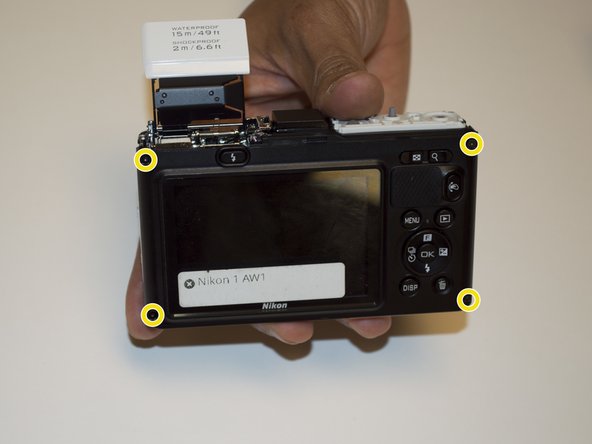
- Use a Phillips PH00 screwdriver to remove the 3.8mm screw in red.
- Use a Phillips PH00 screwdriver to remove the 4.9mm screw in orange.
- Use a Torx T4 screwdriver to remove the four 5.5mm screws in yellow.
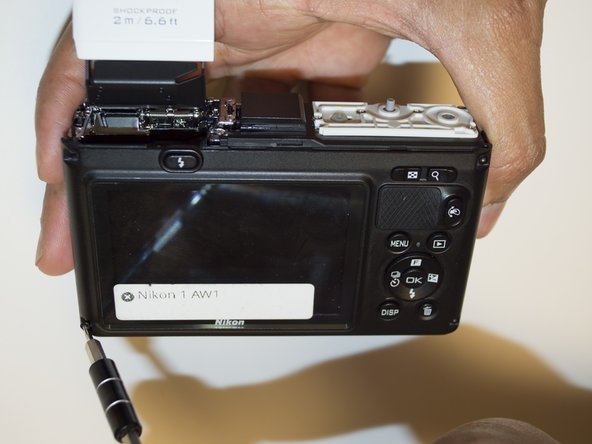
- Separate rear panel from the camera main body, starting from the HDMI and USB connector side. Do NOT pull the rear panel completely off of the camera yet.
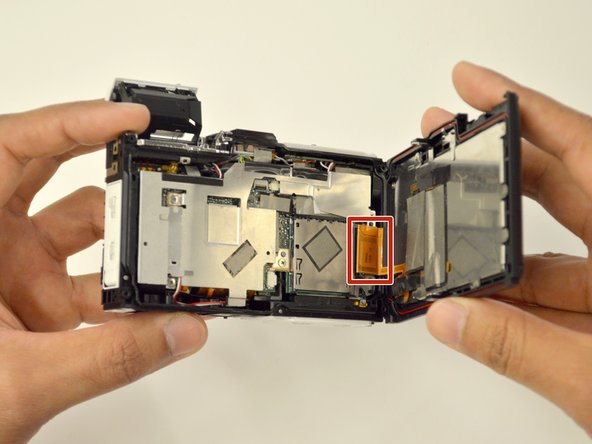
- Use a plastic opening tool to pry out the connector marked in red.
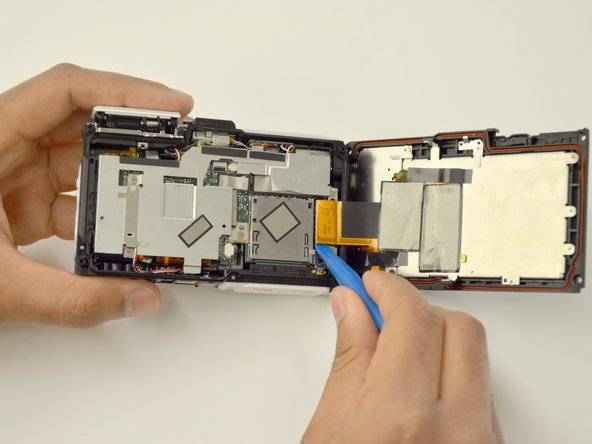
- Use the plastic opening tool to pull out the old seal from the groove in the rear panel.
- If you needed to replace the seal, you may now do so.