Lenovo B590 LCD Screen Replacement
ID: 72710
Description:
Steps:
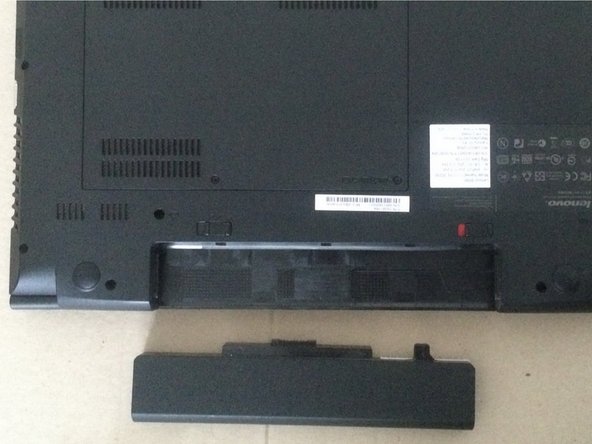
- Slide both latches to release the battery and remove it.
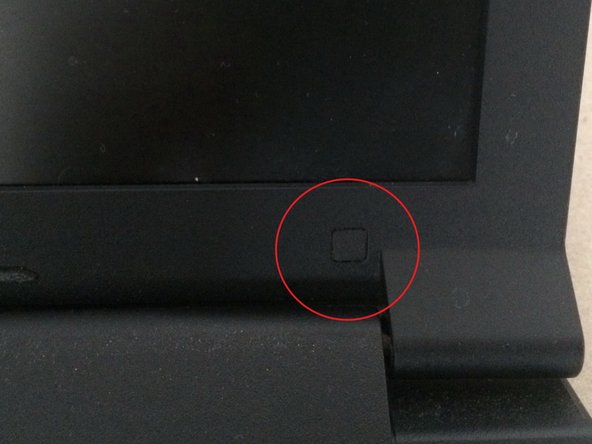
- Locate the two rubber caps at the bottom of the screen assembly. They're hiding screws underneath them.
- Remove these rubber caps with a spudger and unscrew the two screws using the PH0 screwdriver.
- Grasp one of the sides of the bezel and start pulling it out. It is held by plastic clips, so be careful not to break them.
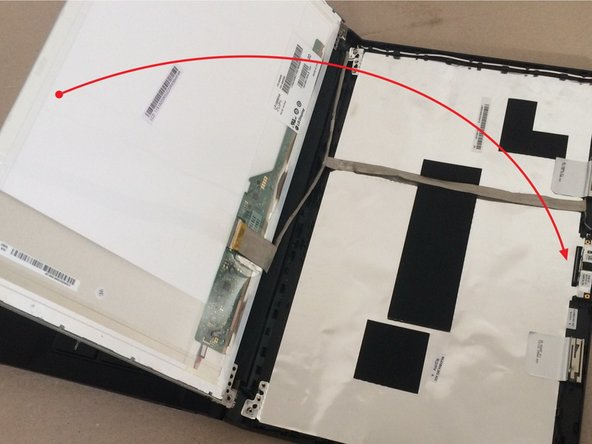
- Remove the bezel and locate the six screws that hold the LCD in place. Remove them using the PH0 screwdriver. Then, set the LCD screen to the side.
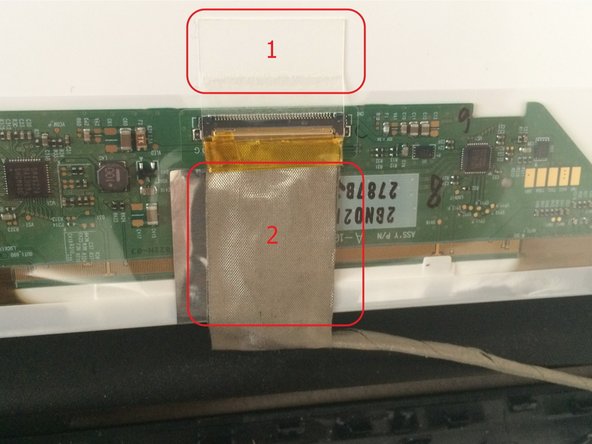
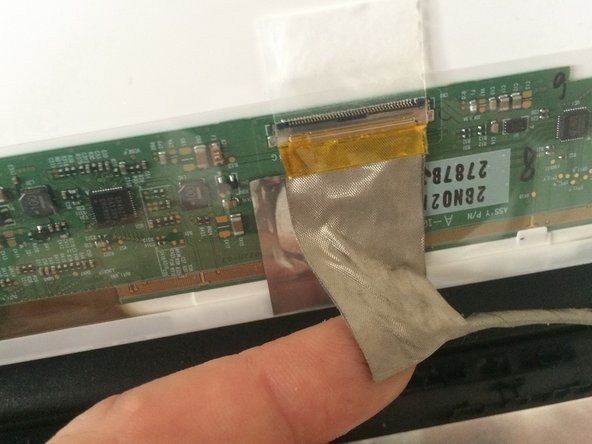
- Be careful not to damage flex cable! It is still connected to the LCD, and very easily damaged. (work slowly and carefully here)
- Follow photos 1 and 2 to loosen the adhesive that holds the flex cable connector to the LCD panel, after that pulling down the finger-hold in photo 3 unplugs the connector (next step)
- Again, common sense, once you have loosened the adhesive, you can pull the connector out.
- Engage brain: Follow the photos, remove the screws holding the screen in the frame of the lid and remove it... set it aside
- The screws circled in red hold the hinges in place, the plastic clips hold the video cable in place Note this for reassembly. When reassembling too, be sure the cable is routed correctly... pinching or even severing the cable is possible if you aren't careful.
- Reassembly step... Press the bezel back in place. before you do this ensure connections to the LCD, camera and Microphone are properly routed and secure, if not you may damage them by pinching or even putting a screw through them.