Nintendo DSi XL Wi-fi Board Teardown
ID: 72749
Description: Want to Know how to get to the Wifi Board...
Steps:
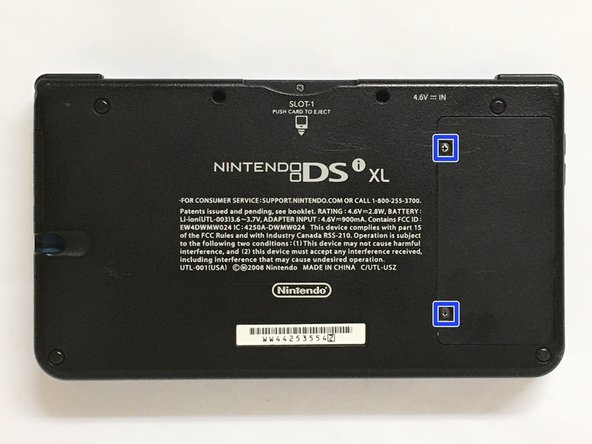
- Remove the two screws at the place of the battery under the Dsi Xl.
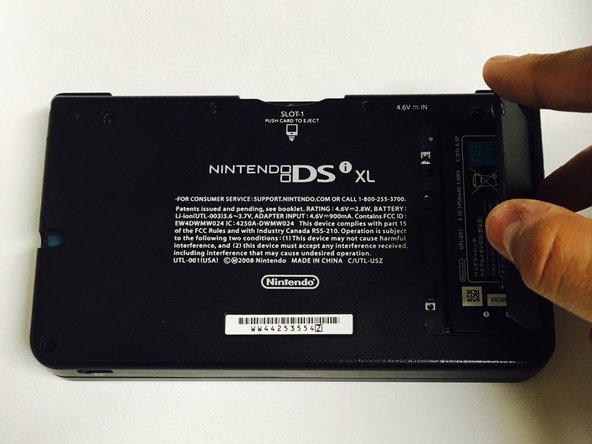
- Lift the protector from the battery.
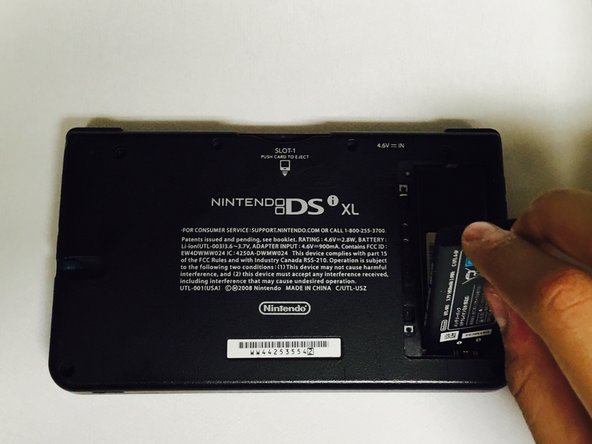
- Take the battery off the Dsi Xl.
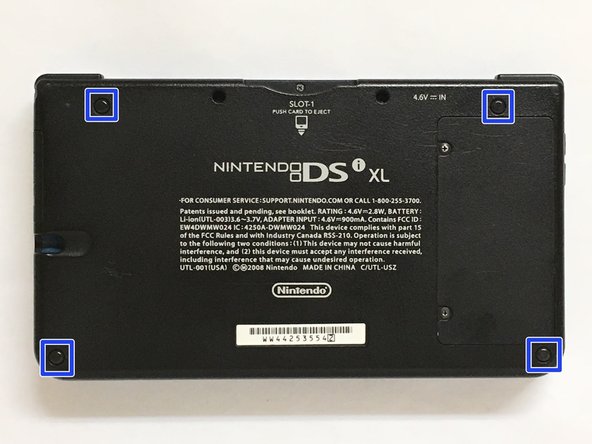
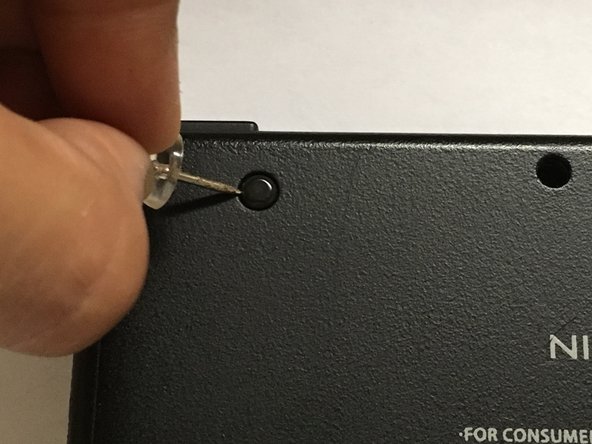
- Remove the rubber blocking the screws on the Dsi Xl with a push pin don't hesitate about it.
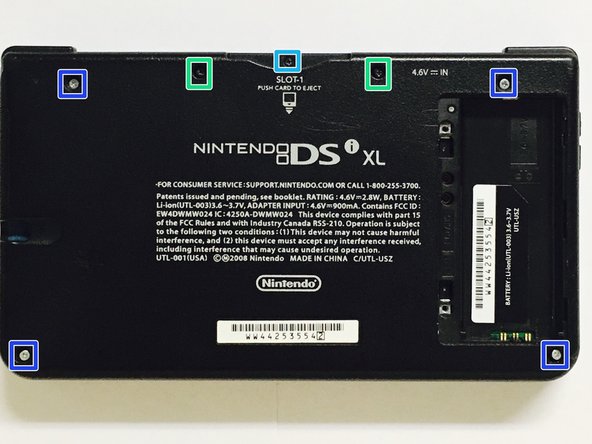
- Remove the presenting screws in order to take the bottom part of the Dsi Xl off.
- x4 silver 5.33m screws
- x2 black 5.3m screws
- x1 black 2.5m screw
- Turn the Dsi Xl over & open it.
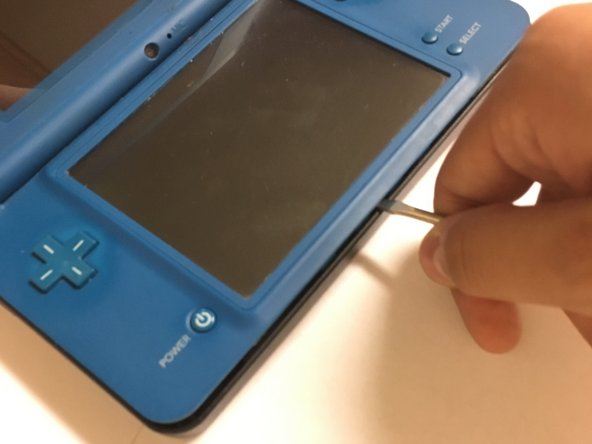
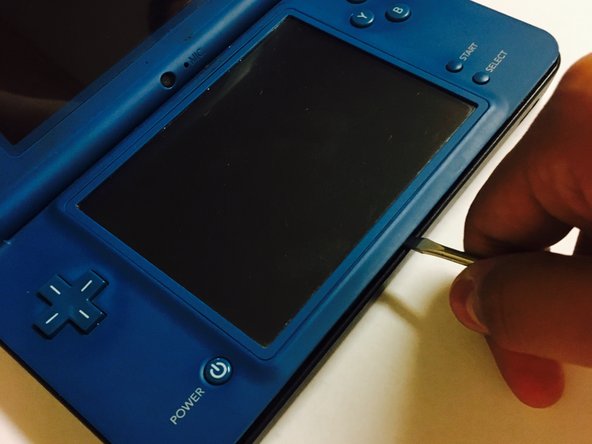
- Insert the spudger (or anything similar to it)between the uper and lower part of the case at the left or right corner it doesn't really matter.
- Keep on doing the same around the case.
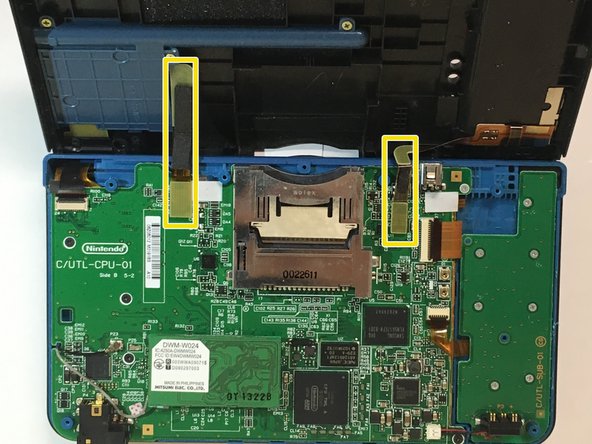
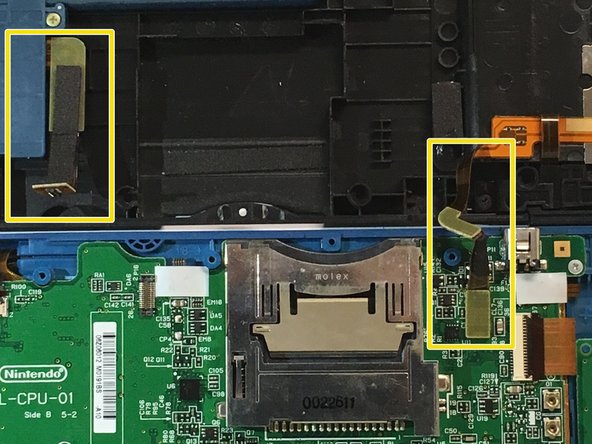
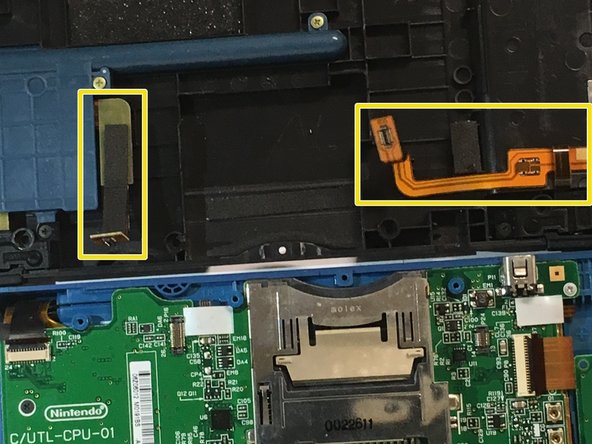
- Using your hands unconnect the connectors from both sides ( you can always put them back.)
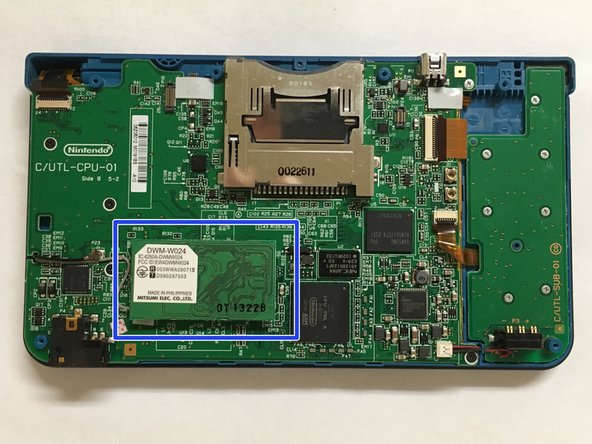
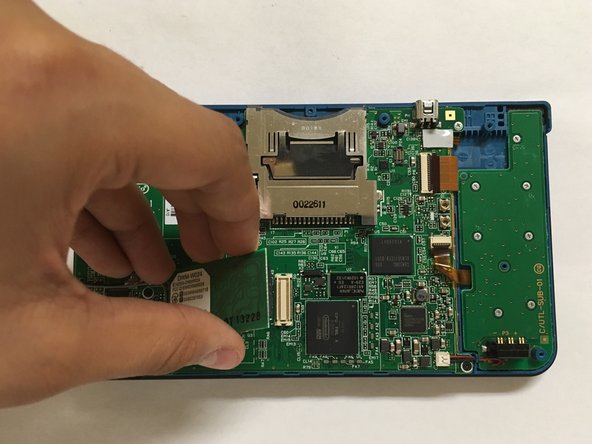
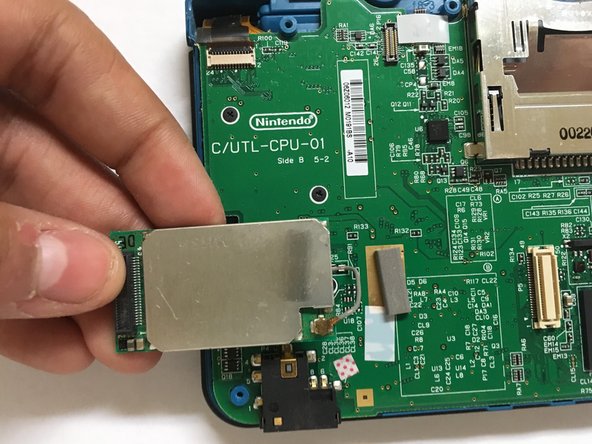
- Lift the Wi-fi Board off of its socket.(you can also put this back.)
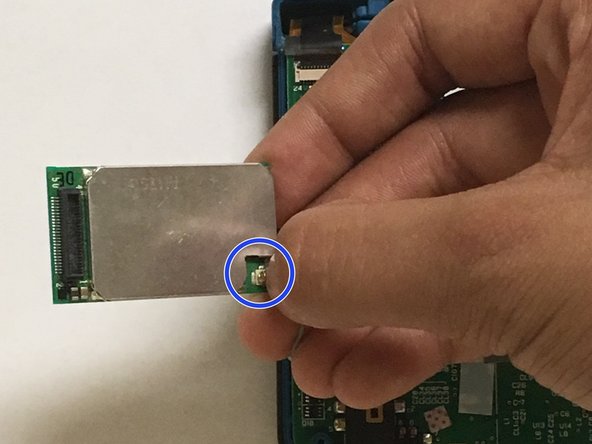
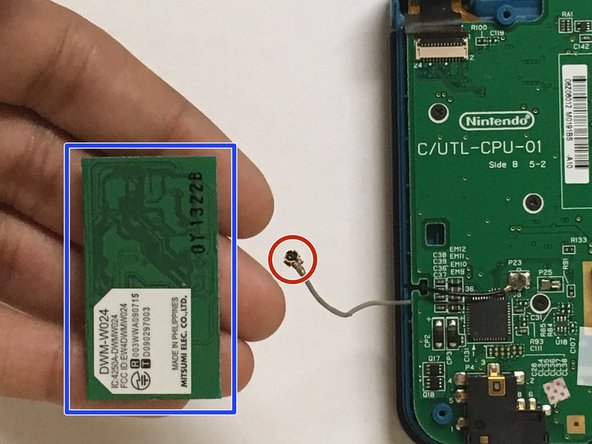
- Pull off the Wi-fi cable from The Wi-fi Board.
- Careful while this process in which this peice can easily rip off.
- Finally you've finished and you have Dsi Xl Wi-fi Board:)
