Dell Streak 7 Screen Replacement
ID: 72836
Description: Use this guide to replace the screen on your...
Steps:
- Insert the spudger under the capacitive button panel, and slide the spudger all the way around.
- You will want to heat up the screen edges with the iOpener to help facilitate removal.
- Remove the button cover by lifting the cover away from the tablet.
- Using the Torx screwdriver, remove the 4mm screws.
- With the Torx screwdriver, remove the two 5mm screws.
- Using the spudger, insert it under the black side panel. Slide the spudger all the way around until the cover piece comes off.
- With the Torx screwdriver, remove the two 4mm screws.
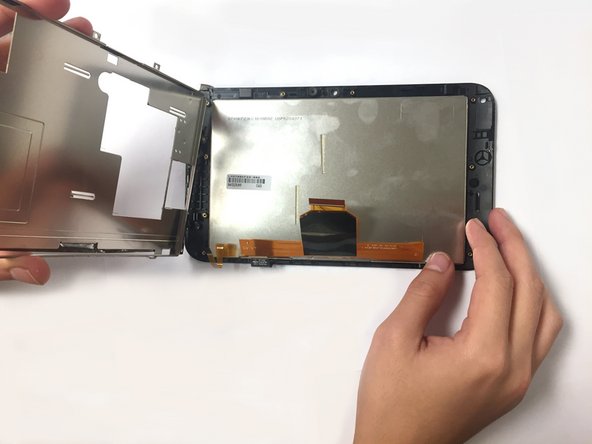
- Use the spudger to go along the edges of the device and pop out the latches securing the display to the case.
- Ribbon cables are very sensitive and prone to breaking
- Disconnect the ribbon cables by unlocking the connector and pulling the cable out slowly.
- Make sure all the cables are unplugged before opening the device completely. Failure to do so might lead to broken or torn cables.
- Using the screwdriver, remove the 3mm Torx T5 screws around the metal housing.
- Using tweezers, peel off the tape securing the screen to the metal cage around it.
- Ribbon cables are very sensitive and prone to breaking
- Pull out the ribbon cables through the opening in the metal cage.
- Lift up the metal cage surrounding the screen by swinging the cage from one side.
- Remove the screen by lifting the screen from the front glass.