Logitech UE Boombox Tweeter Speaker Replacement
ID: 72854
Description: The Logitech UE Boombox has two tweeter...
Steps:
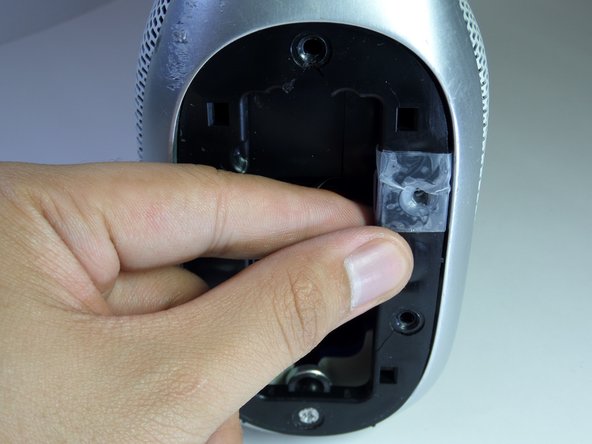
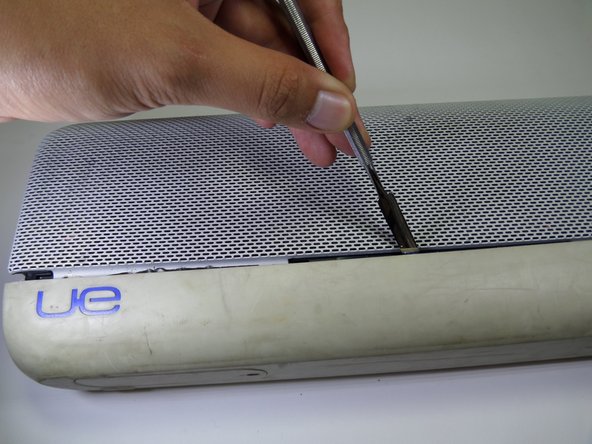
- Use a metal spudger to pry open the power button cover.
- Once the power button cover is slightly opened, use your fingers to remove the power button cover.
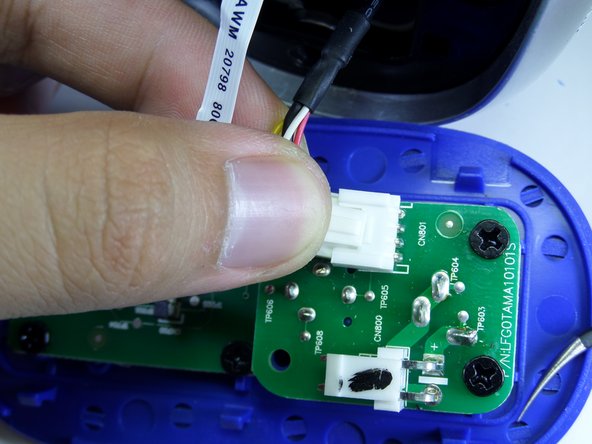
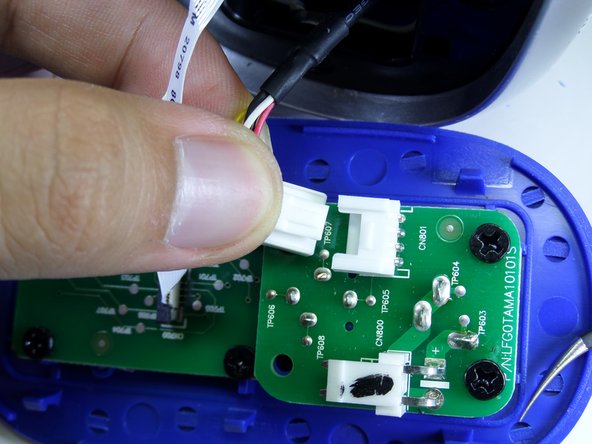
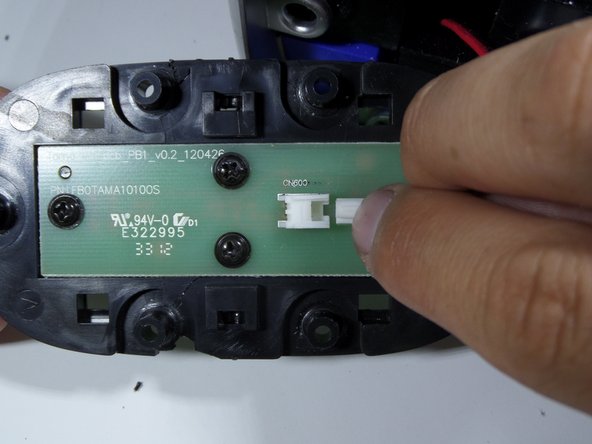
- Press firmly on the end of the latch and pull the two-wire connector away from the base to separate.
- Firmly press on the end of the latch and pull the four-wire connector away from the base to separate.
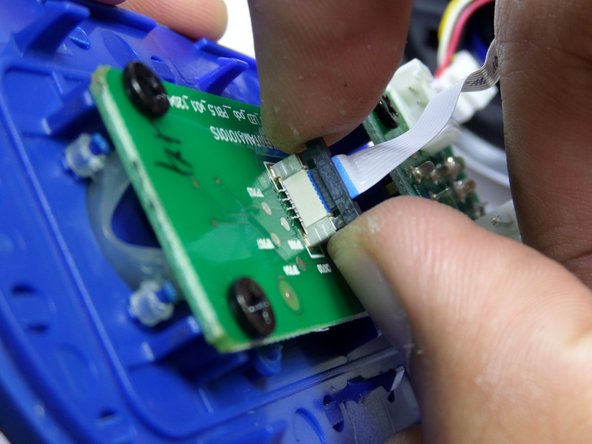
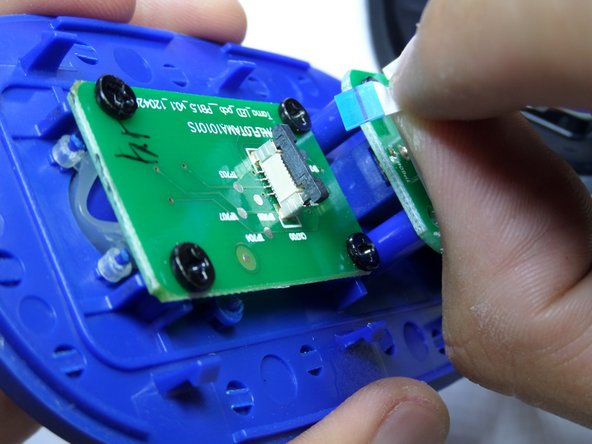
- Lightly, pry up on each side of the black band connector lock using your fingertips.
- Once unlocked, pull straight up on the connector to remove.
- Remove the five black 14mm Phillips #2 screws from the black plastic side panel.
- Remove the one silver 16mm Phillips #2 screws from the black plastic side panel.
- Remove the black plastic screw panel from the boombox.
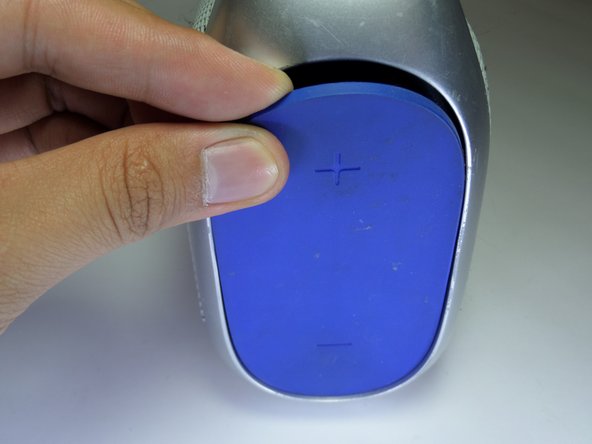
- On the opposite side of the device, pry open the volume rocker with a metal spudger.
- Remove the panel with your fingers once the volume rocker is slightly opened.
- Remove the five black 14mm Phillips #2 screws from the black plastic side panel.
- Remove the one silver16 mm Phillips #2 screw from the black plastic side panel.
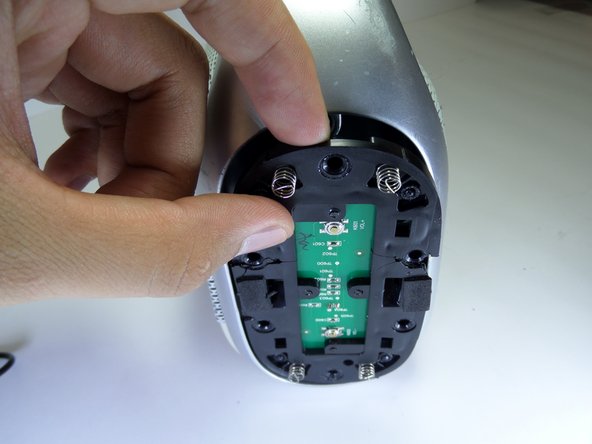
- Once all screws are removed, take the screw panel out of the device to gain access to the back of the panel.
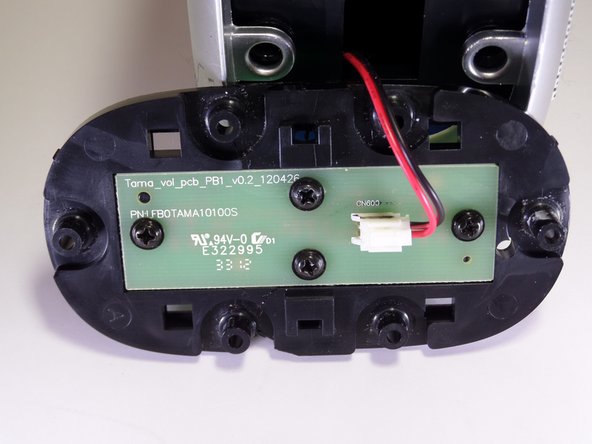
- Firmly press on the end of the latch and pull the two-wire connector away from the base.
- Pull up on the aluminum boombox handle to remove.
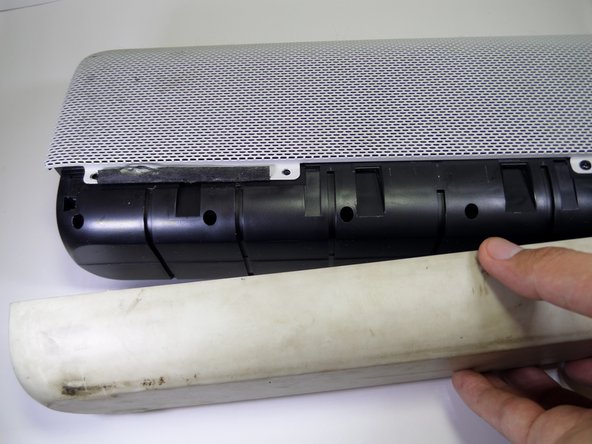
- Use a metal spudger to pry the rubber base apart from the aluminum grille.
- Pull the rubber base away from the boombox.
- Remove the four black 7.5mm Phillips #2 screws on each side of the device.
- There should be a total of eight screws removed in this step.
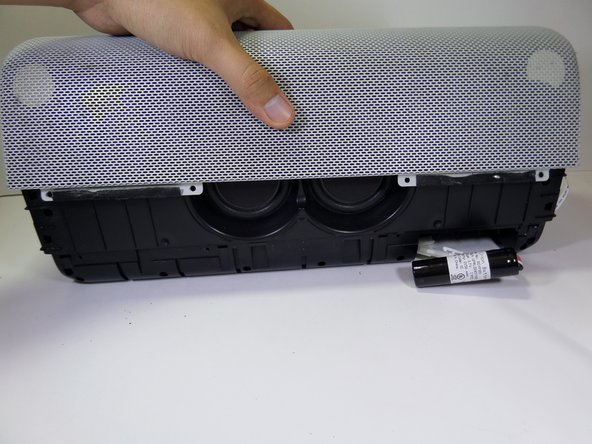
- Pull vertically on the speaker grille to remove it from the boombox.
- Remove the fifteen 13.0 mm Phillips #2 screws from the side of the device containing two speakers.
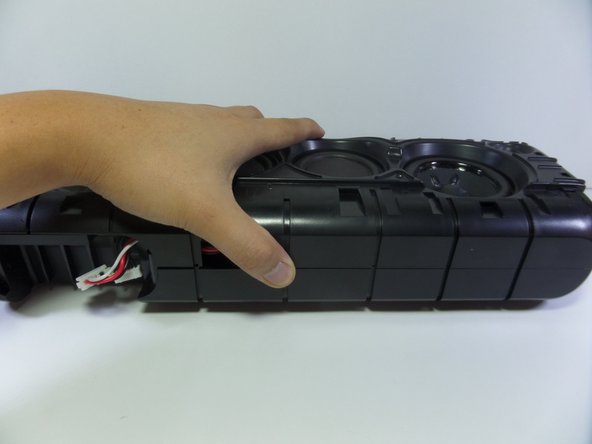
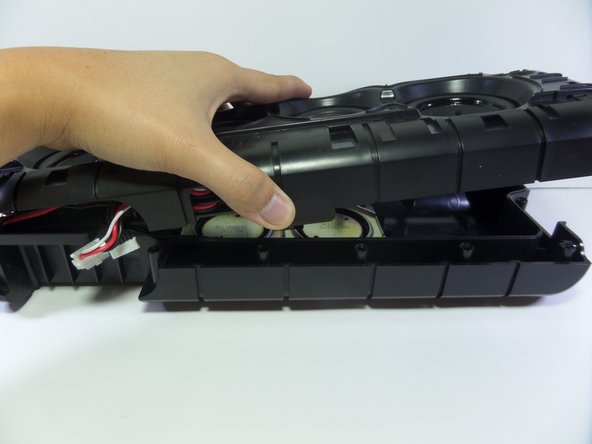
- Separate the two halves by gently pulling them apart.
- Locate the two tweeter speakers.
- One tweeter speaker is adjacent to primary speaker and the other is below the motherboard.
- Remove the two 7.0 mm screws Phillips #2.
- Using flat-head Tweezers lift tweeter speaker at an angle by the black connecting wire.
- Desolder the black connecting wire using the Soldering Iron.
- Soldering Iron will be hot and surrounding plastic can easily be damaged.
- For soldering help, check out the How to Solder and Desolder Connections guide.
- Hold the tweeter speaker by the newly disconnected end using flat-head Tweezers.
- Simultaneously unsolder the thin silver wire using the Soldering Iron while lifting tweeter speaker away from the device using flat-head Tweezers.
- Remove the two 7.0 mm screws with a Phillips #2.
- Unsolder the black connecting wire using Soldering Iron.
- Hold tweeter speaker by newly disconnected end using flat-head tweezers.
- Simultaneously unsolder the thin silver connecting wire using soldering iron while lifting tweeter speaker away from device using flat-head tweezers.