Casio Exilim EX-Z70 Teardown
ID: 72856
Description: This partial teardown will show you how to...
Steps:
- Start by ensuring it is powered off and remove the battery.
- Remove the two screws visible on each end of the camera.
- You should be left with four blue tipped screws.
- Take the thin panels off each side now that the screws no longer hold them to the camera.
- With the panels off, remove the two screws underneath it from each side. These should be red-orange tipped.
- Remove the six screws visible at the bottom.
- Keep track of which screw goes where.
- Pry the casing off of each side where the seam runs through. It should pop off when some force is applied.
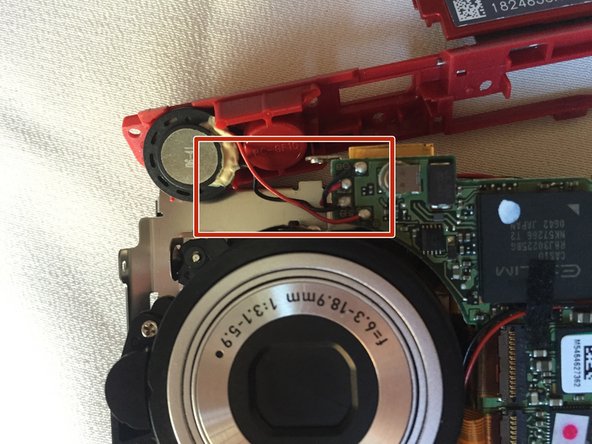
- The piece indicated in red is attached to a black piece of metal extending from it at a 90 degree angle. This piece is to help keep the screws straight, but is easily bent out of place. When reassembling, make sure it's lined up with the holes in the casing.
- There is a piece with labeling on it. Slide it away from the lens and it will open to reveal the slot that the battery goes into.
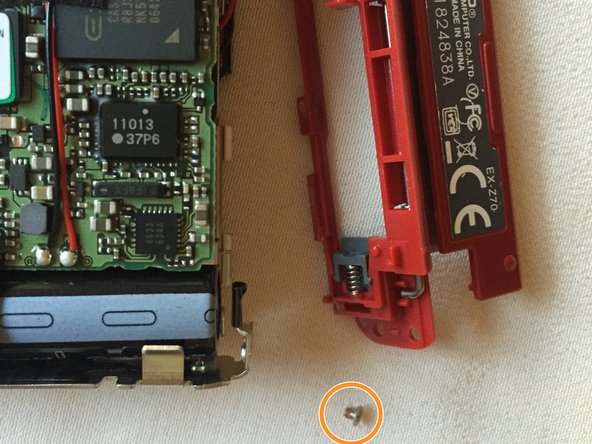
- Remove this screw to take off the red plastic piece on the bottom of the camera. This is a red-orange tipped screw but is a smaller size than all the other ones.
- This plastic piece will only be connected to the camera itself by two red and black wires.
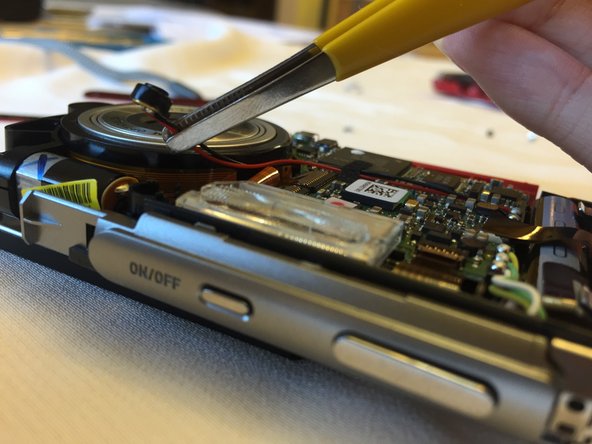
- While removing the lens, two red and black wires will be in the way. Use a pair of tweezers and pull them away.
- The lens will be held in place by two black tabs, pry them away to free the lens.
- After this, the lens will be held to the camera with two orange strips. Pull these strips out of the film ports to remove the lens.