Vizio VTAB1008 Charging Port Replacement
ID: 72970
Description: Hello! This is a guide on how to replace the...
Steps:
- Carefully slide the heavy duty opening tool between the gap on the side of the device with no buttons.
- Do not insert the opening tool too far into the tablet as this can damage connectors close to edges of the cover.
- The angled tip of the opening tool can be wedged into the device by pressing on the back of the opening tool with the thumb. Move the opening tool in a sliding motion to ensure all tabs separate.
- Corner tabs may require a more forceful prying tool. If needed, carefully insert the metal prying tool into corners to separate the tabs.
- Look into the tablet for loose connectors.
- There are three loose connectors: one for the screen, one for the digitizer, and one for the motherboard. They are held in place by the pressure of the backing and screen assemblies.
- Flip the backing from the button-less side over, being careful not to separate the ribbon connector from the display screen.
- Remove the motherboard by unscrewing the four securing screws with a J1 Phillip's head screwdriver.
- 3 of the screws are clearly visible while the 4th is hidden by black tape on the upper left corner of the motherboard.
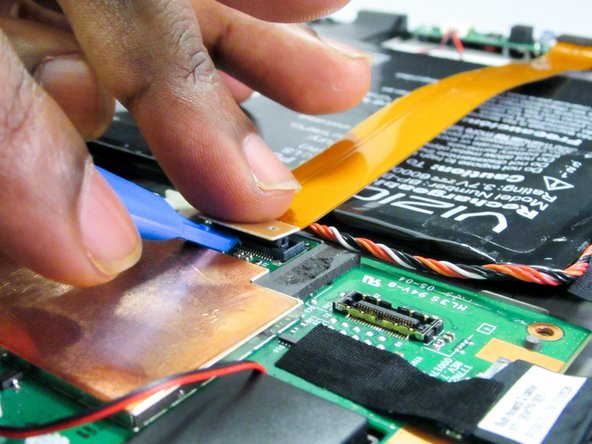
- Remove both antenna connectors with a blue opening tool/tweezers.
- Remove the ribbon connector at the top of the motherboard using the opening tool.
- Remove the connector at the top of the motherboard by pulling the connector away from the motherboard with fingers or tweezers.
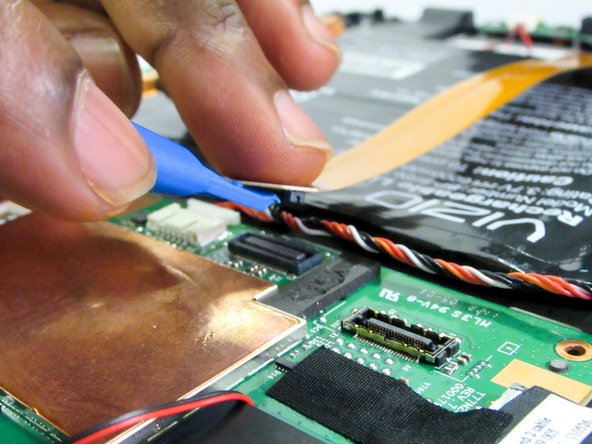
- Remove the connector at the side of the motherboard using the opening tool.
- The connector is covered by a piece of black tape.
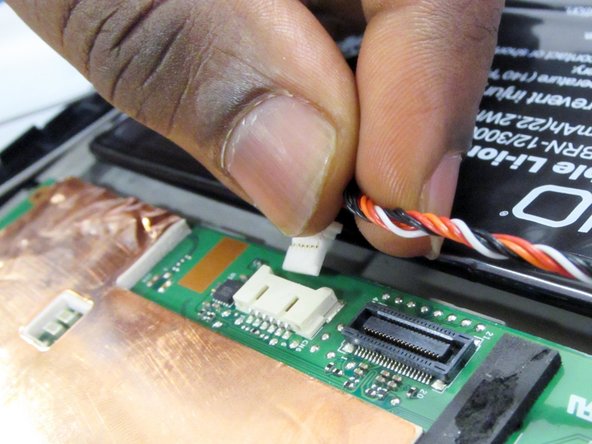
- Remove the red and black wire connector from the motherboard using either fingers or tweezers.
- Flip the motherboard over.
- Directly underneath the USB Charging connector will be four solder points that need to be undone in order to remove the charging port.