Sony Vaio PCG-31311L Motherboard Replacement
ID: 74693
Description:
Steps:
- Start with device closed, powered off, and upside down.
- Locate 3 screws on the bottom plate and unscrew
- These screws do not detach from the bottom plate.
- Use a plastic opening tool to pry up on the plate and remove from device.
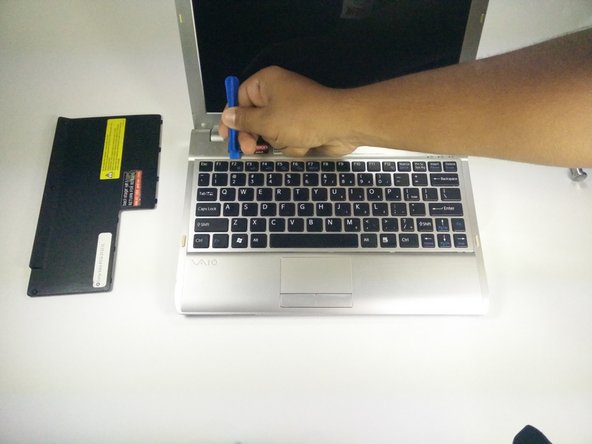
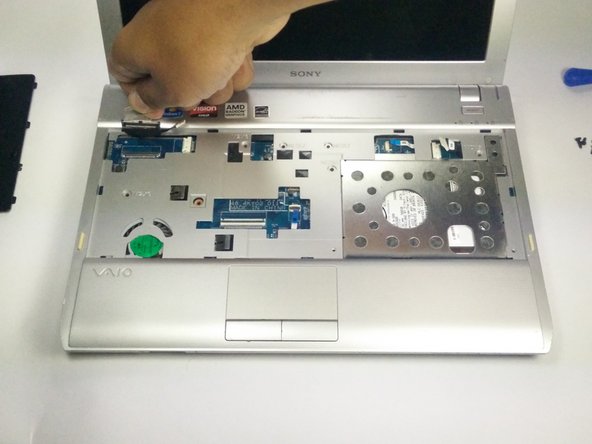
- Locate screw labeled "KB" and remove.
- Use a plastic opening tool tool to pry around the edge of the keyboard.
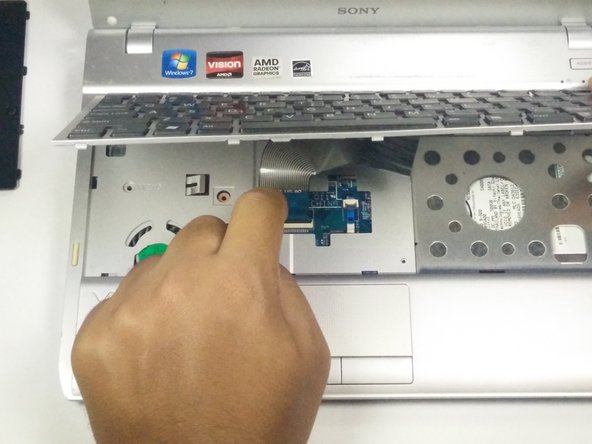
- Once detached, tilt the keyboard forward, exposing a blue ribbon cable.
- Place finger on black tab and pull back. Then, give a gentle tug on the ribbon cable and it will detach.
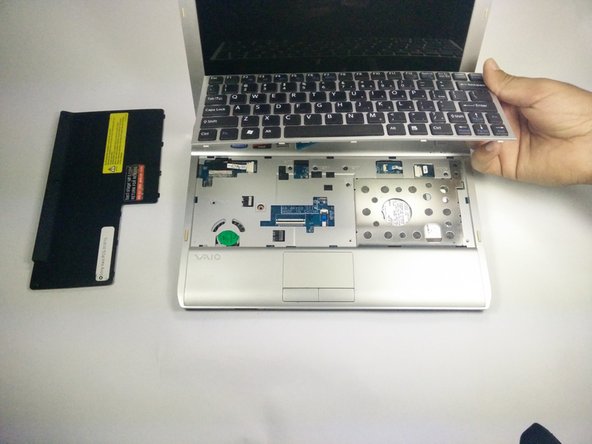
- Once the ribbon cable has been detached, lift the keyboard away from the device.
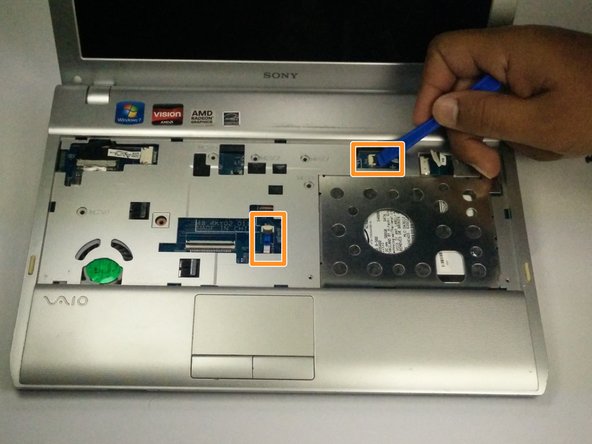
- Use the plastic opening tool to pull back the ribbon cables attached to the motherboard
- Use the plastic opening tool to pop up the black tabs and pull the remaining ribbon cables.
- Locate the LCD ribbon cable
- Pull up and away from device to detach the LCD ribbon cable.
- Close and flip over laptop.
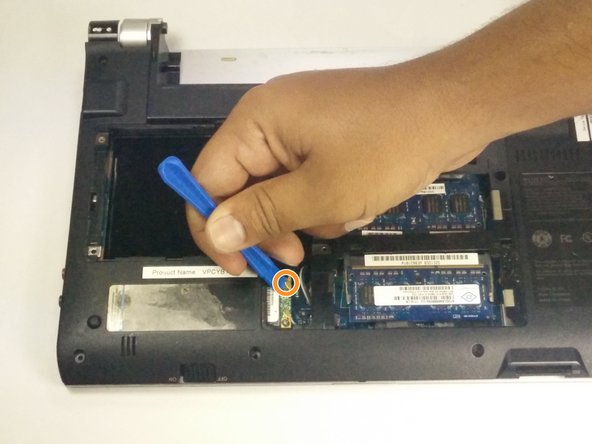
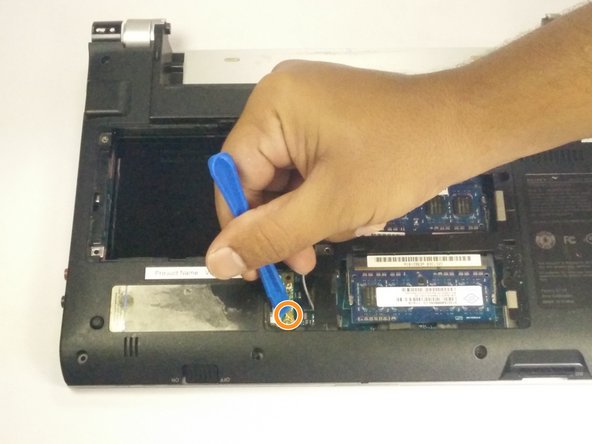
- Locate the WiFi network card.
- Use the plastic opening tool to pry up the two connectors.
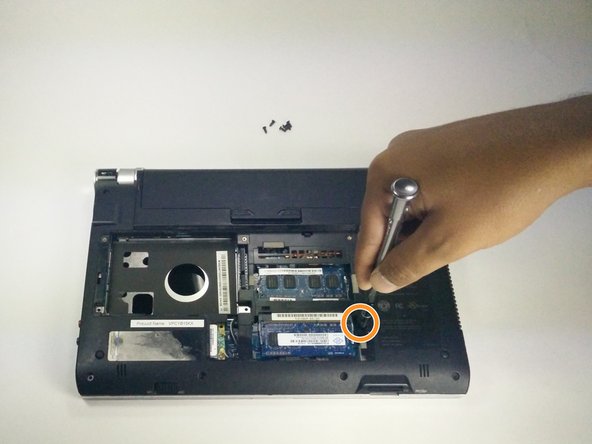
- Locate the 6 screws on the bottom and remove.
- Remove the final screw in the center to release the motherboard from the case.