ASUS ZenPad S 8.0 Speakers Replacement
ID: 74728
Description: After removing the Secondary Board on your...
Steps:
- if present, remove the MicroSD card before disassembly. Failure to remove could lead to damage to the MicroSD card , rear cover, or MicroSD card slot.
- Use the plastic tool to pry between the silver bezel and the back case
- Work the tool around the device to free the back case
- Remove the ribbon cables by lifting up the white retaining flap on the ZIF connectors, then pulling the ribbon cable away.
- Do not kink the ribbon cables as they can break easily
- Remove the battery connector by prying it up away from the device using 2 plastic pry tools
- Remove all 9 of the 1.5mm #00 Philips screws
- Gently lift the battery out of the device
- Use an opening pick or similar tool to separate the adhesive on the bottom and top of the battery.
- Use a plastic opening tool to lift the black retaining flap on the ZIF Connector
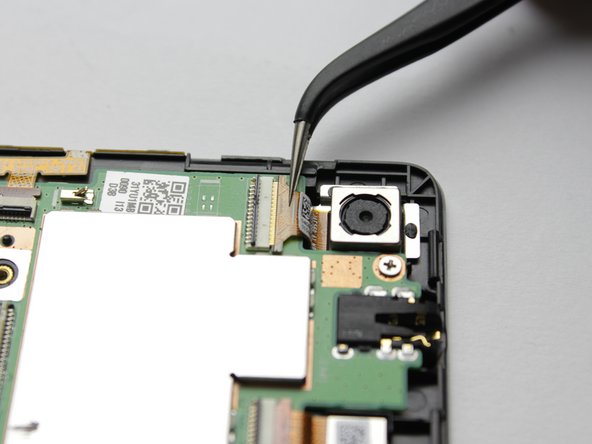
- Use a tweezers to lift out the camera
- If you lifted the latch for the ribbon cable then it should come out with little resistance.
- Using the plastic prying tool, lift the small retaining flap on the ZIF Connectors holding the ribbon cables to the motherboard
- The removing of the ribbon cable is done in the same way as the front facing camera.
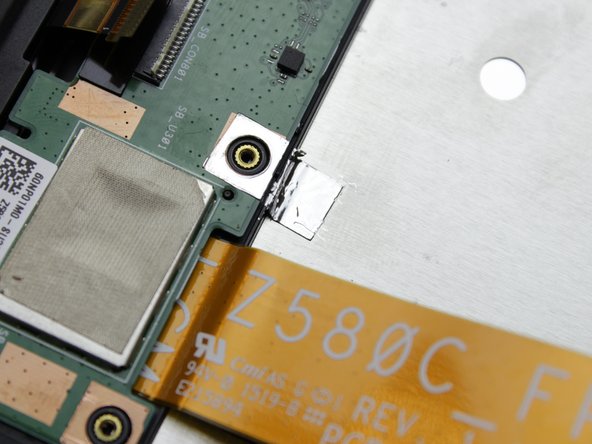
- Using the tweezers remove the connector gently from the yellow slot
- Gently peel up the tape until is is completely released from the motherboard
- Cut the warranty tape connecting the motherboard to the metal plate under the battery
- Using the #00 Phillips head screwdriver, remove the remaining 1.5mm screws in the motherboard
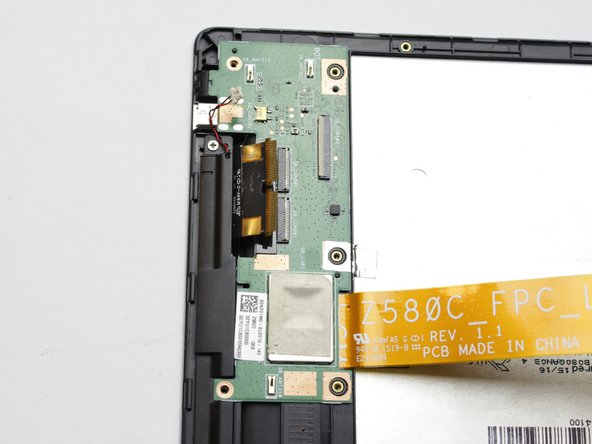
- Gently lift the motherboard from your device
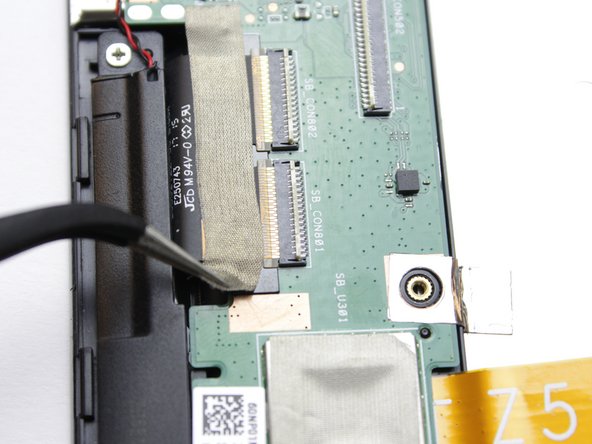
- To remove the ribbon cables, lift up the white retaining flap on the ZIF Connectors with a plastic pry tool
- Using the tweezers gently pull off the tape over the ribbon cable
- Using the tweezers gently pull the ribbon cable out from from the connector.
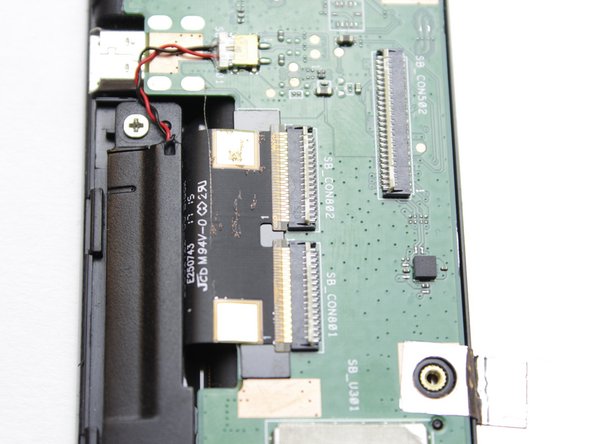
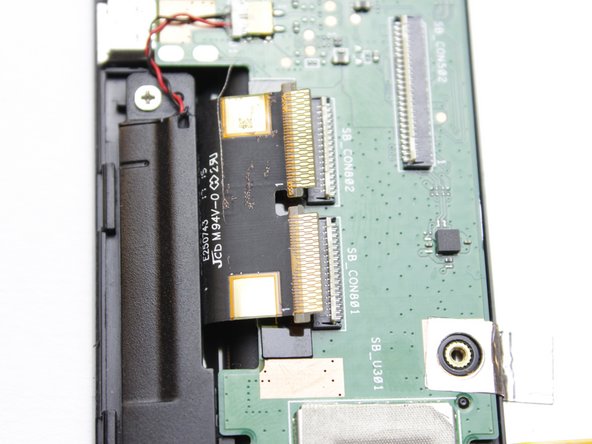
- Using the tweezers gently remove the connector from the yellow slot
- Cut the warranty tape connecting the daughter board to the metal plate under the battery
- Using the #00 Phillips head screwdriver, remove the remaining 1.5mm screws in the daughter board
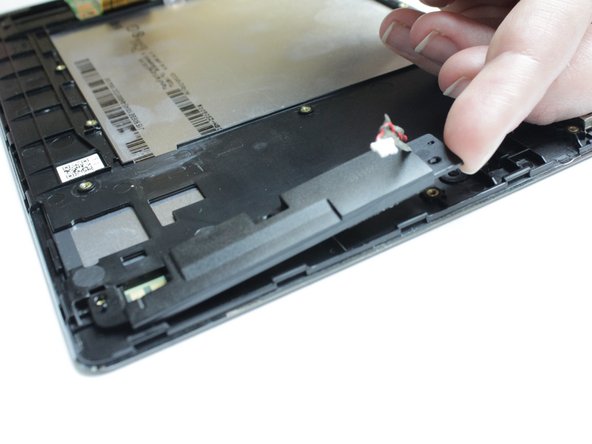
- Gently lift the daughter board from the device
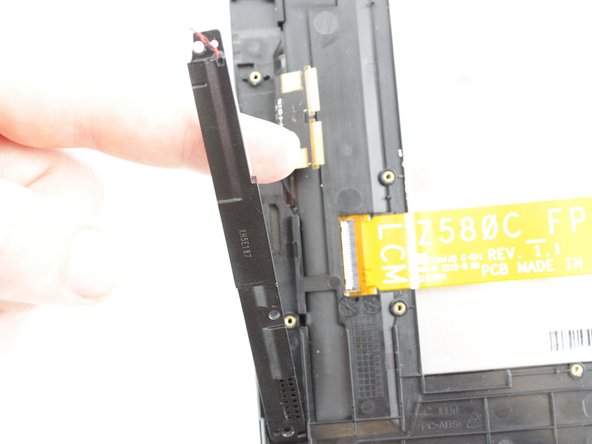
- Gently lift up the speaker to remove it from the device
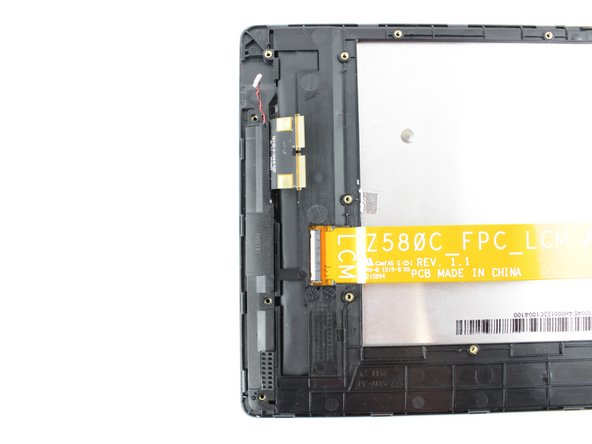
- Using the #00 Phillips head screwdriver, remove the 1.5mm screws
- Gently lift up the second speaker to remove it from the device