Kenwood KDC-BT362U DVD-Drive Replacement
ID: 74736
Description:
Steps:
- Locate the face-plate eject button.
- Press the eject button with your forefinger.
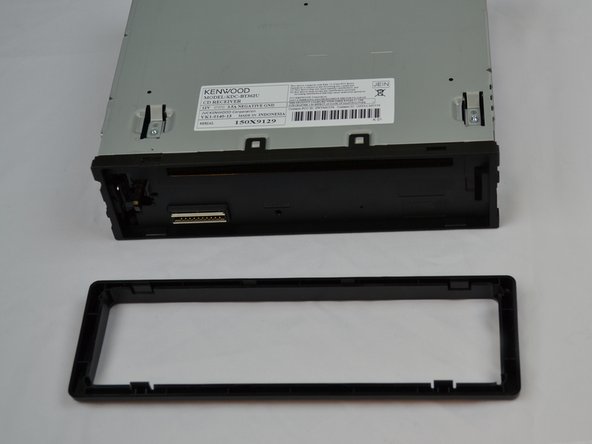
- Remove the face-plate.
- Starting on the top side, pop the front panel frame out.
- Remove the face-plate frame.
- Use the plastic opening tool to pry open the tabs.
- Repeat on the opposite side.
- Remove the front panel.
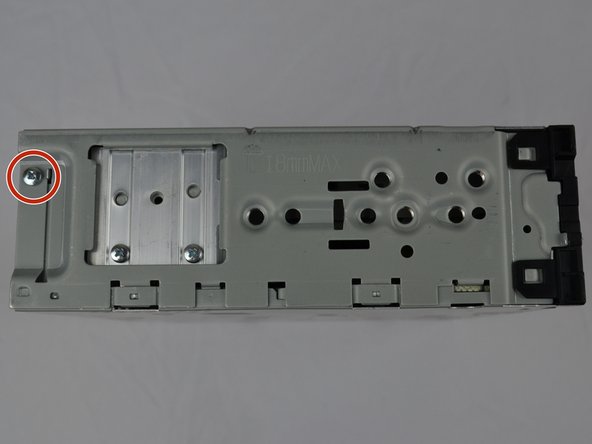
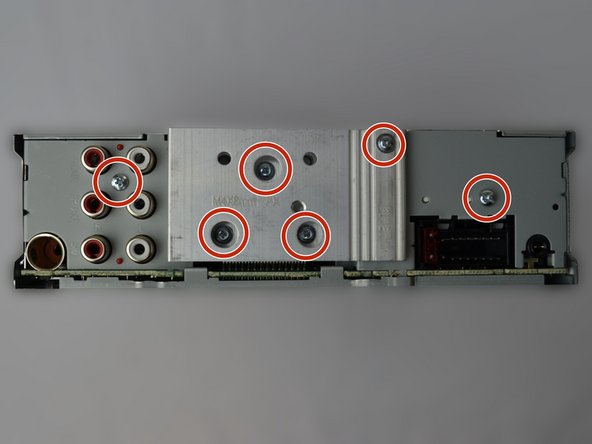
- Use the Phillips #0 Screwdriver to remove the screws off of the metal case.
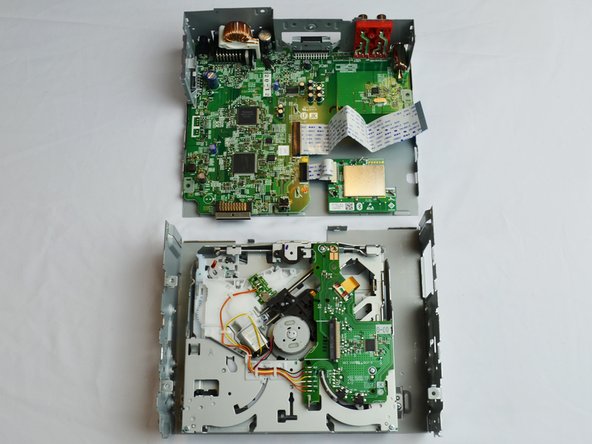
- Carefully separate the top and bottom halves of the metal case apart.
- Do not separate the metal case halves completely.
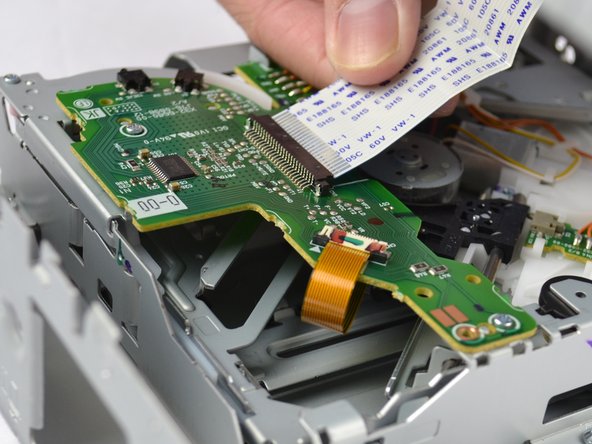
- Carefully pull the DVD-Drive ribbon cable from the motherboard.
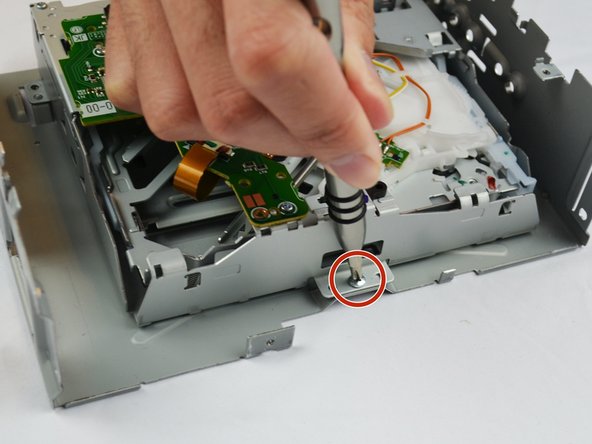
- Use the Phillips #0 Screwdriver to remove the three screws.
- Lift the DVD-Drive to separate it from the metal case.