Canon ELPH Z3 Camera Image Sensor Replacement
ID: 74787
Description: An image sensor is a key component in a...
Steps:
- Unscrew the 7 4.1mm screws around the camera using a PH000 screwdriver.
- Split the front and back coverings of the camera.
- Remove the back covering completely.
- This allows for easier access to the shutter button carrier.
- Slide the shutter button carrier off of the camera.
- Notice shutter button is on the right hand side of the carrier.
- Press upward on the shutter button from the underside of the carrier by using your thumb.
- Separate the shutter button from the carrier.
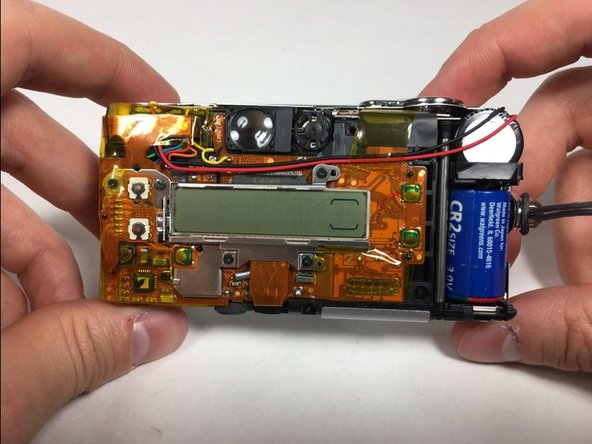
- Pull apart the front and back coverings of the camera.
- Remove the back covering completely to gain access of the rear screen.
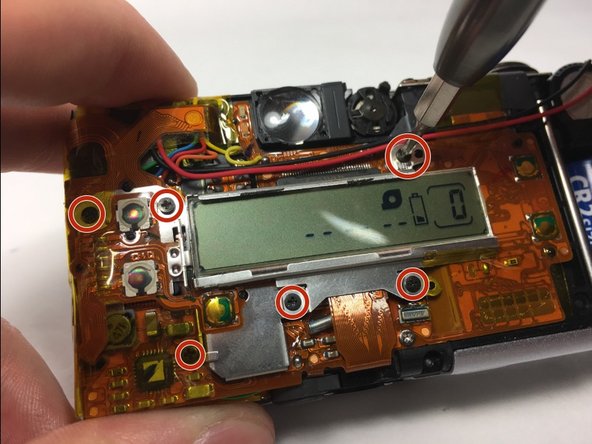
- Unscrew the 6 4.1mm screws that are holding the back screen in place by using the PH000 screwdriver.
- This step may require for you to pull back tape to gain access to some screws.
- Pull the yellow tape away from the side that is attached to the back screen.
- Remove the back screen.
- Pull away back screen base to reveal the image sensor.
- Remove image sensor using a set of pliers.