Acer Aspire One A150-1672 Hinge Replacement
ID: 74868
Description: Replacing the hinges requires many steps as...
Steps:
- With your fingers, remove 6 rubber coverings located at the edges of screen. The rubber coverings are held in place with a small amount of adhesive, but you should be able to peel them off easily.
- There are 4 coverings on the top (circular shaped) and 2 on the bottom (half-oval shaped).
- Using a Phillips #1 screwdriver, unscrew the six 5.2mm screws in the places where the rubber coverings were located.
- Slide the spudger between the thin gap located between the white and pink plastic casing at the top.
- Move the spudger from the right side to the left to detach the white plastic frame from the pink plastic casing.
- Remove the white frame by pulling it towards yourself.
- It may take considerable force to initially slide the spudger between the white and pink parts of the casing.
- At the top of the display screen, pull the brown connector towards the right with your right hand while holding on to the black piece of electrical tape next to the white connector with your left hand to disconnect the two connectors from each other.
- Gently pull the display screen towards you to more easily access the cable behind the screen.
- Use the spudger to detach the piece of tape from the camera by sliding it between the camera and tape.
- Pull the camera towards you to remove it.
- Disconnect the microphone, which located left of the camera piece, by pinching the tape around the wires, pinching the microphone, and pulling the two in opposite directions. This microphone is detached in the same way the camera was detached.
- Using a Philips Head #1 screwdriver, remove the four 4.63 mm screws located on both sides of the display screen.
- Pull the display screen towards you to remove it from the plastic cover of the netbook.
- Gently peel off the black wire connected to both the microphone and the camera. This is attached with a small amount of adhesive to the back of the display screen.
- Pull up the transparent piece of tape at the bottom of the display screen that holds the cord in place.
- Detach the cord by pulling the cord out of the slot of the green circuit on the bottom of the laptop. Once the cord is detached, the display screen will be unattached and able to be removed.
- To remove the keyboard, place the Blue Plastic Opening Tool at the 3 indentations above the keyboard as shown.
- Slip the Blue Plastic Opening Tool in the space between the keyboard and the pink plastic casing and push down.
- Pushing down on all 3 indentations should cause the keyboard to pop upwards slightly.
- There is a notch on the right side of the casing that blocks the keyboards ability to be removed.
- Use the Blue Plastic opening tool and your fingers to pull up the top part of the keyboard as shown.
- Use the Blue Plastic Opening Tool to separate the right side of the casing from the keyboard as shown.
- After you have successfully moved the keyboard out from under the notch, pull the keyboard up.
- Using the Blue Plastic Opening Tool, pull up on the keyboard connector to completely detach the keyboard from the base of the laptop.
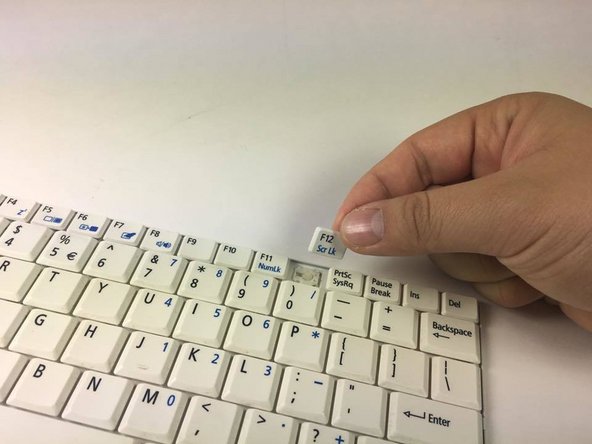
- Using the Blue Plastic Opening Tool, remove the white plastic piece of your desired key.
- Place the Blue Plastic Opening Tool on the right side of the individual key, then gently pull up to detach the clips underneath.
- Remove the key from the hinges by sliding the key to the left.
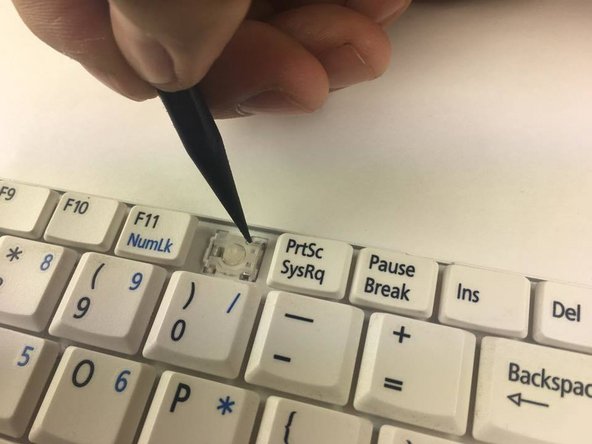
- Two ends need to be unhooked. They are located at the top and bottom of the key on the right side.
- Using the Spudger, push the small, clear-colored end of the hinge out of the hook.
- Using the Blue Plastic Opening Tool, push the plastic hinge to the left to detach the hinge after the ends on the right are detached.
- Remove the plastic hinge by pulling the plastic hinge upwards.
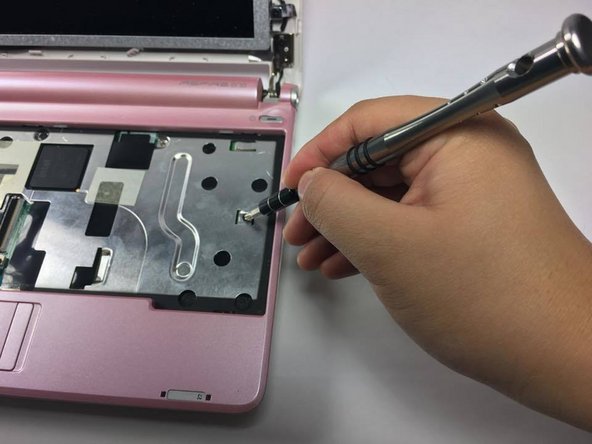
- With your fingers, pull the blue plastic tab connected to the white connector at the bottom of the laptop to disconnect the trackpad from the motherboard.
- With the Phillips #1 screwdriver, remove the six screws that connect the metal plate to the motherboard.
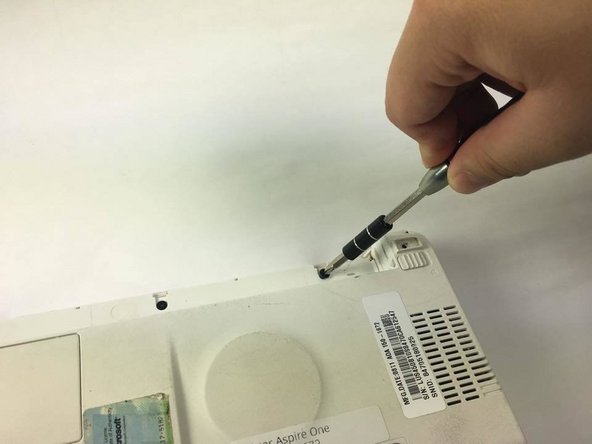
- To detach the bottom white casing from the netbook, a total of 8 screws must be removed using the Phillips #1 screwdriver.
- Using the Phillips #1 screwdriver, remove three 5.2mm screws located at the bottom of the plastic casing.
- Using the Phillips #1 screwdriver, remove three 3.78mm screws located in the middle of the casing.
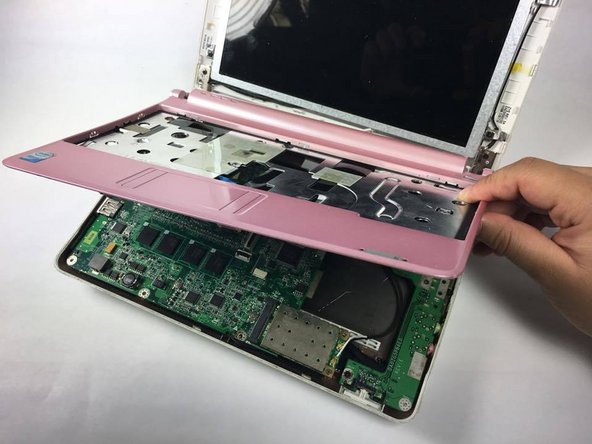
- Using the opening tool, slide it backward and forward in the gap between the pink and white casing.
- Lift the pink casing upwards to completely remove casing from the netbook.
- Remove the four screws located on the right green circuit board.
- Lift the green circuit board upwards and place it to the left hand side.
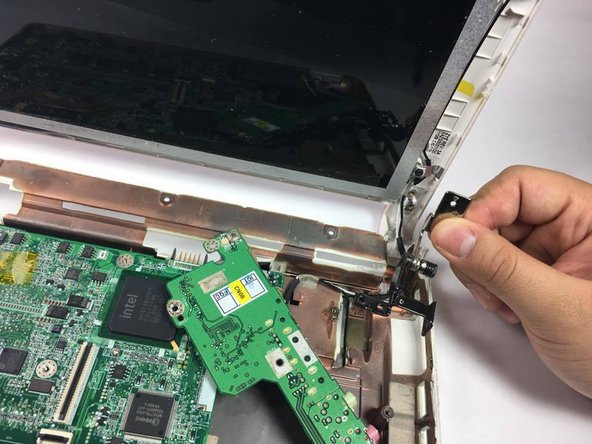
- Unscrew two screws attaching the hinge to the bottom part of the netbook
- Unscrew the screw attaching the hinge to the top part of the netbook
- Remove the hinge by holding on to the metal piece and pull towards yourself.