Casio fx-82MS Button Replacement
ID: 75195
Description: The Casio fx-82MS is a commonly used simple...
Steps:
- This is the calculator in question.
- The tools you will need are: a Phillips screwdriver, a spudger and a soldering iron.
- If you don't have access to a solding iron, you need a stanley knife instead.
- Flip over the calculator.
- Locate the 6 screws on the backside.
- Remove all six screws.
- Once all six screws have been removed, take the back part off of the calculator.
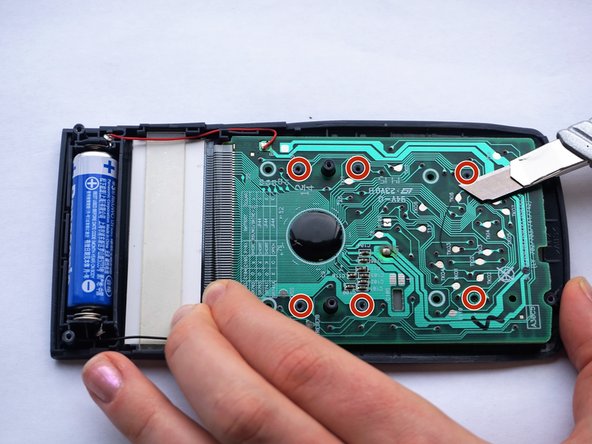
- Locate the rubber contact points.
- Solder the rubber contact points, while using the spudger to pry the PCB loose.
- PCB stands for Printed Circuit Board.
- Toxic gasses might be created. Hence, do this in a well ventilated room.
- Start with the lower plugs (left on the photo). Gently pry the PCB loose at the same time.
- For this step a third person is required for safety. One person uses the solder iron, the other one uses the spudger to pry the PCB loose.
- If you don't have accessibility to a solder iron, use a utility knife to remove the plugs.
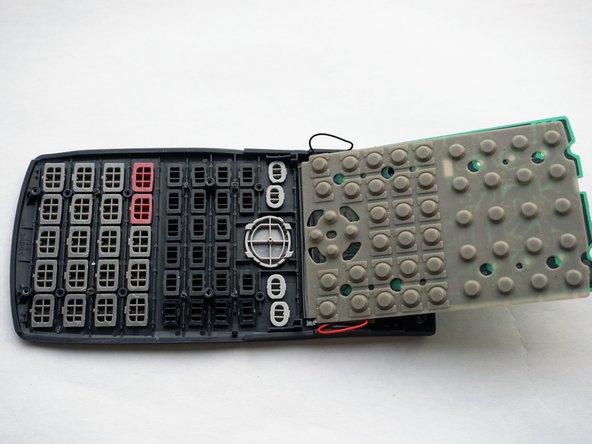
- After having soldered away all six plugs, lift up the PCB.
- Flip the board sideways as shown in the picture.
- Remove the rubber mat.
- Do this carefully, to make sure the buttons stay in their place.
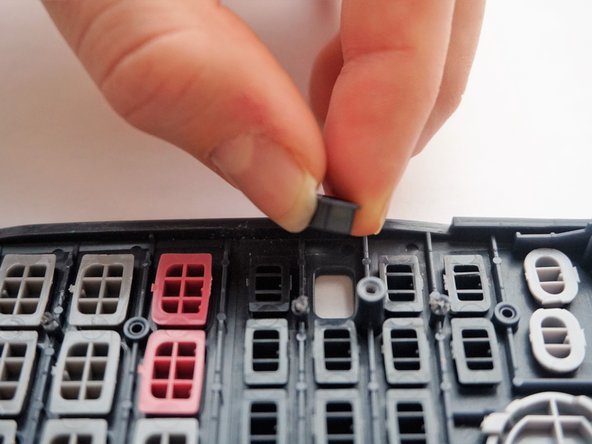
- Replace the broken button.
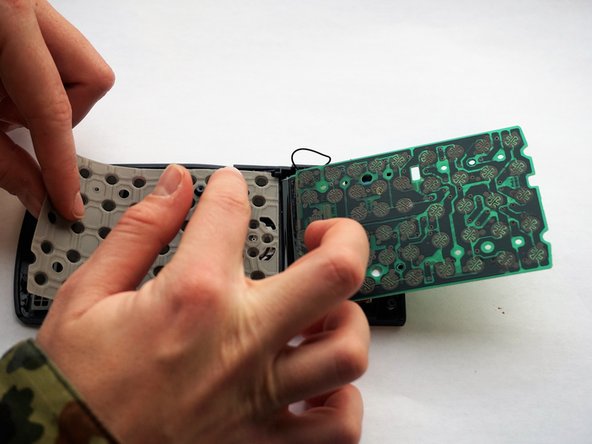
- Put the rubber mat back in its place.
- Make sure you push the six slightly damaged plugs through the rubber mat.
- Push the PCB back into place.
- Again make sure you push the slightly damaged plugs through the PCB, to make everything fits perfectly again.
- Place the back side of the casing back on top of the front.
- Put all six screws back in the back side of the casing.