Garmin Nüvi 52LM USB Charge Port Replacement
ID: 78621
Description: In this guide you will replace the motherboard...
Steps:
- Place the device face-down, with the screen facing the surface. There are 8.7mm screws located in each of the back 4 corners of the device. Using a T5 Torx screw bit, unscrew all four screws and leave them aside.
- Place a plastic opening tool in the seam between the back and front plates of the device. Using constant pressure, slowly and continuously slide the tool along the seam. The tool should disable each of the hooks holding the two plates together. If unsuccessful, apply slightly more pressure and try again.
- Once all hooks are disabled, slowly separate the two plates, being careful not to damage the ribbon wire still connecting the two.
- Using the T5 Torx screwdriver, unscrew the two 5.6mm screws at the top right and bottom right corners of the motherboard.
- Gently unplug the wire connecting the battery to the small socket on the back of the motherboard.
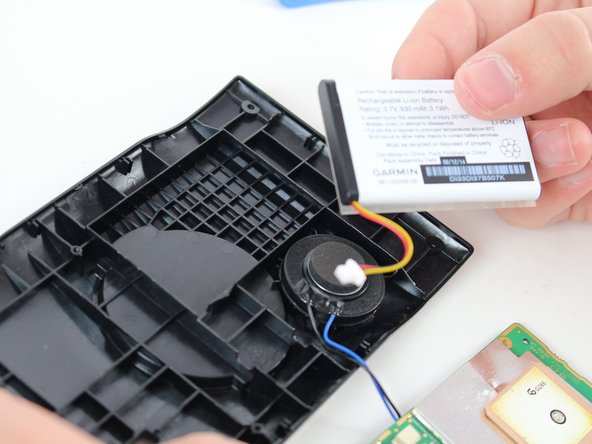
- Using a plastic opening tool, pry the battery from the back cover of the device. There may be an adhesive sticker keeping it in place, so you may need to apply some force.
- The battery should now be completely detached from the other parts.
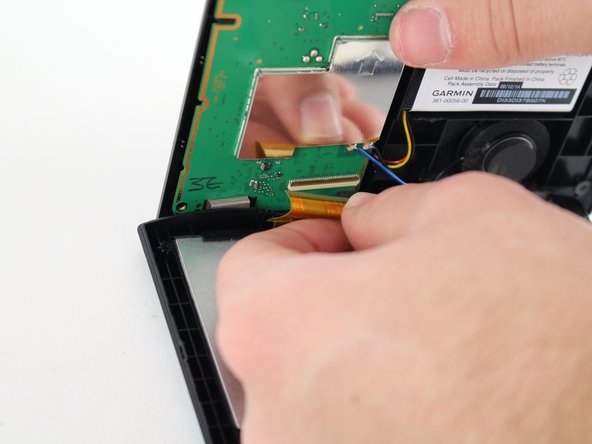
- On the motherboard, lift the small plate that holds the orange ribbon wire in place.
- Gently disconnect the ribbon wire from its connection to the motherboard.
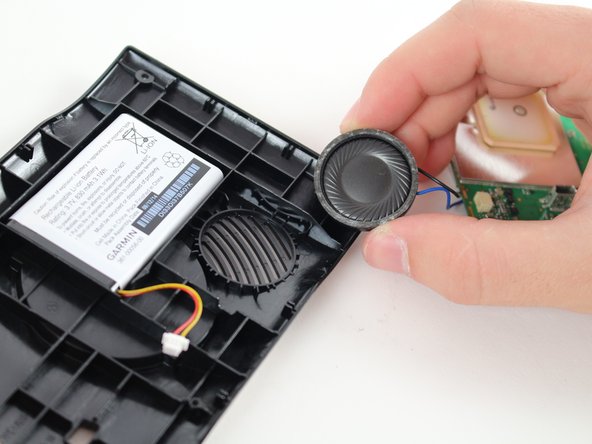
- Using a plastic opening tool, pry the speaker from the back plate of the device. There may be a small amount of adhesive connecting the two, so you may need to use a small amount of force.
- The motherboard and USB charge port should now be completely detached from the other parts of the device, and a new one can now be placed.