Casio WK-220 Black Keys Replacement
ID: 78673
Description: This guide will teach you how to remove, clean,...
Steps:
- Place device face-down
- Remove 23 16mm screws with Phillips #2 screwdriver
- Pry up long back panels with plastic opening tool
- Remove panels
- Turn device around so keys are face-up
- Pull back panel away from keyboard and out of the way
- Remove speaker(s) if necessary to access desired key section(s)
- Use Phillips #2 screwdriver to remove two 16 mm screws (circled in red)
- Pop wires out of plastic holders so speaker can be moved out of the way
- Move speaker out of the way
- See speaker replacement guide for more detail on these steps
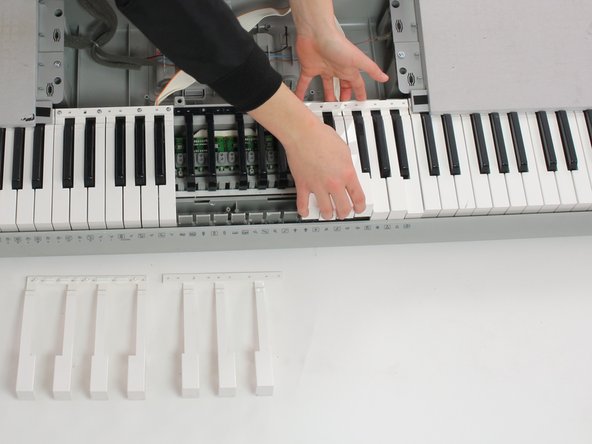
- Remove 4 18 mm screws (circled in red) from desired key section using Philips #1 screwdriver
- Gently push white keys away from screws and pull up to remove from keyboard. Repeat this with the black keys
- Reassemble with new/cleaned keys
- Remove second white section covering desired black section
- Remove screws using Phillips #1 screwdriver
- Push keys away from screws and pull up
- Use plastic opening tool to pry up black key section
- Remove black key section
- Reassemble with new/clean black key section