Huawei P9 Display Replacement
ID: 78701
Description: Use this guide to replace the display of your...
Steps:
- First switch off your phone and remove the SIM card tray.
- Unscrew the two Pentalobe P2 screws located at the bottom next to the device's USB C port.
- If the screen is cracked you might want to use some tape to protect your eyes from glass shreds and get a better grip to open the phone.
- Avoid to lift only the display instead of the whole phone assembly as doing so may cause damage to the screen.
- Use an iSclack or a suction handle to separate the phone assembly from the rear panel.
- In case you can‘t manage to lift the phone assembly out of the rear panel you can insert the pointed end of a spudger in the headphone jack opening and press the phone assembly upwards until you create a gap between assembly and rear panel. Then use the spudger to lever the phone assembly out of the panel.
- Don't remove the rear panel completely yet. There is a cable connected to it! It is running from the finger print sensor to the display unit.
- Disconnect the fingerprint sensor using a spudger.
- Unplug the antenna cable.
- Remove the sticker that sits on top of the screw.
- Unscrew the two Phillips #00 screws that hold the metal plate in place.
- The plate, which is covering the battery connector, has two little hooks on each side. Use a tweezer to free them and unhinge the plate by carefully moving it upwards.
- Now you can unplug the battery connector and bend it aside.
- The EVA-L09 model has an NFC antenna adhered onto the battery.
- If you are just removing the battery to get to the display, you can leave the NFC on the battery.
- Mark its place on the battery with a felt pen for reassembly. Carefully peel it off and make sure not to rip or crease the antenna.
- For reassembly, place the NFC antenna on the battery where it was before so its contacts align with their counterparts.
- Free the ends of the adhesive pull tabs to get a good grip on them.
- The battery is secured with three pieces of adhesive, a removable pull-tab in the center, and on the SIM tray side. A third piece of adhesive on the button side has no pull-tab.
- Pull the adhesive tabs in a slow constant movement to free the battery.
- Should those adhesive tabs snap, you might want to use an iOpener to heat and soften them a little bit so you can pry out the battery with a spudger.
- There are two cables running directly underneath the battery. Take care not to damage them when prying with a spudger! You can see their position in the last picture.
- Slowly lift the battery toward the button side and free it from the remaining hidden piece of adhesive.
- When reassembling your phone, replace old adhesive with stretch release adhesive strips, double-sided tape, or pre-cut adhesive strips.
- Remove the other five Phillips #00 screws from the motherboard.
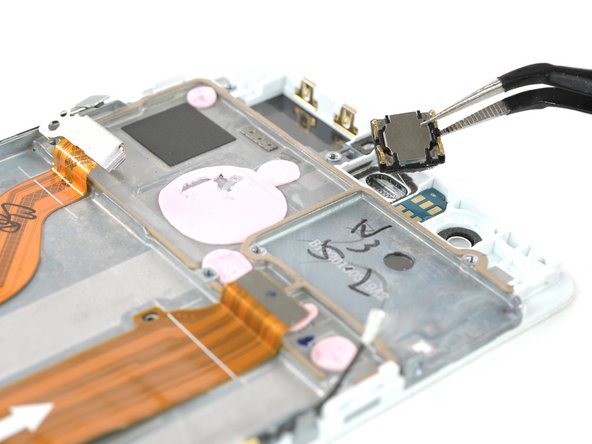
- Disconnect the motherboard flex cable as well as the power and volume button cable.
- Unplug the LCD screen flex cable.
- Now you can remove the complete motherboard easily.
- Conveniently both, the front and rear camera, are removed with the motherboard.
- Remove the earpiece speaker (mind adhesive underneath).
- Heat the top part of the glass with a heat gun or iOpener.
- The glue used for the display is tough and needs patience and gentle steady force.
- When the glue is softened, insert a spudger through the camera bay in the midframe and push the display away from the frame.
- Place a plastic card or two opening picks under the display bezel at the top, between the screen and the frame. This will prevent the glue from readhering.
- Insert an opening pick approximately 1/16 of an inch and slide it along the side to sparate the display from the frame.
- You might feel more resistance where the LCD ends on the lower end.
- Stop here and take your time to reheat that part and soften the glue.
- When the glue is soft enough carefully move the pick around the bottom corner.
- You can now work your way along the bottom edge.
- Leave the opening pick on one side and flip the display over.
- On the back side detach the display flex cable from the frame.
- Now you can lift the display away from the frame.
- Check for any small parts like the rubber gasket at the top behind the speaker grill.