ProScan PLT7050 Screen Replacement
ID: 78764
Description: This is the replacement guide for the screen....
Steps:
- Make sure device is unplugged and turned off while working on the device.
- Remove 2 Phillips head, 4.3 mm screws from the bottom side of the tablet with a PH00 screwdriver.
- Use the plastic opening tools to pry the back of the tablet open.
- You may need to slide the tool along the sides of the device to get it to open. You might hear some popping noises, it is okay.
- May be helpful if you start by the microSD slot.
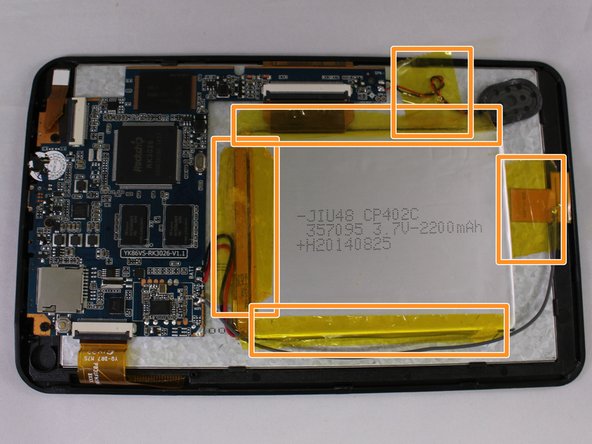
- Remove the 3 black pieces of tape from the device.
- Remove the 5 yellow pieces of tape from the device.
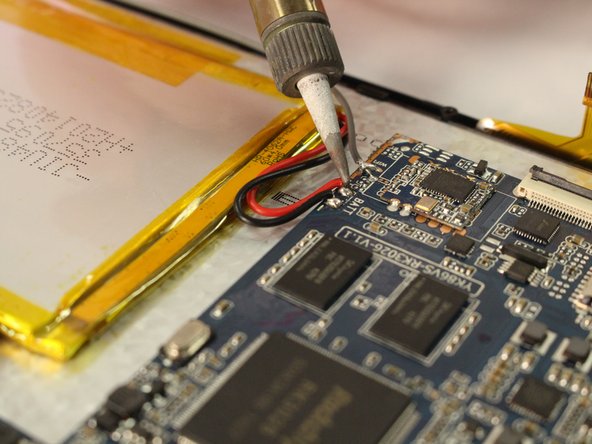
- Use the soldering tool to remove the 3 wires from the mother board to the battery (black, red, gray).
- Soldering tool will get hot.
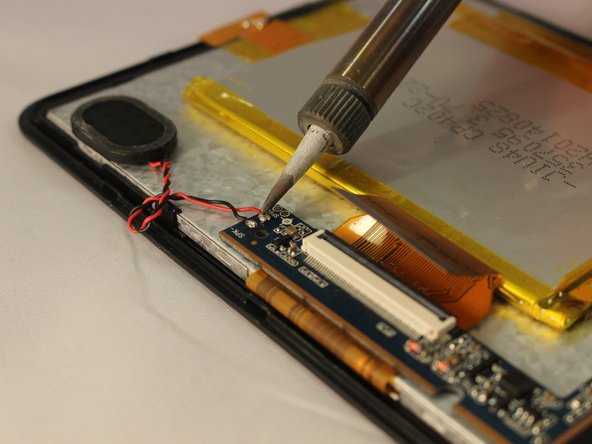
- Remove the speaker wires from the motherboard with the soldering tool.
- Remove 3 Phillips head, 4.3 mm screws from the bottom side of the tablet with a PH00 screwdriver.
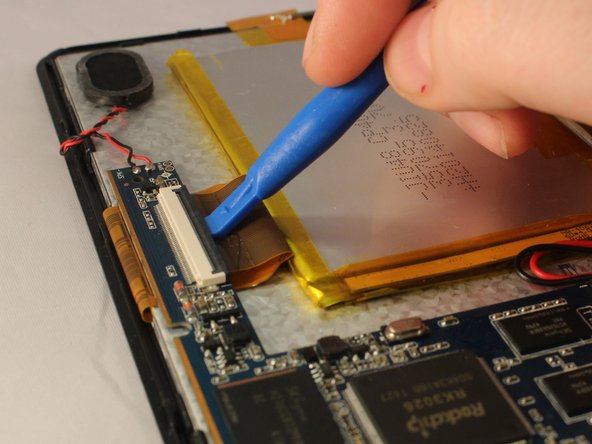
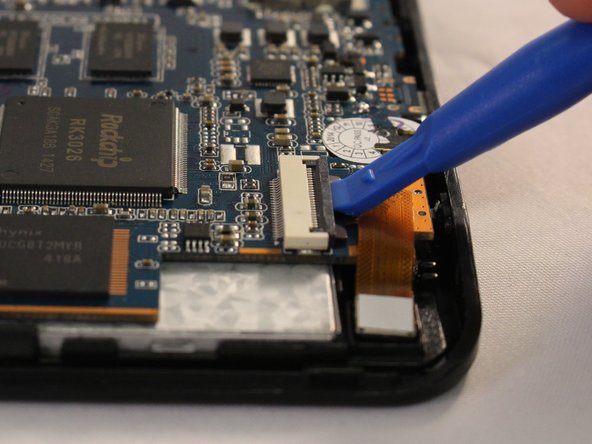
- Use the plastic opening tool to pop open all 3 ZIF connector tabs connected to the motherboard.
- Remove each ribbon from the ZIF connector port.
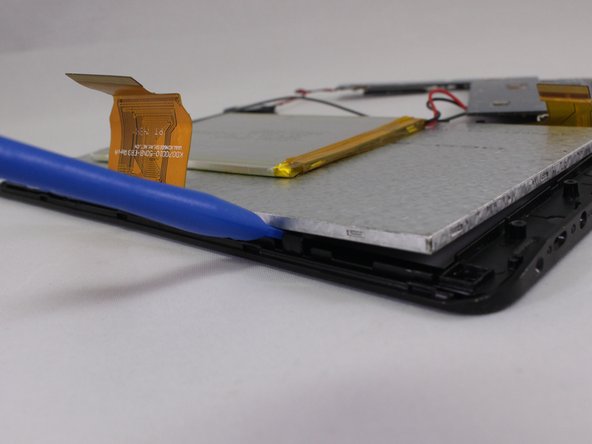
- Lift the motherboard off the device taking care to pull the ports out of the casing.
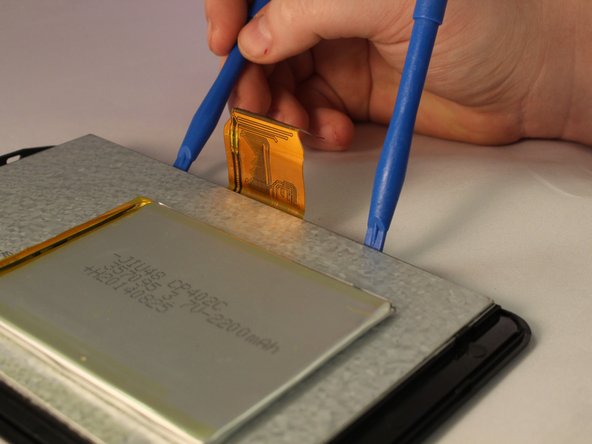
- You will need two plastic opening tools.
- Use one of the plastic opening tools next to one of the black clips on the side of silver screen.
- Use the second plastic opening tool to push back the black clip next to the one you have worked on. Push the second plastic opening tool under the screen.
- Wiggle the screen and pull it from the casing.