Apple iPod Dock Connector Cable Replacement
ID: 78994
Description: During this guide you will need some solder...
Steps:
- Unscrew the four Phillips screws on the backside of the docking system.
- The screws are located quite deep. Make sure you have a long screwdriver to be able to reach the screws.
- Be aware of the plastic threads. Using too much force can tear this up.
- Separate the housing in two parts.
- The dock connector is slid in two parts on the top of the system, make sure you slide the two housing parts in this line of direction.
- The two parts are glued on the sides of the speakers. Use some force to separate the two housing parts.
- The internal parts are still connected to each other. Don't pull the housing parts too far from each other.
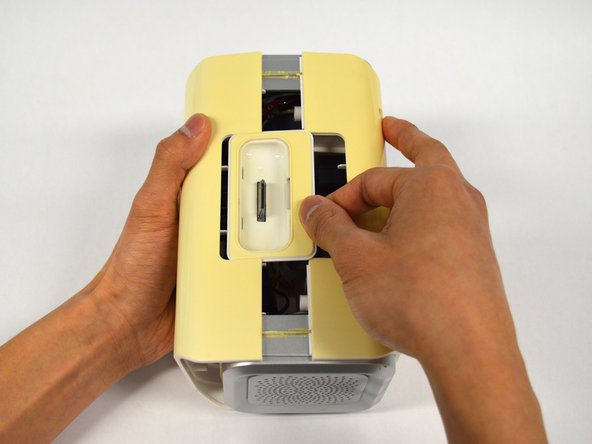
- Slide the dock connector out of the housing part.
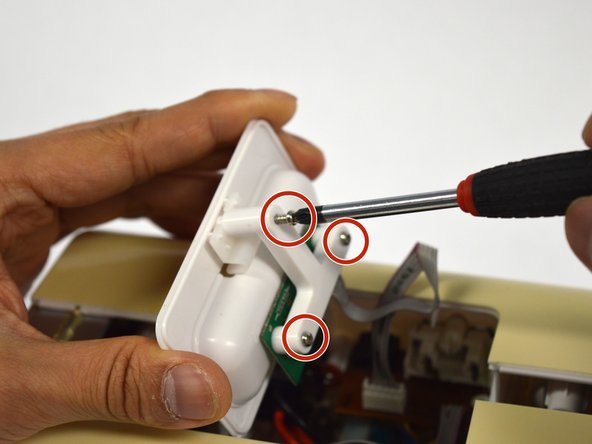
- Unscrew the three screws using a Phillips #2 screwdriver to remove the T-shaped circuit board holder.
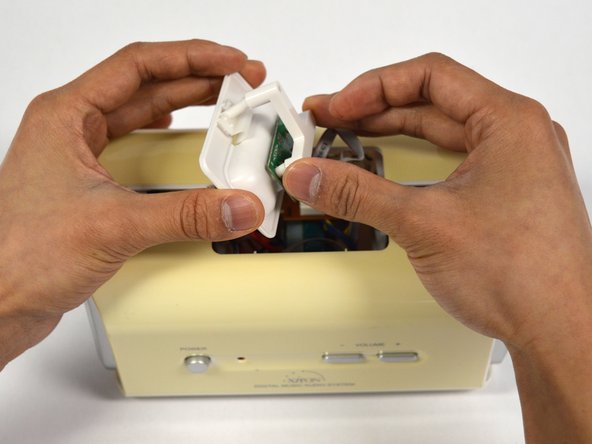
- Remove the T-shaped circuit board holder.
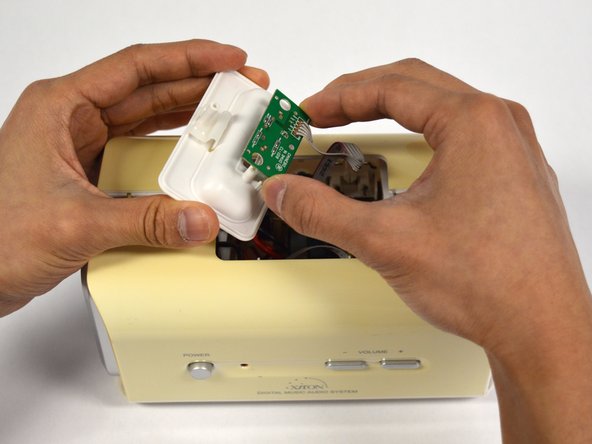
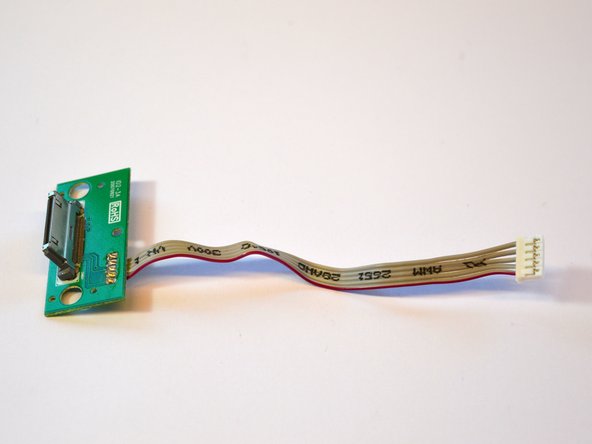
- Remove the circuit board from the housing part.
- The circuit board is still connected to another circuit board with a cable.
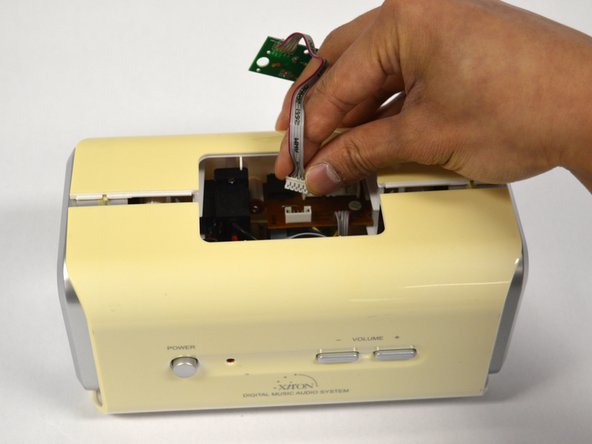
- Disconnect the 5-pin connector between the two circuit boards.
- The connectors are tightly connected. Hold the other circuit board to prevent it from breaking while disconnecting the 5-pin connector.
- Look how the cables are oriented.
- Take a picture with your phone. It's easier to look it up than recalling your memory.
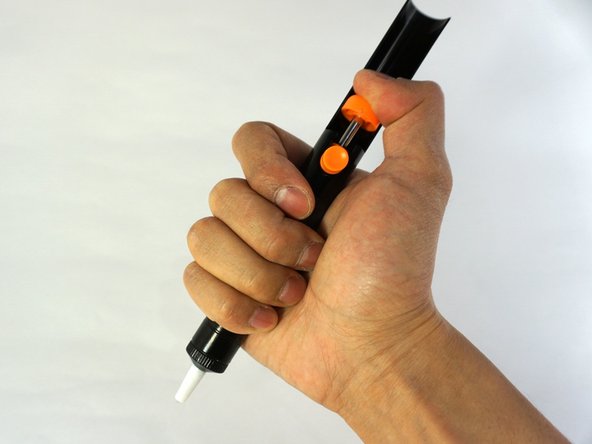
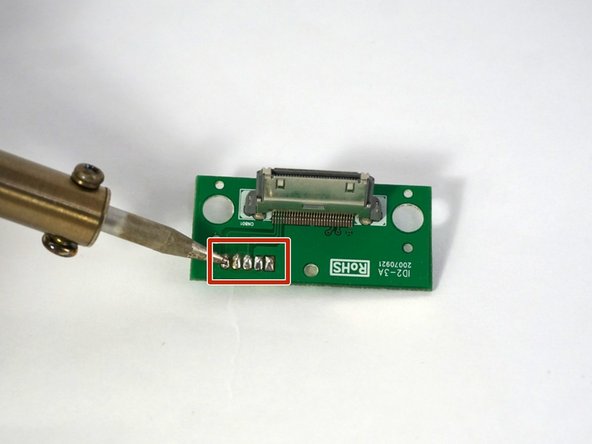
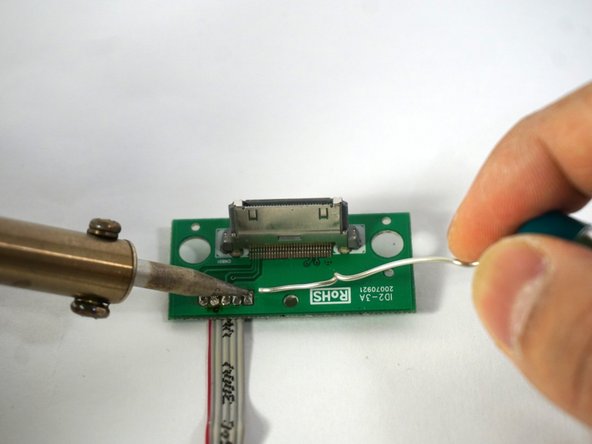
- Trigger the desoldering pump before heating the solder.
- Heat up the solder.
- If you don't want to damage your workspace, it's probably handy to place something underneath.
- The circuit board will be getting hot. To make it more stable you can clamp it in a vise or alligator clips.
- The heated solder tends to fume—do not inhale this! Do this in a well ventilated room.
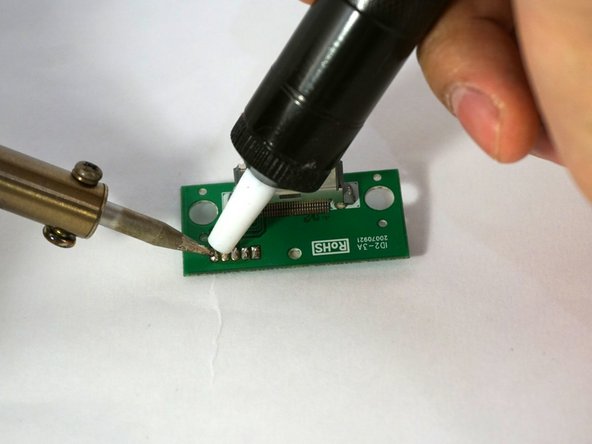
- If the solder becomes fluid, keep the desoldering pump near the solder.
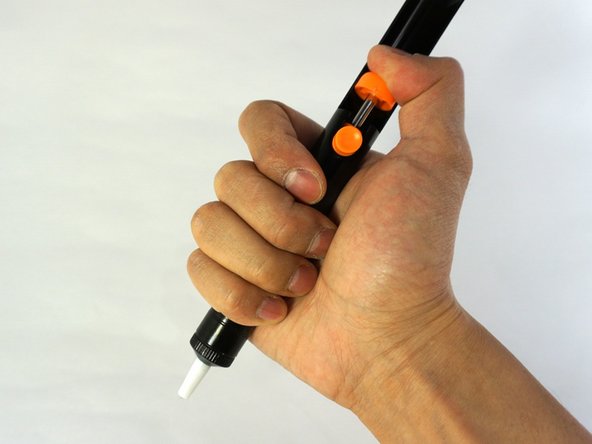
- Push the button on the desoldering pump to suck the solder.
- Solder will solidify fast, so you need to act quickly.
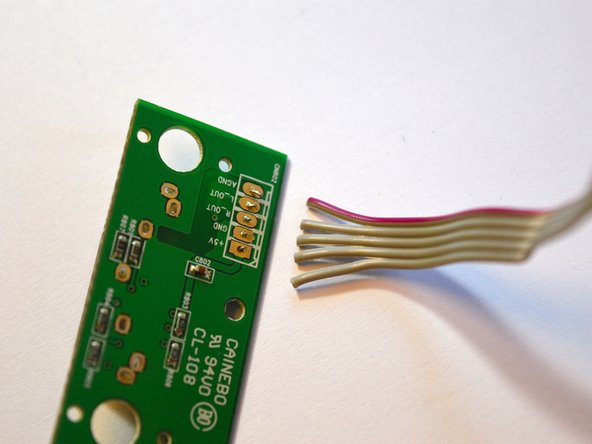
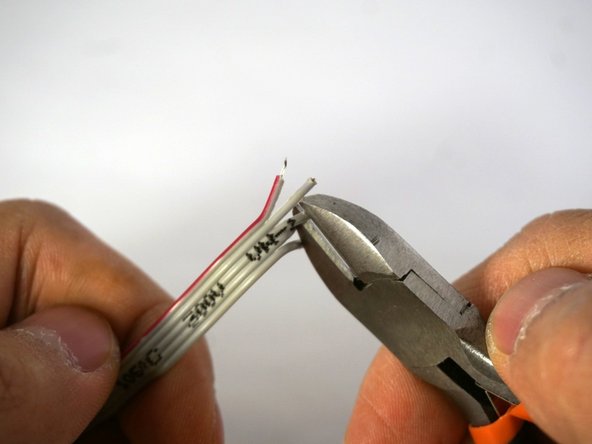
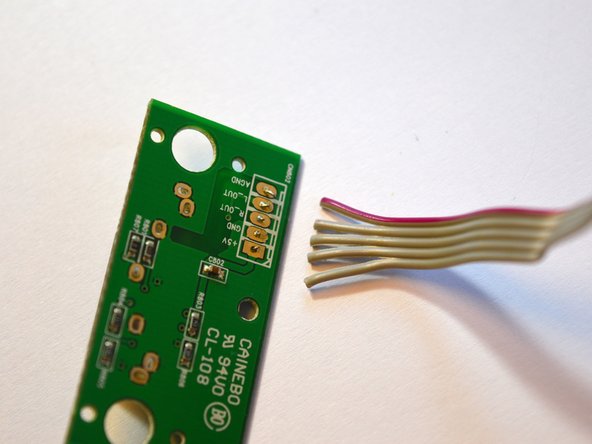
- Strip the cables with a wire stripper.
- Check if the cable is in the right position.
- Heat up the contact point on the circuitboard.
- If the contact point is hot enough, you can add a little bit of solder.
- Don't inhale the fumes.