APC BRC43 Cartridge Battery Replacement
ID: 79036
Description:
Steps:
- Remove the two screws at the front of the unit using a philips head screwdriver
- Lift up on the lid and remove it from the APC RBC43 Cartridge
- Lift up and tilt the first battery in the cartridge to get free access to the wire connections at the top of the battery. It is easiest to begin with a battery at the very end of the cartridge - opposite of where it plugs into the APC unit.
- Remove both the positive and negative wires from the battery
- Remove the battery from the RBC43 cartridge
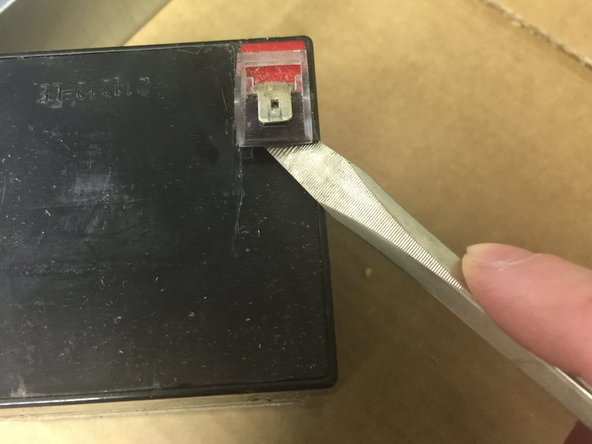
- Use a flat head screwdriver to remove the plastic terminal connector from the old battery
- Fit the plastic terminal connector onto your new battery on the positive side - typically identified by the color red on the top of the battery.
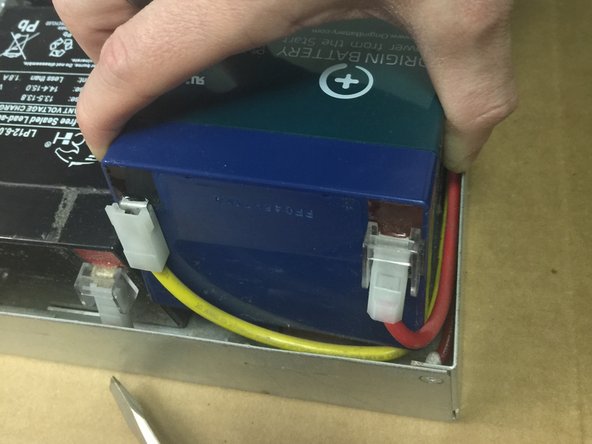
- Place your new battery in the vacant battery spot and lean it forward to get access to the wires as pictured
- Connect the wires to the battery exactly as they were removed. The wires will stay in position and should line up with the correct terminals
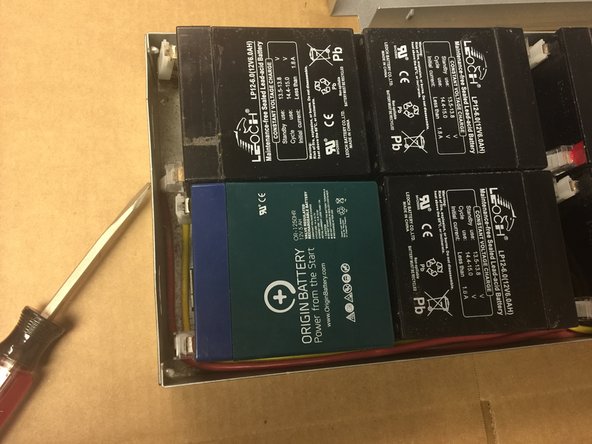
- Lay the battery flat in the cartridge so it is flush with the others. If your having trouble getting the battery to sit flush in the case then a corner may be hung up on one of the wires, just shimmy the wire to the side.
- Repeat steps 2 through 4 until you have replaced all of the batteries in the RBC43 cartridge
- I recommend removing and replacing one battery at a time for anyone new to the APC RBC43 Cartridge. Removing and replacing one at a time will ensure that your wiring will be correct avoiding any potential confusion that could arise.
- Step 3 is important! Always re-use the plastic terminal protectors, if the adhesive is no longer usable then apply a small piece of double sided tape.