Neato Botvac 80 Wheel Replacement
ID: 80520
Description: This guide will allow the user to completely...
Steps:
- Grab the rear bumper with both hands on either side.
- Pull the left and right sides away from the machine to unclip the bumper. This requires that you bend the plastic a little bit. Unclip one side a little bit and allow the prong to rest on the side of the machine. Then unclip the other side and pull off the bumper parallel to both sides
- Looking from above, remove the two 11mm screws with a torx T10 screwdriver.
- Begin by placing the robot on it's back and removing the six 11m screws using a Torx T10 screwdriver.
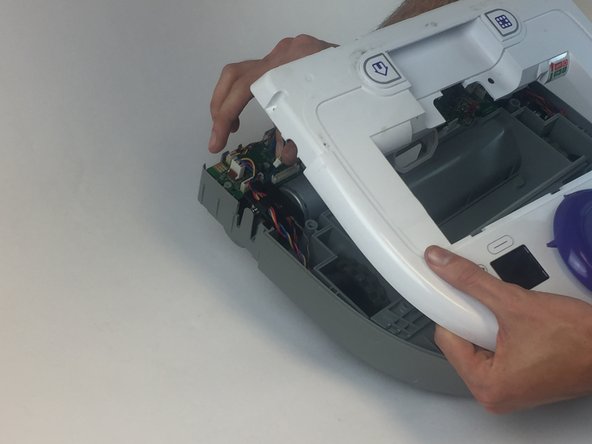
- To remove the top, you must press in both of the clamps at the same time and push upwards.
- When removing the top, before you can completely take it off you must unplug the LCD power cable from the motherboard.
- Locate the screws that mount the wheel extensions on the Botvac.
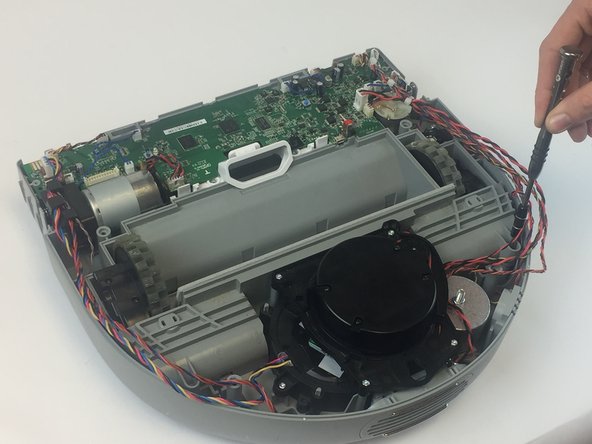
- Unscrew the four 11mm screws and bolts indicated to remove the frame.
- The metallic weight (as shown) does not require the removal of any screws. However, make sure to complete this before proceeding.
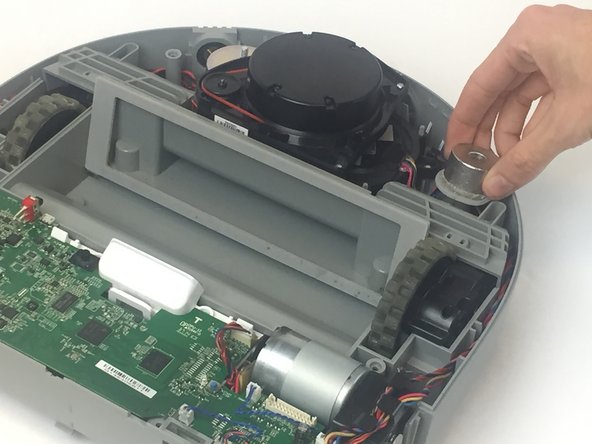
- Gently lift the frame holding the laser. This will free the wheels from their casing.
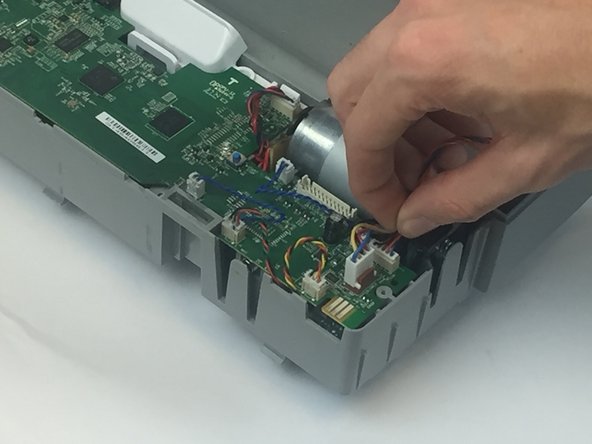
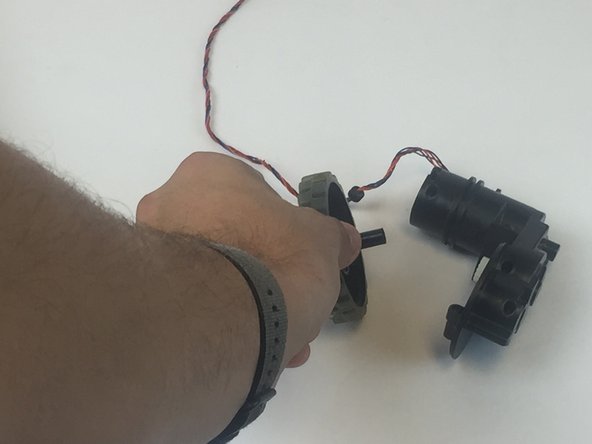
- Remove the wheel's wires that are attached to the motherboard.
- Once removed, you may now free the wheels.
- Remove the wheel usings the T15, or similar, attachment to remove the 32.5mm screw.
- Finally, just grab and separate the tire from its axle.