HTC EVO Design 4G Headphone Jack Replacement
ID: 81169
Description: Replacing this component requires intricacy and...
Steps:
- Tools: Phillips #000 Screwdriver, T4 Torx Screwdriver, Safety Pry Tool (Guitar pick), Tweezers
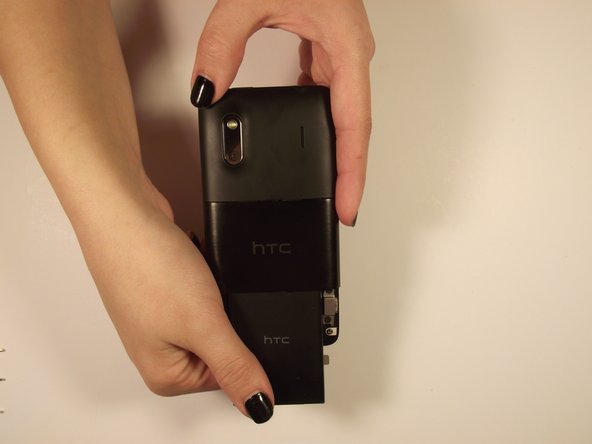
- Use fingers on either end of the button edges of the phone to pull back cover off. It should slide off.
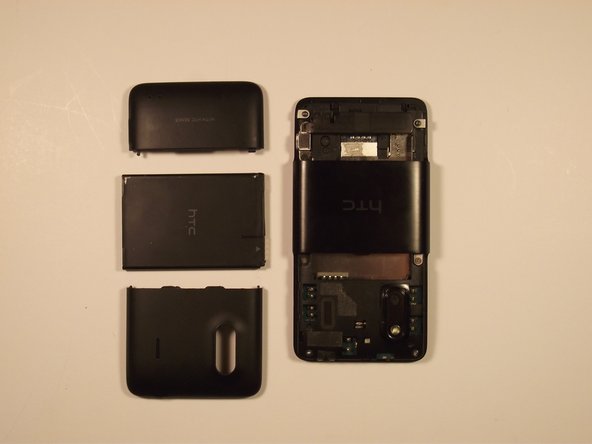
- When open, pull on “Open” tab and it should rotate towards you
- Grab the bottom edge of the battery and pull it toward you
- On the side of the top casing on the phone there should be a slot. Use your safety pry tool (guitar pick) pry around the perimeter of the casing to remove it
- Info*: The adhesive tape that you may find will not be necessary for replacement later
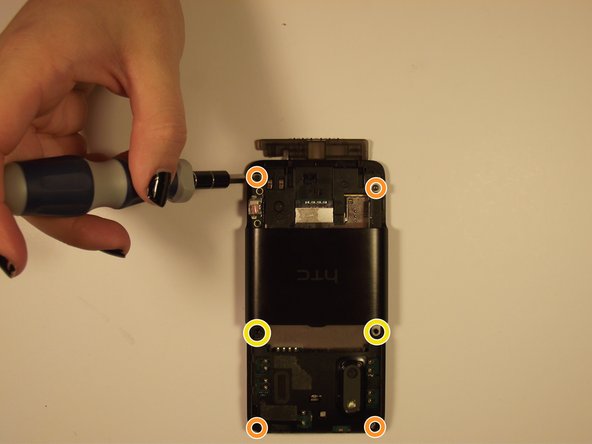
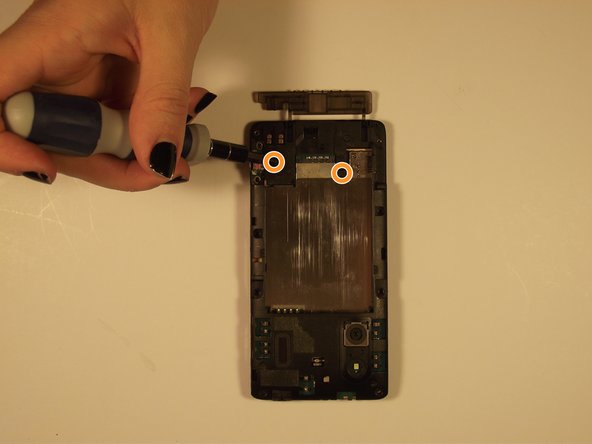
- Remove the two Phillips screws to release the casing above the port
- Remove the top and bottom pairs of Torx screws.
- Remove the middle pair of two Phillips screws.
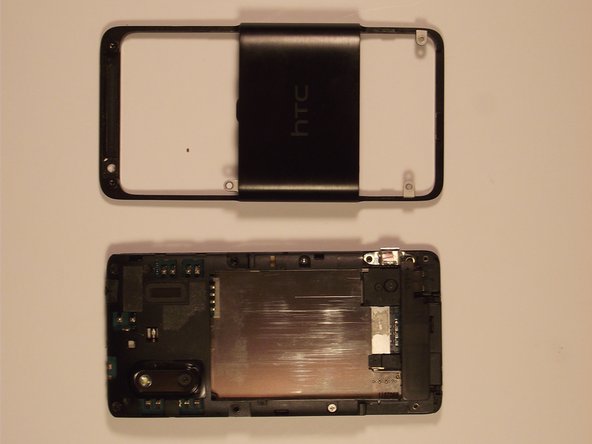
- To remove the remaining cover, lift the side port, which was previously uncovered, then lift the outer shell from the bottom of the phone and slide it forward
- Remove the two revealed screws on the outside (Torx = red, Phillips = orange), and then remove the two phillips on the bottom of the phone
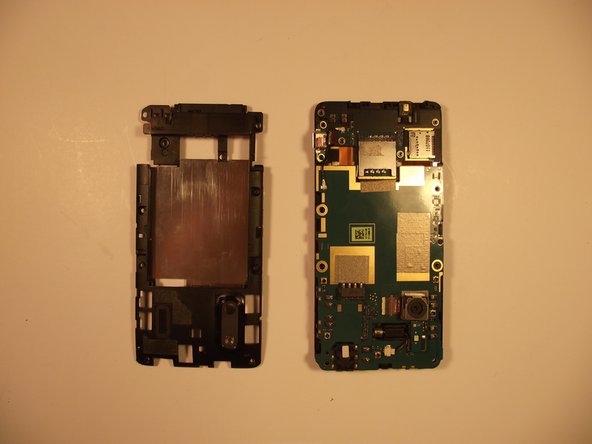
- Remove the rear housing by prying around the edge with your Safety Pry Tool
- Unplug the wire connecting the vibrator to the board with your tweezers
- Unfold motherboard from the screen (open carefully like a book)
- Disconnect the two aluminum flex cables
- The flex cables should be the only binding and after being removed should leave you with the separate screen
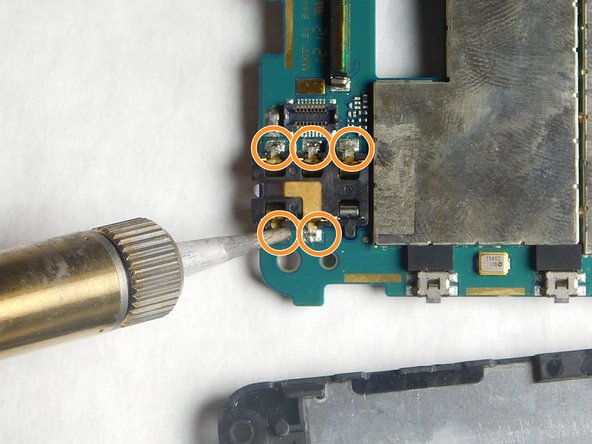
- Use solder sucker to remove solder from the front of head phone jack
- Use solder sucker to remove solder from the back of head phone jack
- There are 5 soldering locations from the top view and 5 locations from the bottom view
- Remove the piece of tape covering the underside of the headphone jack. It will not have to be reattached
- Refer to the How To Solder and Desolder Connections guie if needed
- Solder sucker will be very hot


