Fujifilm FinePix XP70 Back Button Replacement
ID: 87495
Description: This guide will enable the user to replace the...
Steps:
- Power off the camera.
- Leaving the camera on while removing presents the risk of electrical shock or permanent data loss.
- Push down on the center button and turn the dial on the side counterclockwise to open the battery compartment.
- Pull the orange tab towards the hinge to release the battery.
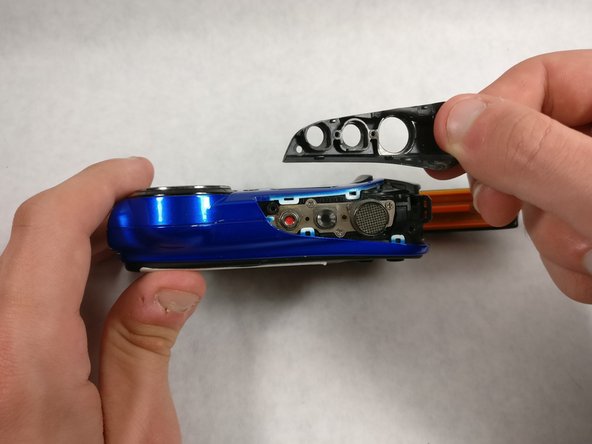
- Pry the black button plate off using a plastic opening tool.
- Buttons can fall out easily.
- It's easiest to start from the side exposed by an open battery compartment.
- When putting this plate back on, orientate the buttons as shown to properly fit back into the plate.
- Pull the three buttons out.
- Remove one Phillips screw with a Phillips head 0 screwdriver
- Remove one hex head screw with a hex 1.3 screwdriver bit.
- Unscrew two 4.0mm long hex head screws with a hex 1.3 screwdriver bit.
- Unscrew five 4.0mm screws with a Phillips head 0 screwdriver
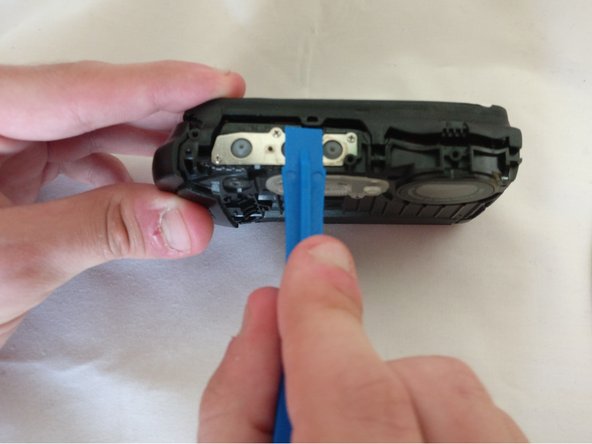
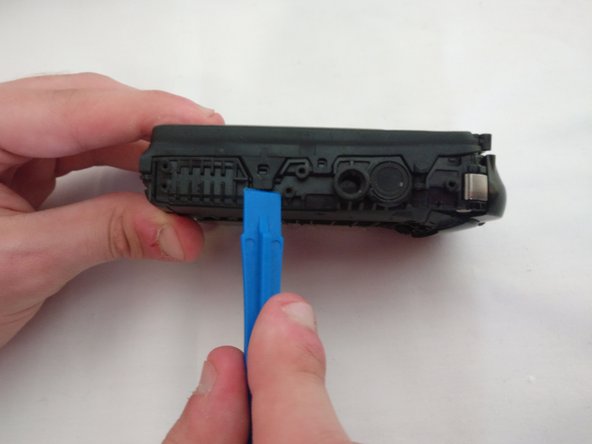
- Pry the black bottom plate off using a plastic opening tool.
- It is easier to start on the side of the open battery compartment.
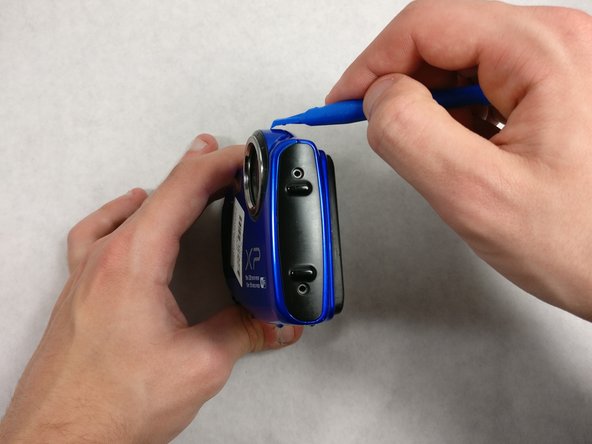
- Pry the front plate off using a plastic opening tool.
- It's recommended to start at the ridge on the top or bottom side.
- Lift off the front plate.
- Pry the back plate off with a plastic opening tool
- Pry the two latches off using a spudger.
- It takes some force to pry the latches off, so be careful to not break them.
- Pry the remaining latches with a plastic opening tool.
- It's best to start on the opposite side. Then pry off the top and end at the bottom.
- It may take some force to remove this, but be careful to not break the latches off.
- Pull the two halves apart.
- Reattach the LCD ribbon cable into the slot before closing the halves when reassembling.
- Unscrew seven 4.0 mm screws with a Phillips 00 screwdriver.
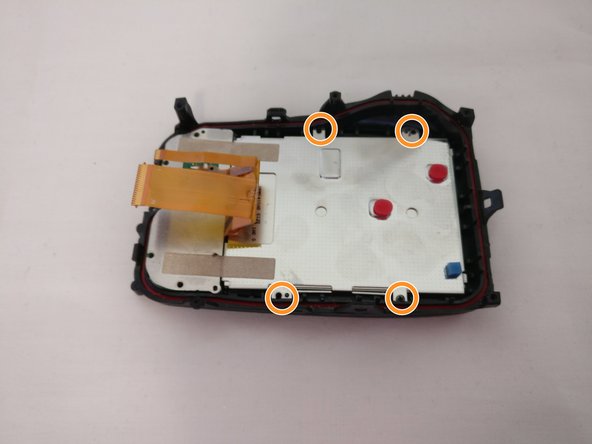
- Unscrew four 3.0 mm screws with a Phillips 00 screwdriver..
- Lift of the metal panel using a plastic opening tool.
- Remove the desired button(s).
- Handle the buttons with care since they easily fall off.