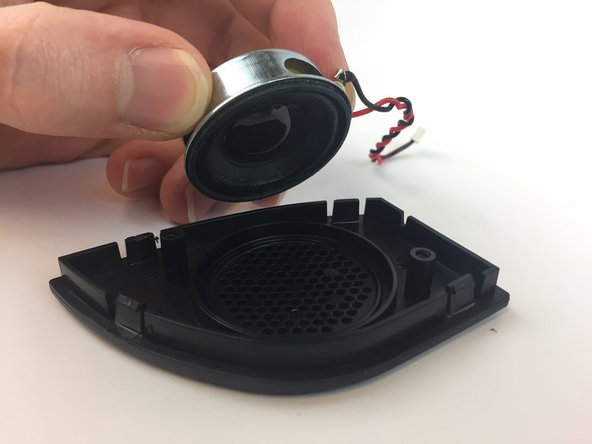
ACN Iris WG4K Speakers Replacement
ID: 87506
Description: The speakers are necessary for audio...
Steps:
- Press upwards with your index finger on the 4P4C connector as shown in the image.
- Pull the connector gently out of its socket.
- Flip the main body of the video phone so that the bottom is facing up.
- Use the Phillips #0 Screwdriver to remove the four Phillips head screws (6 mm) highlighted by the red circles.
- Lift the back case upwards to expose the inside components.
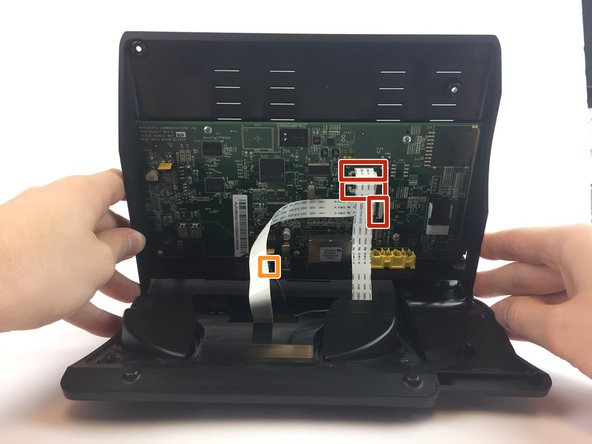
- Red rectangles indicate the three ribbon cables.
- The orange square indicates the blade connector.
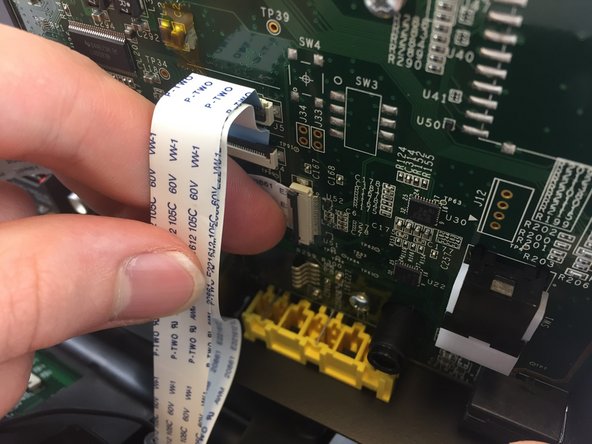
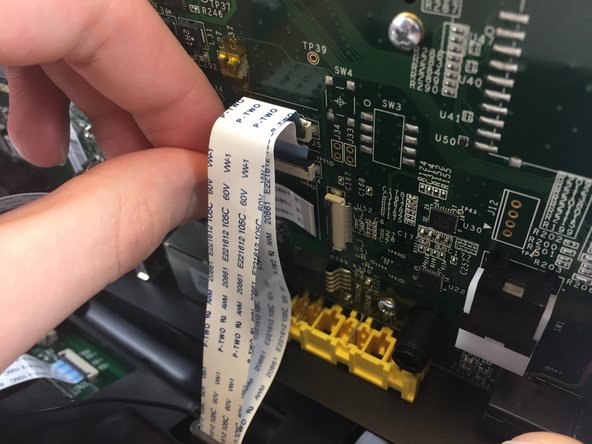
- Disconnect the three ribbon cables from their insulation-displacement connectors by flipping up the black plastic clip.
- Gently pull the ribbon cables out of their insulation-displacement connectors.
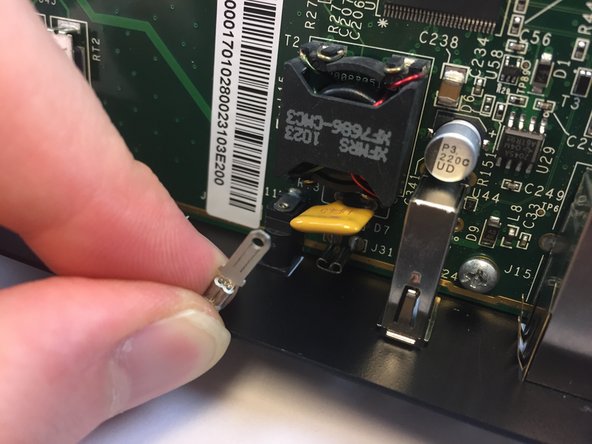
- Disconnect the blade connector from the blade receptacle by gripping the exposed area of the blade connector.
- Gently pull the blade connector out of the blade receptacle.
- Gently lift up the lower case to separate it from the top case.
- Use the Phillips #0 Screwdriver to remove the four Phillips head screws (6 mm) highlighted by the red circles.
- Gently lift up on the upper case to separate it from the keypad/speaker panel.
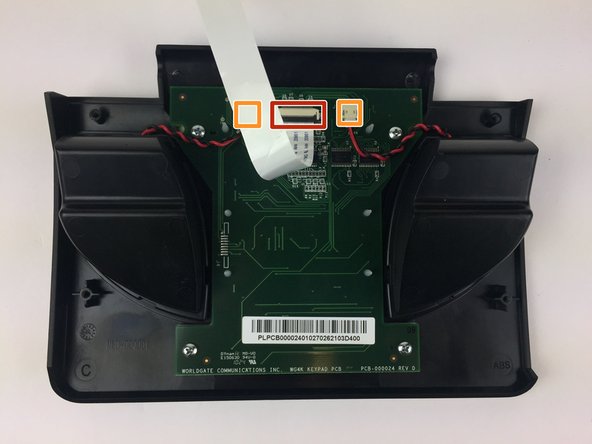
- The ribbon cable is highlighted by the red rectangle.
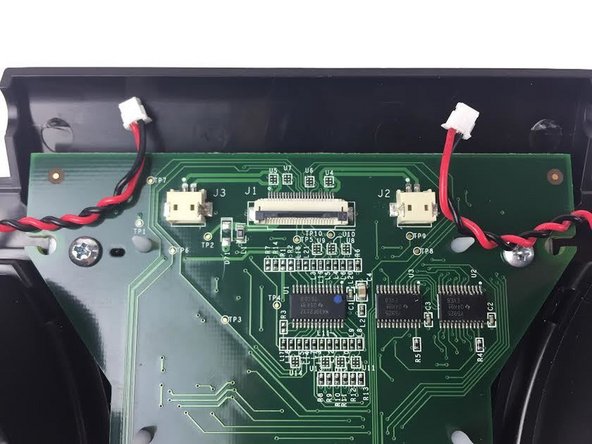
- The 2-pin JST connectors are highlighted by the orange squares.
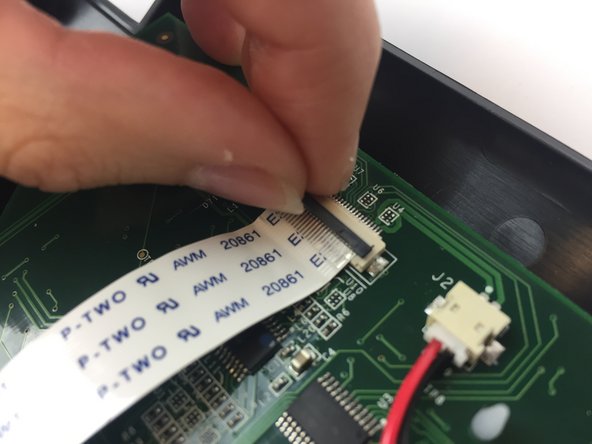
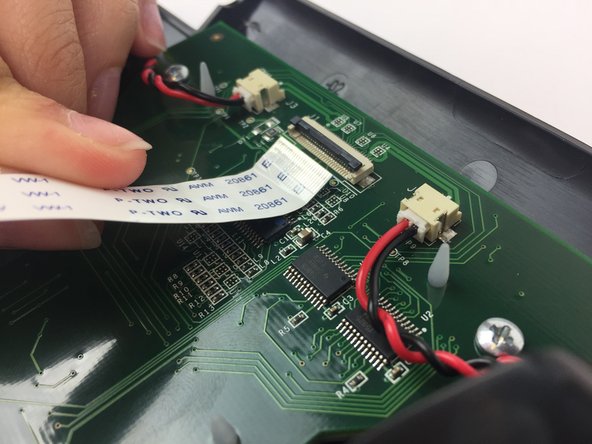
- Disconnect the ribbon cable from its insulation-displacement connector by flipping up the black plastic clip.
- Gently pull the ribbon cable out of its insulation-displacement connector.
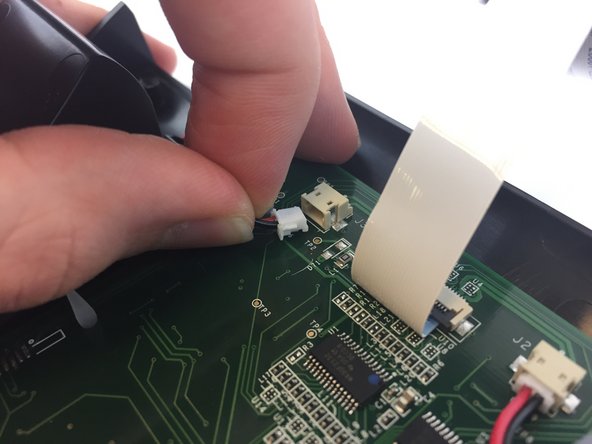
- Disconnect the two white 2-pin JST connectors from the keypad/speaker circuit board by tugging gently until they release.
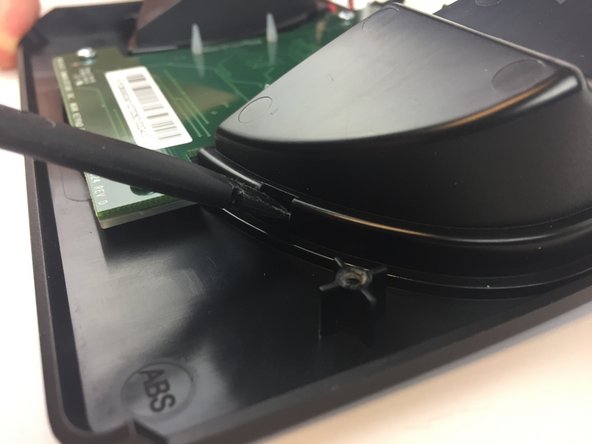
- The red markers indicate the four plastic clips arranged around the base of each speaker housing.
- Use a plastic spudger to push in the four plastic clips.
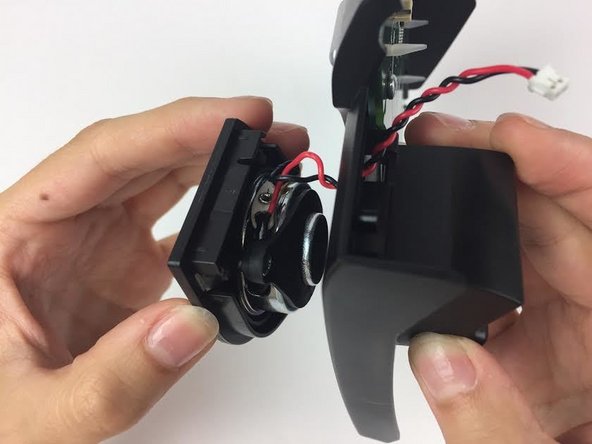
- Once both speakers have been unclipped, gently pull the wire through the housing .
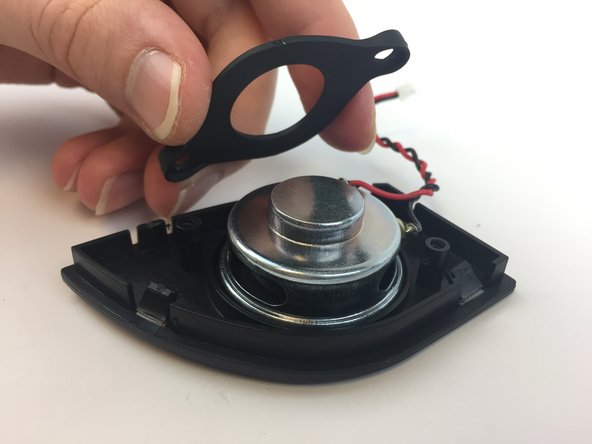
- Use the Phillips #0 Screwdriver to remove the two Phillips head screws (6 mm)
- Gently lift up the black cover to expose the now freed speaker.