Canon Vixia HF R70 Lens Replacement
ID: 87514
Description: Use this guide to remove and replace the lens...
Steps:
- Power off and unplug the device.
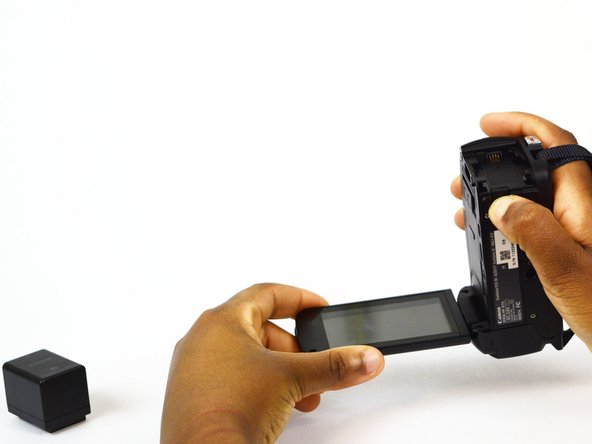
- Position the camera so that the battery is facing you.
- Locate the latch on the bottom edge of the camera.
- Hold the battery into place and gently push down on the latch towards the lens.
- While holding down the latch, remove the battery by pulling it out of the device.
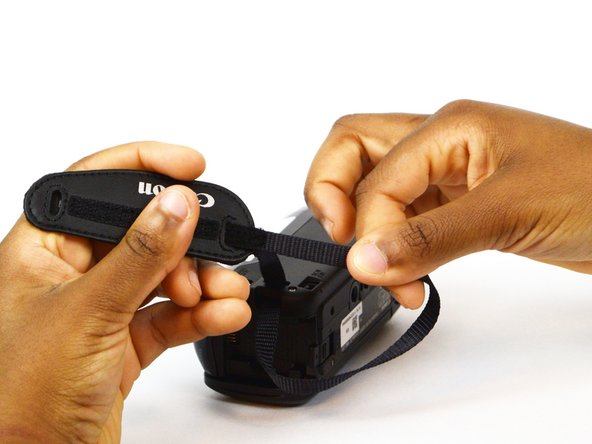
- Position the camcorder so that the wrist strap is facing you.
- Locate the loose end of the strap.
- Gently pull on the loose end to separate the Velcro.
- Locate the "slot" on bottom right corner of the camcorder where the strap loops through.
- Pull the strap through the loop.
- Pull the strap through the leather cushion.
- Pull the strap through the slot on the left side of the camcorder.
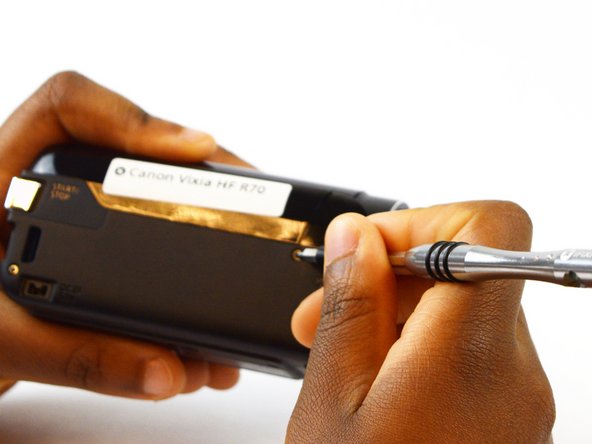
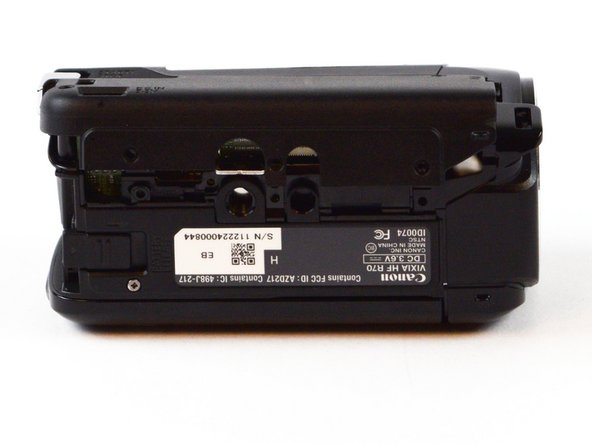
- Position the camcorder so that the side panel is facing you.
- Locate the two 6mm Phillips #00 screws on the side panel.
- Remove the the screws using a screwdriver with a Phillips #00 head.
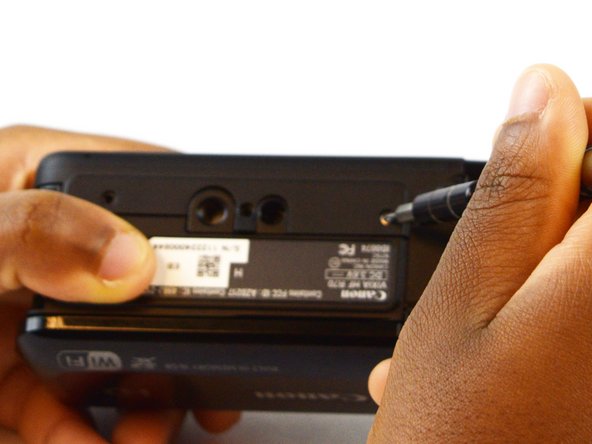
- Turn the camcorder so that the bottom is facing you.
- Using your screwdriver, locate and remove the four 6mm Phillips #00 screws connecting the side panel to the bottom of the camcorder.
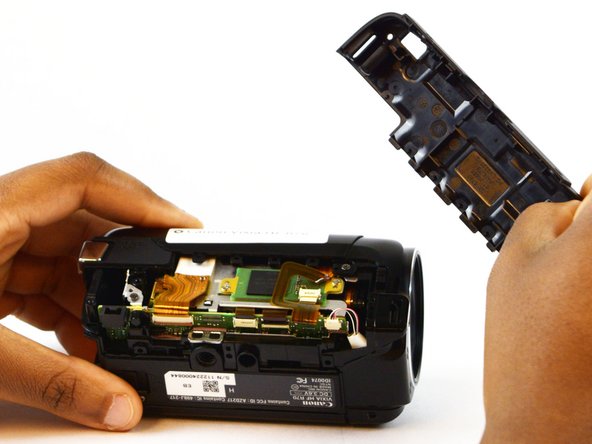
- Gently remove the side panel by pushing it up from the bottom.
- Disconnect the wires by inserting the plastic opening tool into the small slit.
- Begin to push upward with the plastic opening tool, disconnecting the two compartments.
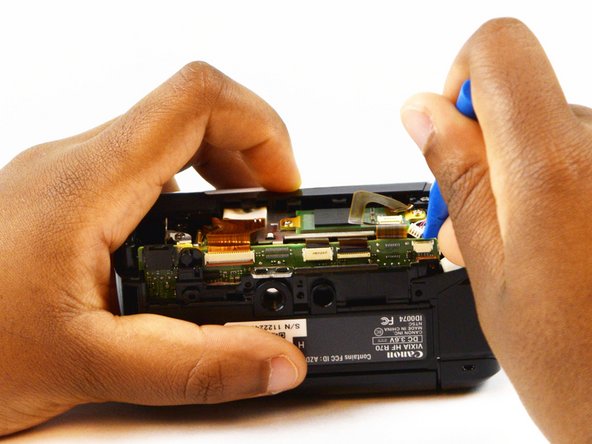
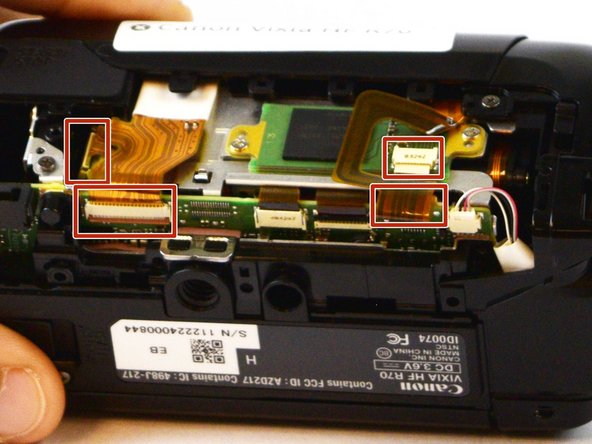
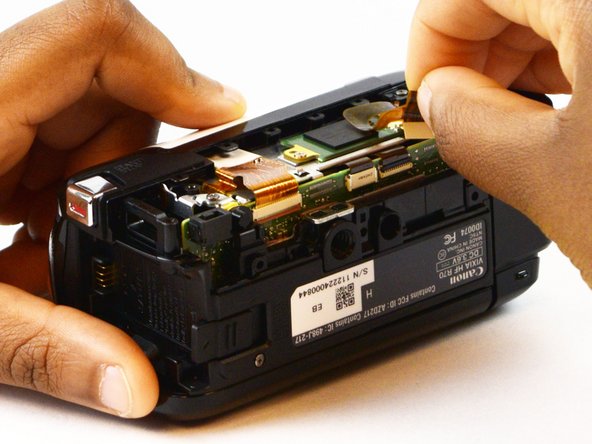
- Disconnect the four ZIF connectors by grasping the connector firmly and pulling gently.
- Locate and remove the two 3mm Phillips #00 screws on the side of the camera where the side panel was removed.
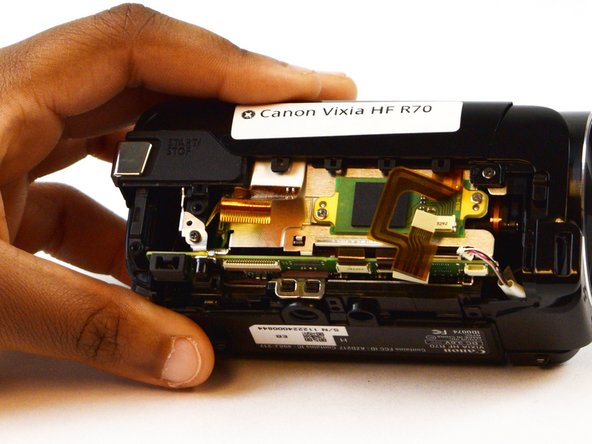
- Turn the camera over to the side with the LCD screen, and open the screen.
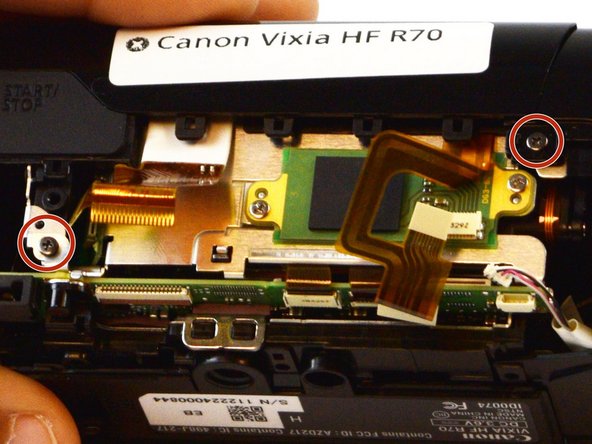
- Locate and remove the three 5mm Phillips #00 screws holding the top panel in place.
- Pull the panel up and away until it is removed completely.
- There are three 5mm Phillips #00 screws that need to be removed - one on the top, one on the side, and one on the bottom.
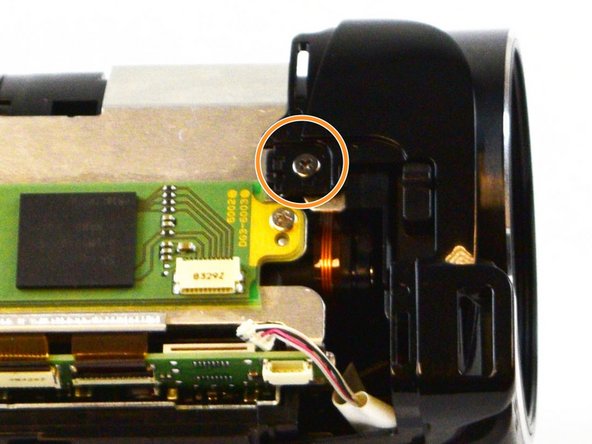
- Locate and remove the screw on the top side of the camera.
- Locate and remove the screw on the side of the camera where you previously removed the side panel.
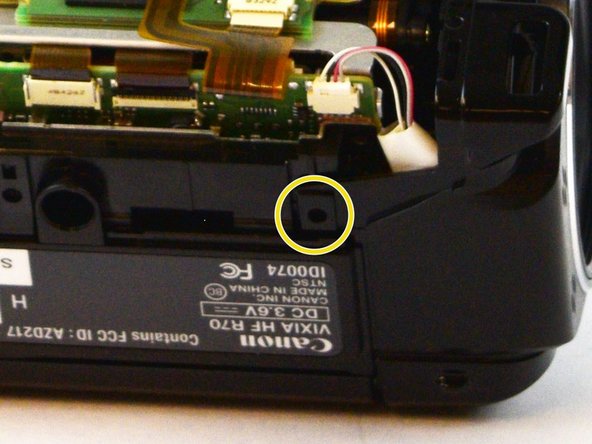
- Locate and remove the screw on the bottom of the camera.
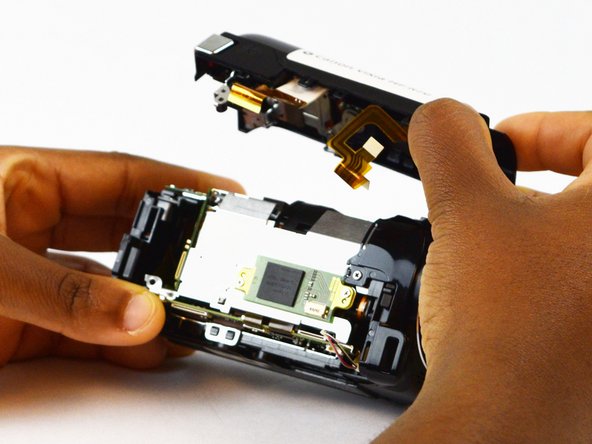
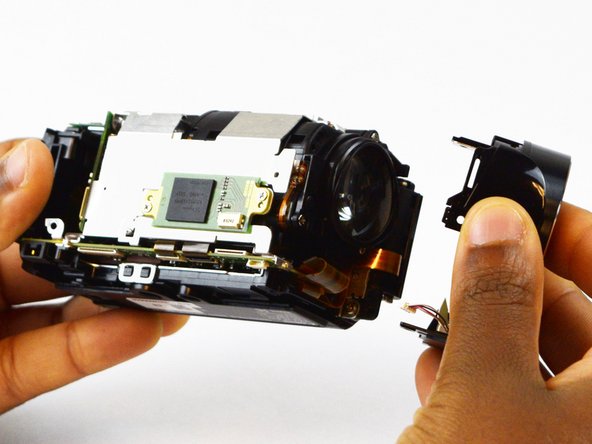
- Pull the entire shutter away from the body of the camera to remove it.
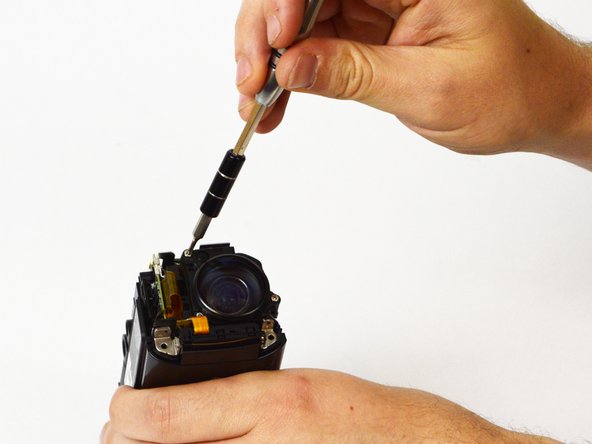
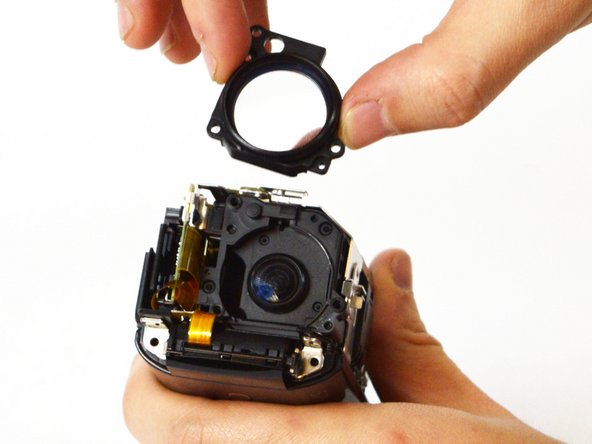
- With the front of the camera facing you, locate and remove the three 5mm Phillips #00 screws that hold the lens in place.
- Grasp the plastic sides of the lens, and pull it away from the camera body to finish removing the lens.