iLive IKBC384S FM/AM Antenna Replacement
ID: 87775
Description: This is a guide to help replace the FM/AM...
Steps:
- Make sure you remove all seven 3 mm screws before proceeding to the next step.
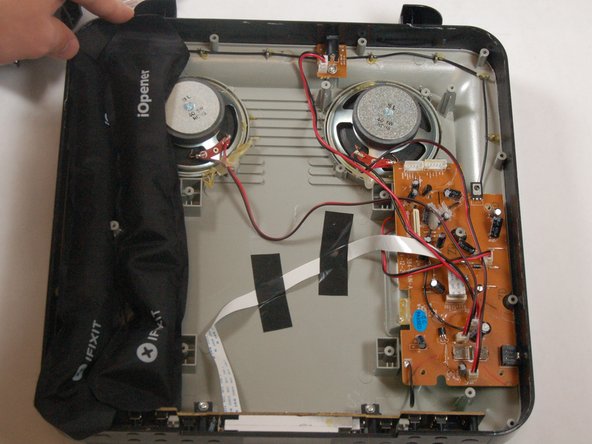
- Use iOpener or heat gun on all sides except the front.
- Be cautious when taking the top of the device off there may still be some adhesive stuck to device.
- The top of the device will be very difficult to remove because of the adhesive holding it together.
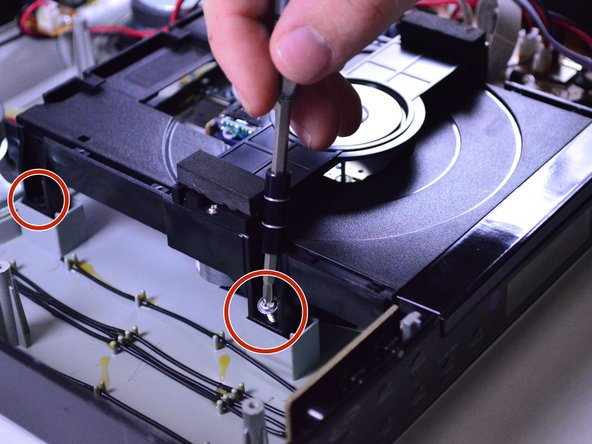
- Remove all four screws(13.5 mm in length) that are securing the disk drive.
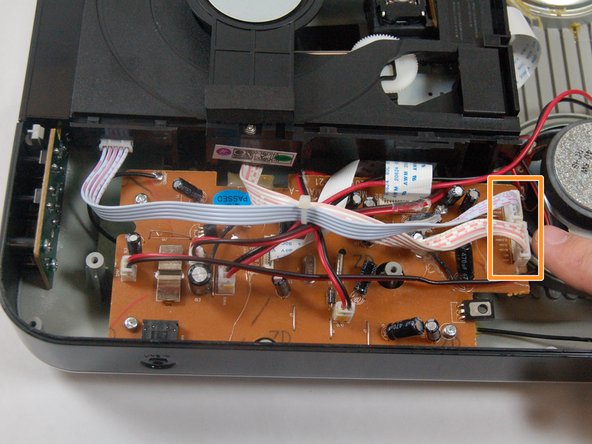
- Unplug the ribbon cable connected to the motherboard that stems from the disc drive.
- Also, disconnect the two power connectors from the motherboard.
- Once you have removed the ribbon cables and two connectors on the motherboard the disk drive can be removed.
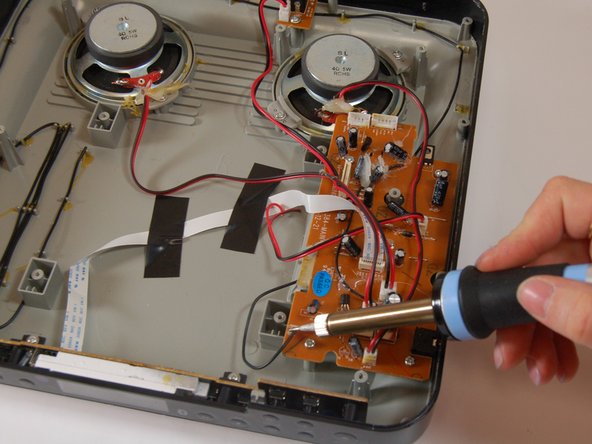
- After removing the top of the device, locate the screws on the motherboard. Gently unscrew all four of the 3.5mm screws on the motherboard.
- Desolder the antenna at the contact point.
- Check out this awesome guide for soldering and desoldering tips.
- Place iOpener on antenna for approximately 5 minutes
- Lift up and remove all of the antenna.
- The antenna will be glued down all the way around the radio