Asus A52F Hard Drive Replacement
ID: 87833
Description: This guide if for the purpose of demonstrating...
Steps:
- Place the laptop face down with the battery facing away from you.
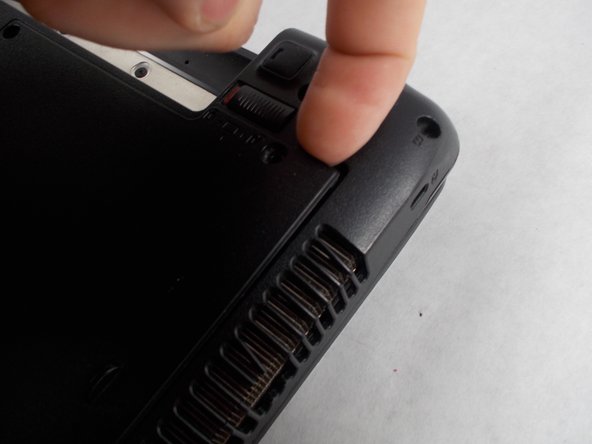
- Locate the two buttons next to the battery.
- Slide the right slider to the unlocked (red) position.
- Hold the left button to the left.
- Slide the battery with your other hand away from you and it should disconnect.
- Remove the five Phillips # 0 screws from the back panel.
- Using your finger or a plastic spudger start to carefully pry up the back planel.
- Slide the back panel away and remove the panel.
- Remove the four Phillips #0 screws holding the hard drive case to the laptop.
- Lift the hard drive upwards by the two arms in order to remove the hard drive case from the laptop.
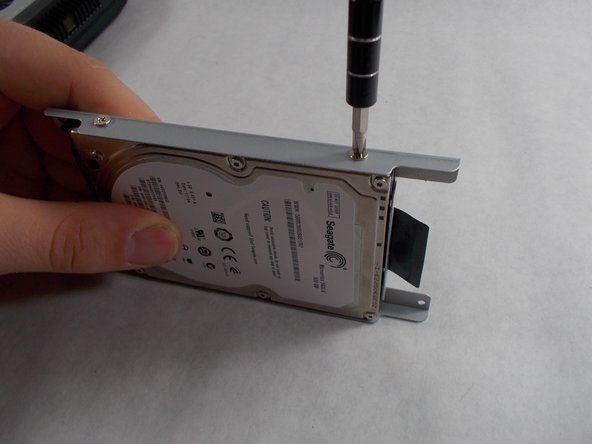
- Using a Phillips #0 screwdriver, remove the cage screws on the side of the hard drive.
- Next, slide the case off of the broken hard drive.
- Slide the working hard drive into the case and screw it on.