1988-1994 Nissan Model 240SX Steering Wheel Replacement
ID: 87843
Description: A how to guide on replacing the steering wheel...
Steps:
- Gather the hardware, tools and protective equipment.
- Straighten the steering wheel and remove the key from the ignition.
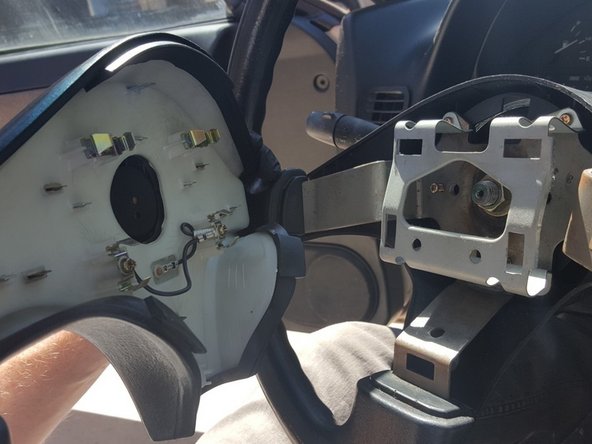
- Grip the steering wheel horn pad, placing your fingertips at the edges.
- Gently pull it straight towards you and the clips will release it.
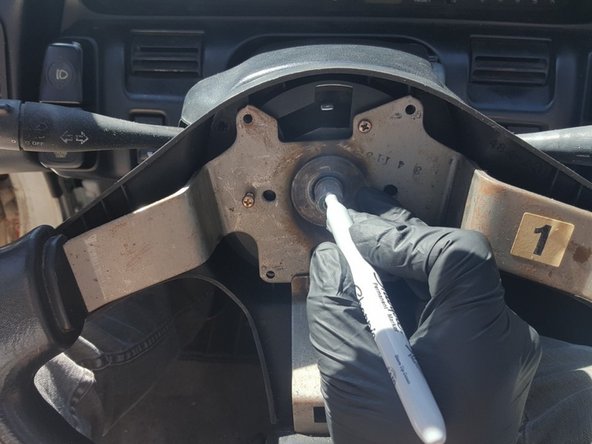
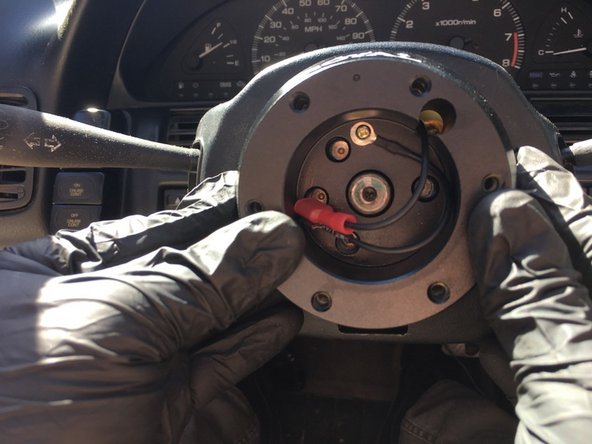
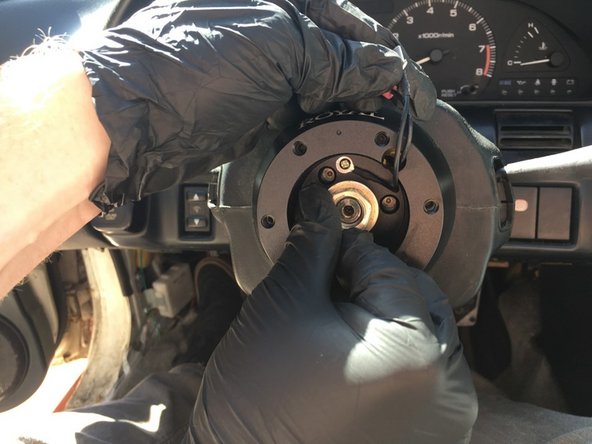
- Use a paint marker to mark a reference point for the top center of the steering wheel on the face of the steering shaft.
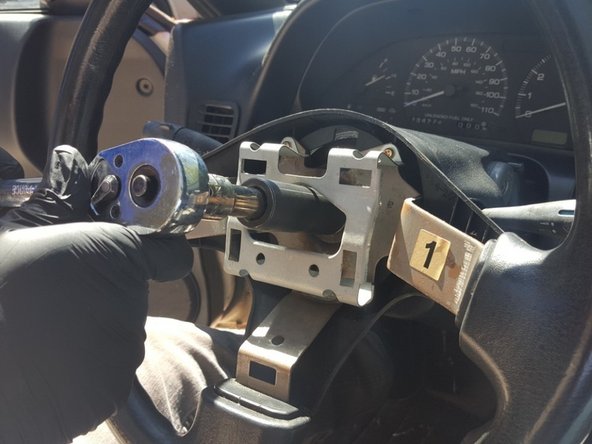
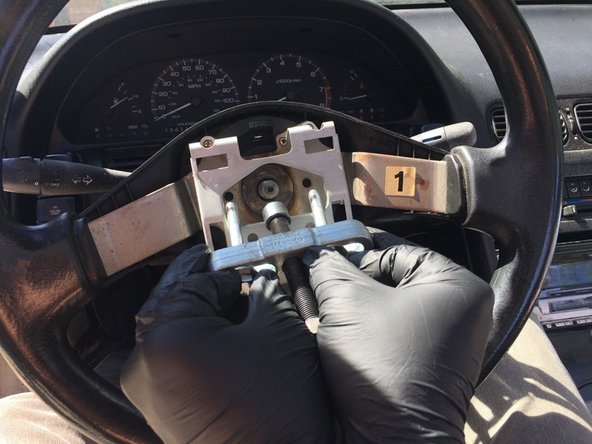
- Using a 19mm socket and ratchet, loosen the steering wheel retainer nut and remove it.
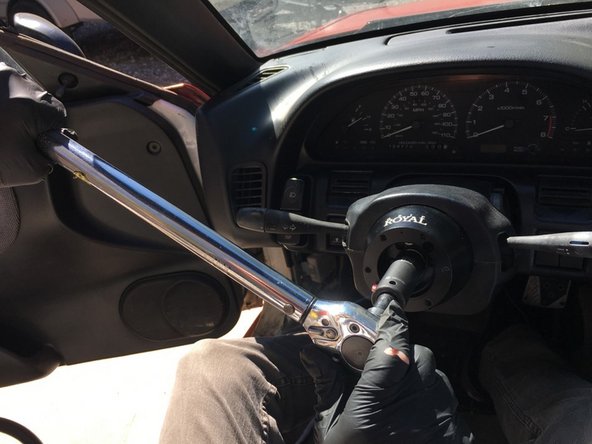
- Place the puller tool on the wheel aligning the steering shaft with the press head and the two threaded holes in the steering wheel with the holes in the ears of the puller.
- Run the bolts, from the puller tool, through the holes in the ears and thread them into the steering wheel hand tight.
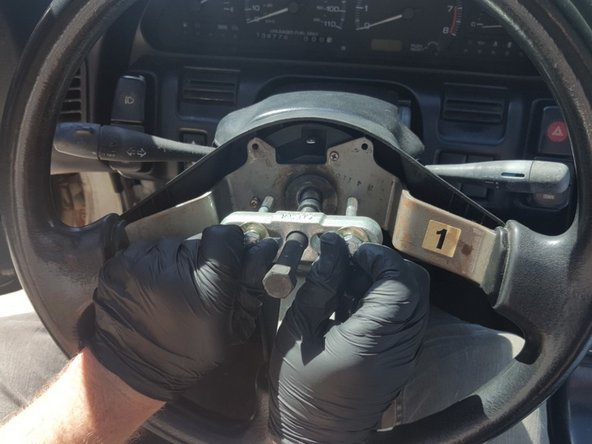
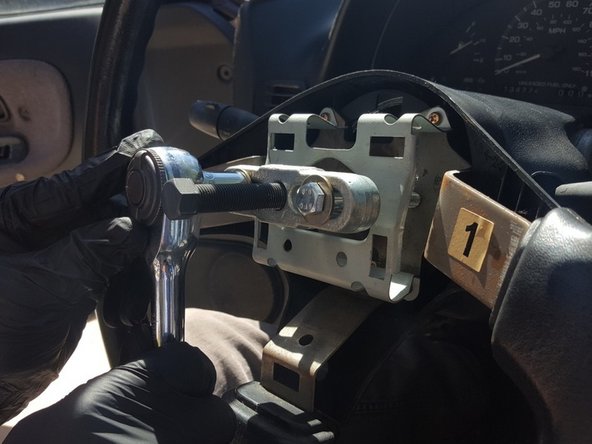
- Slowly tighten the press shaft until the steering wheel releases.
- This should not take much force to accomplish. If something starts bending or you have to use excessive force tightening the shaft, stop, reinstall the steering wheel retaining nut, and take the vehicle to a professional.
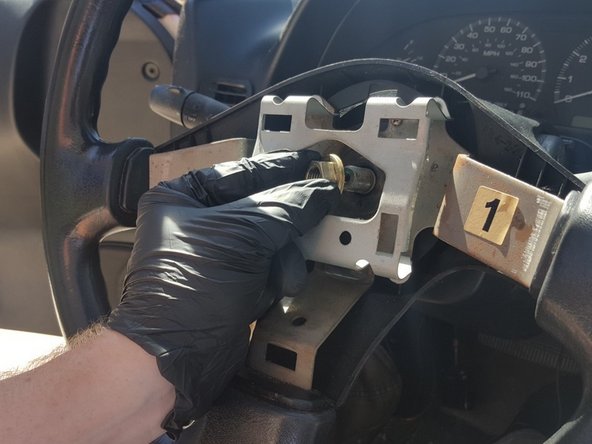
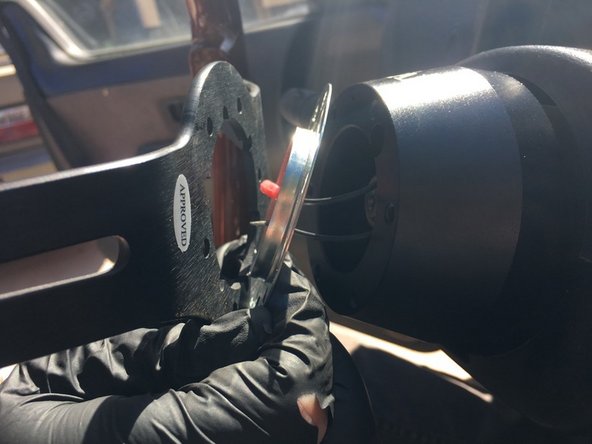
- Install the steering wheel hub onto the steering shaft, aligning the top center mark on the hub with the paint mark you made in Step 4.
- Reinstall the steering wheel retaining nut torqueing it down to 29 ft*lb using a torque wrench.
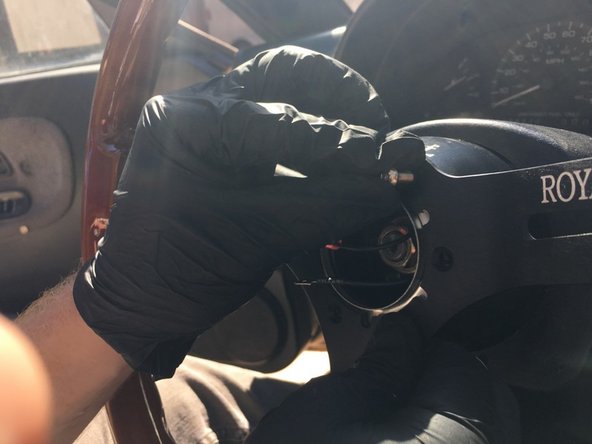
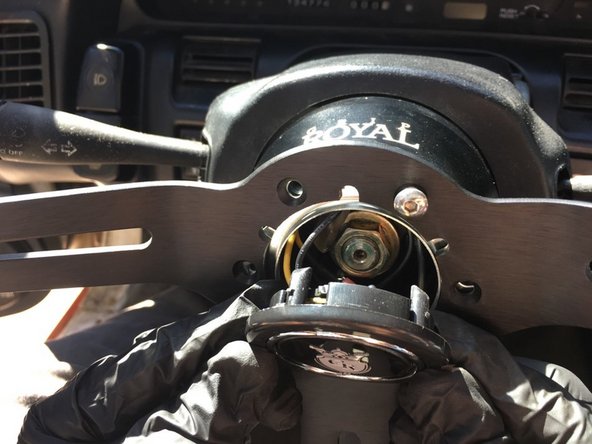
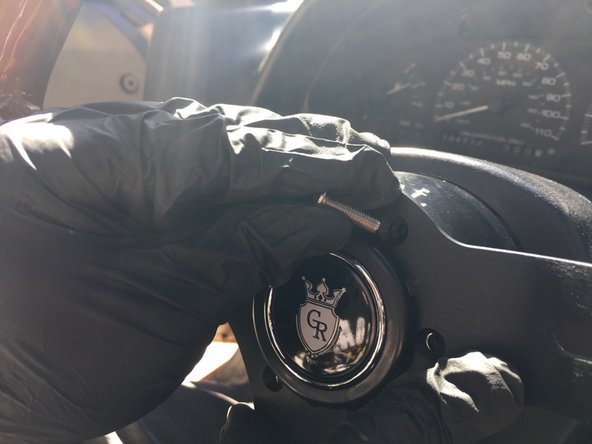
- Place the inner horn retainer ring in-between the new steering wheel and hub, aligning the six bolt holes, and place one screw, finger tight, in the hub to temporarily hold everything in place.
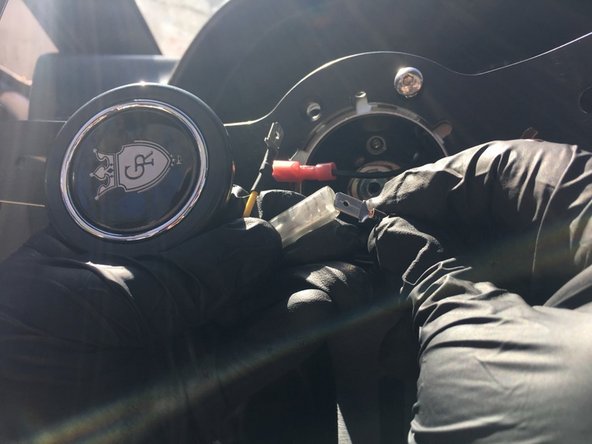
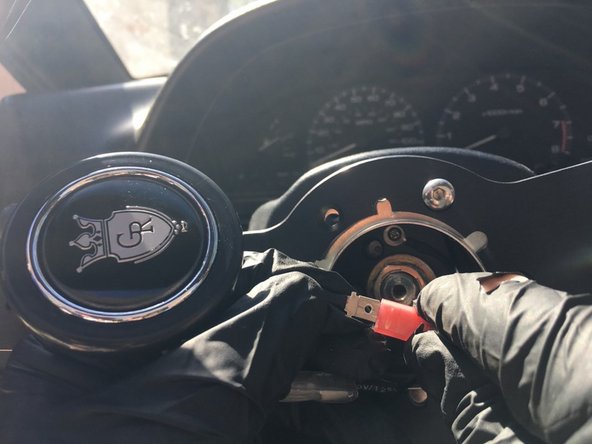
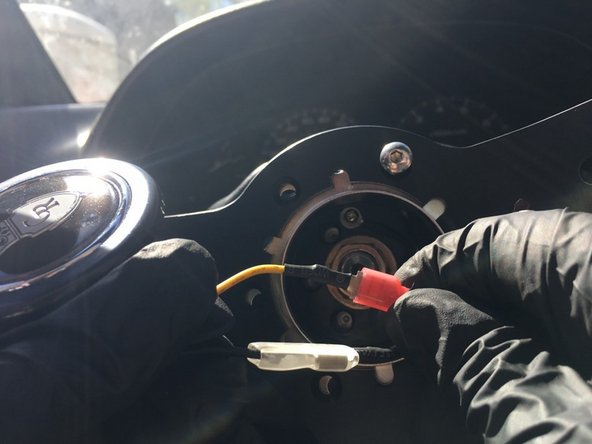
- Make the wiring connections for the horn.
- Press the horn into the inner horn retainer.
- Hold the assembly steady and remove the screw that was temporarily installed.
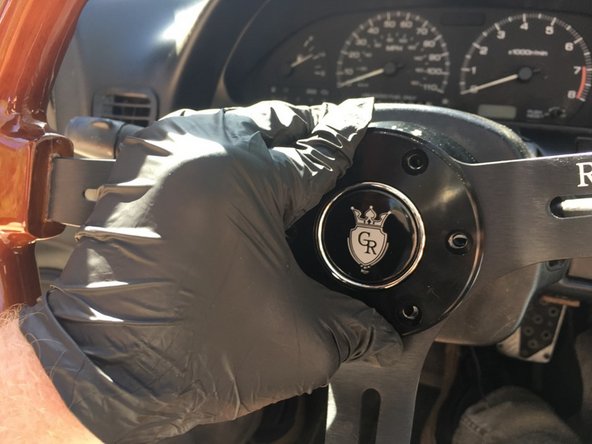
- Place the outer horn retainer over the horn aligning the bolt pattern.
- Reinsert the screw to temporarily hold the steering wheel assembly together.
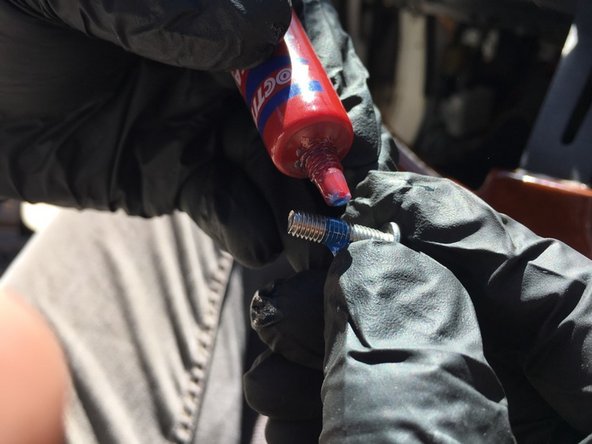
- Place a drop of low strength thread locking compound to each screw and thread them into the steering wheel hub.
- Do not use excessive thread locking compound. It only takes a drop. This step is to ensure the screws do not loosen due to vibrations.
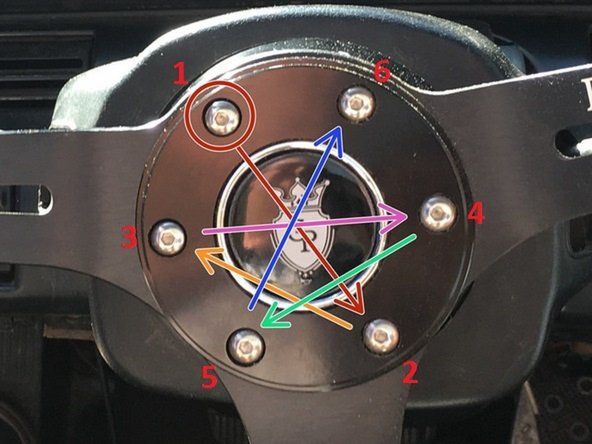
- Tighten these screws using a 3 mm hex wrench.
- Tighten the screws in a "star" pattern sequence starting with the bolt circled in red.