Kenwood KDC-BT565U CD Drive Replacement
ID: 87899
Description: If the CD drive is malfunctioning, or perhaps a...
Steps:
- Press the eject button on the bottom left corner of the face plate.
- Begin by slightly lifting the face plate out from the side located by the release button.
- Slide towards the side of the eject button, then completely lift out.
- Grasp the outer metal sleeve with one hand and the front of the unit with the other.
- Slide the sleeve back until it comes off the unit.
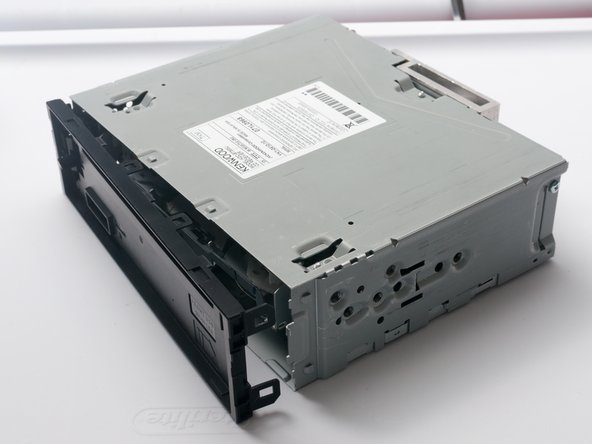
- Remove the thin frame from the front of the device. This can be done by first unsnapping the top pegs and then the bottom ones.
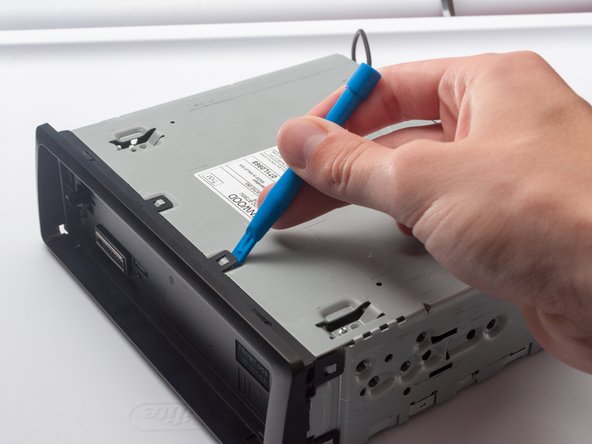
- Lift the clasps of the tabs around the edges by using a plastic opening tool or spudger.
- Remove the two 5.5mm Phillips #0 (PH0) screws on the bottom of the unit.
- Remove the two 6mm Phillips #0 screws from the side of the unit.
- Remove the 7.5mm Phillips #0 screw in between the red and white RCA inputs.
- Remove the two 13.5mm Phillips #0 screws towards the top of the aluminum block.
- Remove the 10mm Phillips #0 screw towards the bottom of the aluminum block.
- Remove the two 6mm Phillips #0 screws found above the microphone mount and below the circular port.
- Remove the 7.5mm Phillips #0 screw next to the large rectangular power connector.
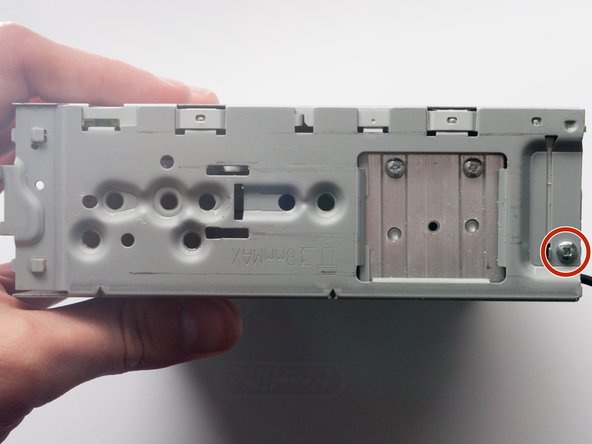
- Remove the 10mm Phillips #0 screw that resides above the aluminum block.
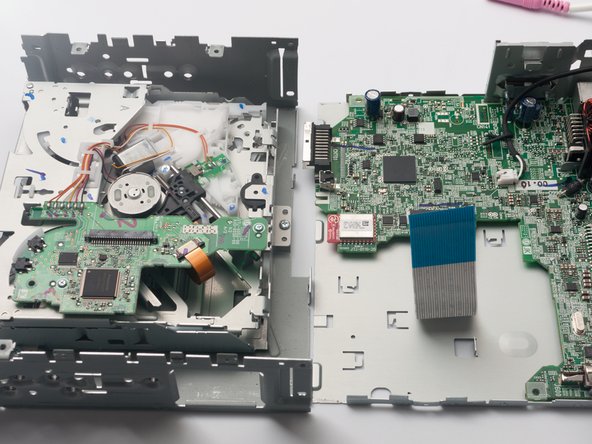
- Separate the top and bottom metal housings of the unit carefully.
- There is a connecting ribbon that links the two halves. Too much force could rip and irreversibly damage the ribbon.
- Carefully pull the ribbon out of the connector found on the bottom half of the unit (the bottom half has the CD drive).
- To remove the ribbon, grip the black base connector with one hand and the base of the ribbon with the other. The ribbon will have a blue, reinforced section close to the base (seen in second picture) which makes it easier to pull.
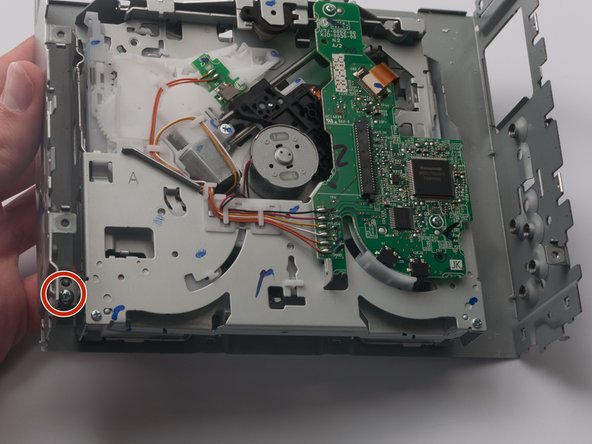
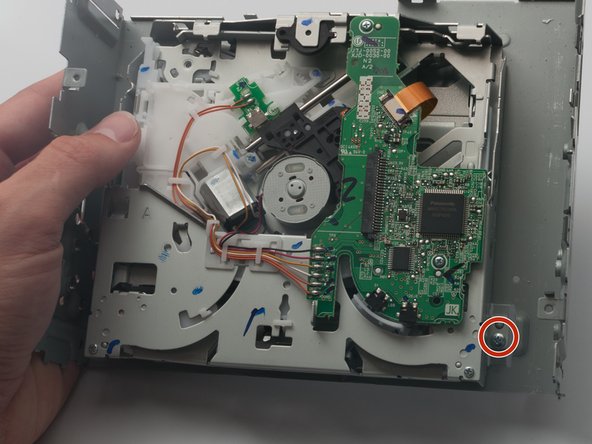
- To fully unmount and replace the CD drive, remove the three 6mm Phllips #0 screws that hold the drive to the housing.