Sony AZ1VR LCD Side Display Replacement
ID: 87944
Description:
Steps:
- Remove the two screws on the bottom of the camera.
- Remove the screw inside the battery door.
- Once these are removed, slide the door out, and the small piece of plastic with the door.
- Grab the lens and pull the body out of the plastic, this will reveal the insides of the device.
- You'll see a screw on the top of the device, towards the front, remove this screw.
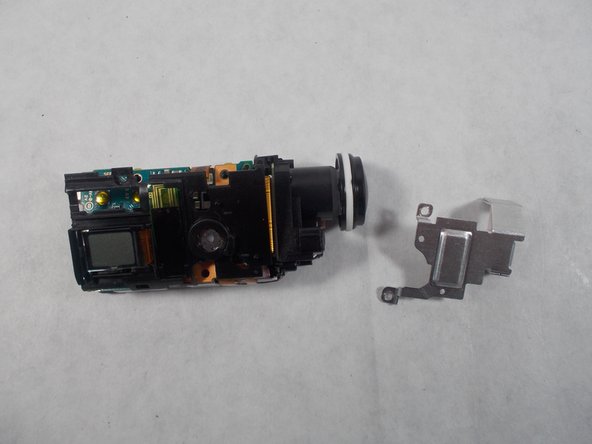
- Pull the tabs on the bottom and top of the lens, and pull outward, this will remove the lens housing from the body.
- Remove the screws connected to the silver metal plate.
- Remove the plate by pulling the back up and pushing it towards the front.
- Remove the screw directly above the LCD display.
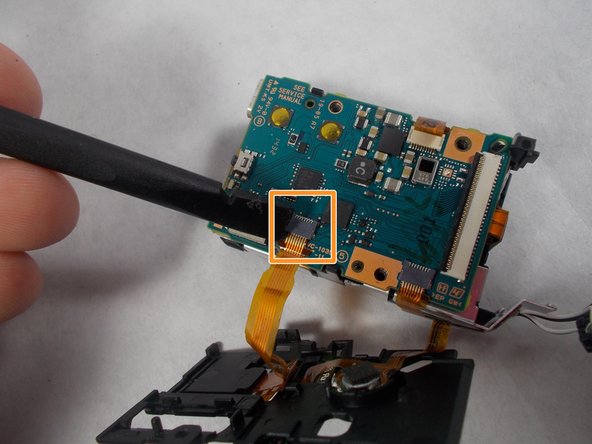
- Pull the plastic up gently, it will be connected by cables on the bottom.
- Disconnect the cable going to the LCD display.