Toshiba Satellite A660-ST3NX2X Screen Replacement
ID: 87954
Description: This replacement guide is to walk you through a...
Steps:
- Unplug all cables and other devices from the computer before starting this replacement.
- Turn the computer over, so the screen is facing down and the battery is positioned in front of you.
- Locate the two sliding tabs on either side of the battery.
- Using both hands, place one finger on each tab and slide them to the sides and away from each other.
- Pull the battery out, keeping the tabs pushed to the side.
- The right tab on this laptop stayed pushed to the right without needing to be held in place.
- Unplug all devices and power down the computer completely.
- Peel back all four circular stickers that are located at each corner of the computer frame.
- A pair of fine point tweezers was used to complete this.
- Unscrew all four 5mm screws located underneath the stickers in each corner of the computer frame.
- The computer frame should become more loose after the screws are removed.
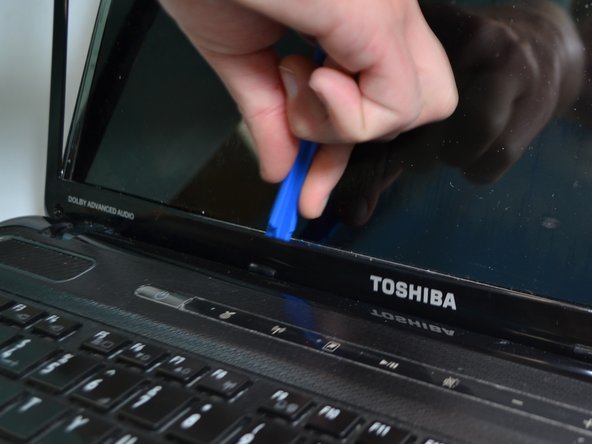
- Pry the frame of the screen away from the computer.
- A prying tool was used by inserting it in the crack between the frame and the screen and running it along the edges of the frame.
- Unscrew the three black 4mm JIS screws on each side of the metal frame that is still attached to the side of the screen.
- Only two screws are shown in the image.
- The metal frame will completely separate from the computer screen.
- Position the screen in a way that the aluminum backing is exposed.
- Peel off the metal-like attachment from the back of the screen.