Blackberry Curve 8330 Motherboard Replacement
ID: 8892
Description:
Steps:
- We did not have an actual back cover or battery for the phone we were given. Therefore, the first couple of steps will be without pictures.
- Hold the phone with the back side facing you.
- Press down on the silver tab towards the bottom end of the phone.
- Carefully lift up the back casing to reveal the battery.
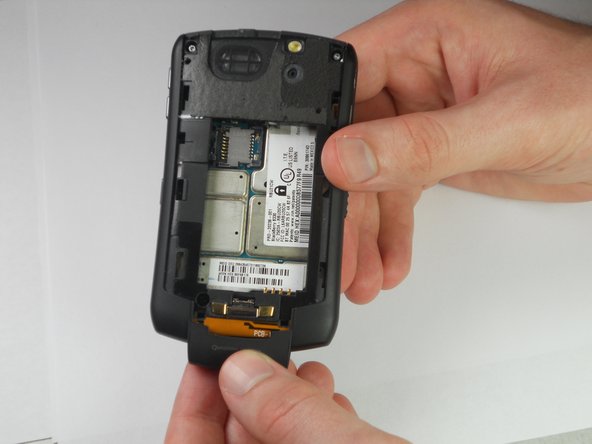
- Put your finger on the top left corner of the battery and lift the battery up and out of its housing.
- The phone should now look like this.
- Remove the two top screws using a T5 Torx screwdriver.
- Use a plastic opening tool to pry the edges of the bottom cover until it snaps loose.
- The cover will now pull off easily.
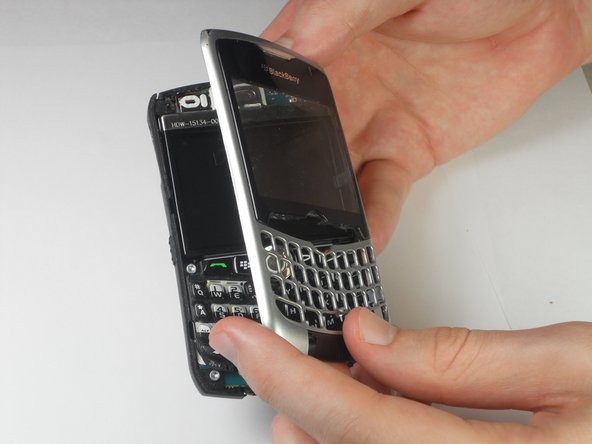
- Use a plastic opening tool to pry between the front and back cover.
- Start prying from wherever it is easiest to separate the silver and black plastic of the covers.
- There are 5 securing clips on the front panel to disconnect.
- Pry gently to prevent breaking the plastic clips when removing the front panel.
- Once all the clips have been freed, the front cover will lift away from the phone.
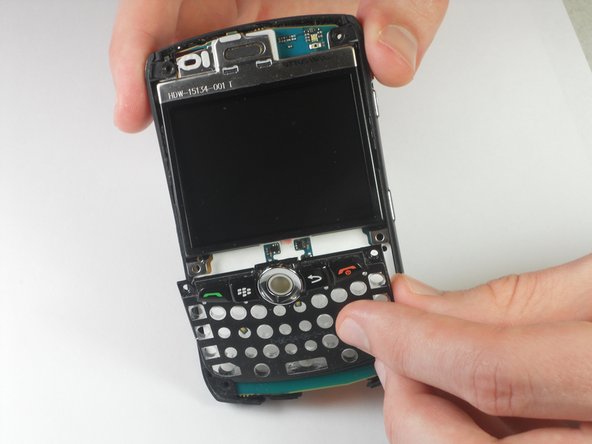
- Lift the flexible keypad away from the device. It should come off easily.
- Use a T6 Torx Screwdriver to remove the four corner screws on the keyboard's housing.
- Lift the keyboard frame away from the device.
- There may be a small amount of adhesive at the bottom of the frame that needs to be pulled away.
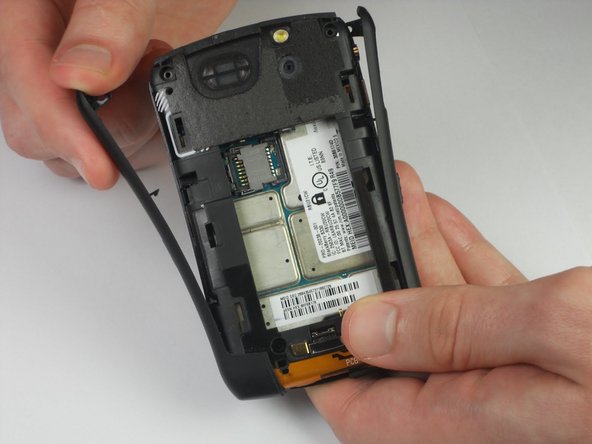
- Detach each side casing by pulling them off gently from the phone.
- Remove the back housing from the mother board.
- Unhook the screen frame from the small tab at the top of the motherboard.
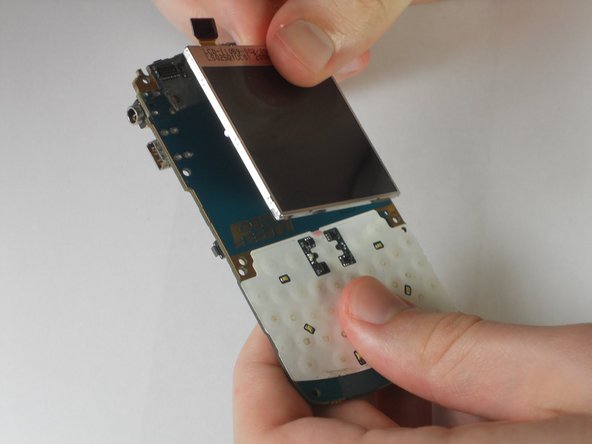
- Using a plastic opening tool, detach the connector on the LCD screen from the motherboard.
- There may be some adhesive behind the LCD screen. If needed, pry the LCD screen away from the motherboard using the plastic opening tool.
- Remove the LCD screen from the motherboard
- Once the LCD screen is taken off, the motherboard is fully separated from the device.
- The picture shown is the back side of the motherboard.