Casio Exilim EX-Z70 Lens Replacement
ID: 8992
Description: If your lens have cracked, stopped working, or...
Steps:
- Remove the strap from the camera by pulling the thin cord out, creating a small loop, then pushing the thicker cord back through this loop.
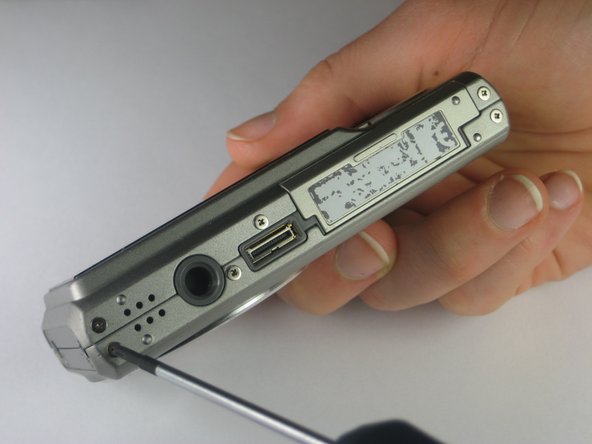
- Remove the two Phillips screws (2.83 mm) from the left side panel of the camera casing.
- The left panel can now be removed. However, one piece of tape attaches it to the camera, so a spudger may be required to ease the panels off.
- Repeat for the right side panel of the camera.
- Keep track of which screws go where. There are a couple sets of screws to take out and they are all small and look the same.
- Remove the six Phillips screws (3.69 mm) from the bottom of the camera casing.
- Remove the two Phillips screws (2.79 mm) on the left side of the camera where the metal panel used to be.
- Repeat for the two Phillips screws (2.79 mm) right side of the camera.
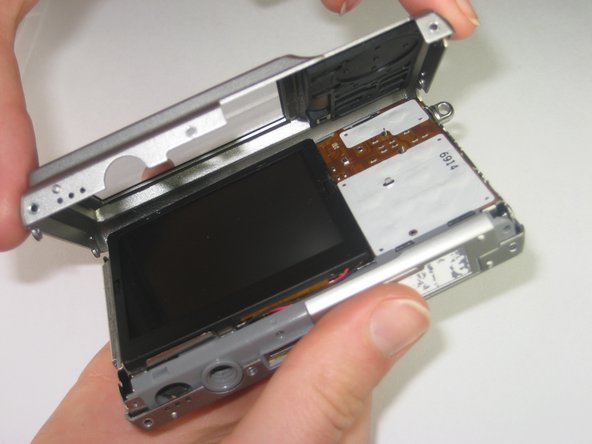
- With the LCD screen facing up towards you, start at the bottom of the camera and gently pull off the back of the casing.
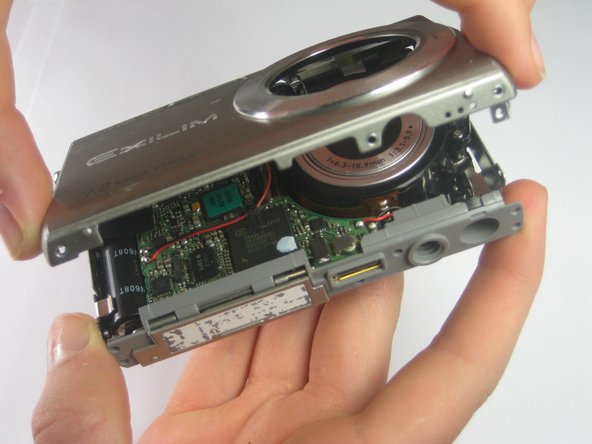
- With the front side (with the lens) facing up towards you, start at the bottom of the camera and gently pull off the front of the casing.
- The nob that previously held the camera strap will no longer be attached to the camera once you remove the camera casing. When putting the camera back together, remember to put the nob back into position before replacing the casing.
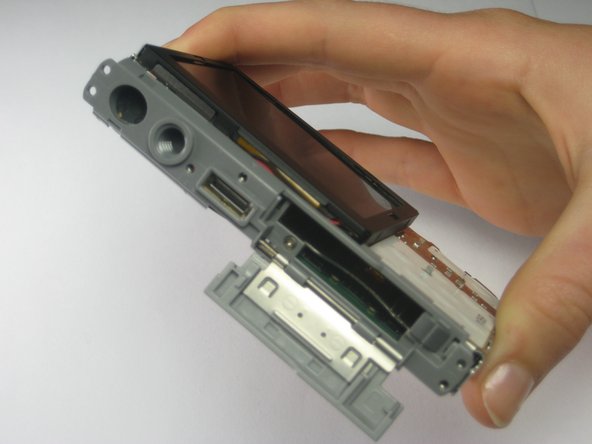
- Slide the labeled piece toward the LCD screen and release.
- The tab will spring open.
- Look at the bottom of the camera. Take out the Phillips screw (1.77 mm) holding on the bottom plastic piece.
- The bottom plastic piece is held on to the main frame of the camera only by two thin wires.
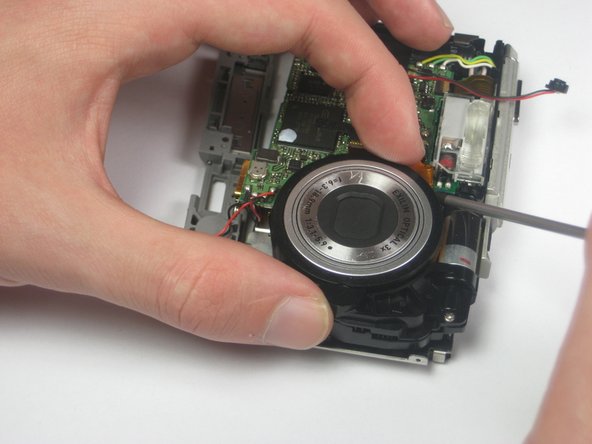
- Use a pair of tweezers to gently move the wire around part of the lens away from it so that you can access the lens.
- The lens is held in place by two metal tabs: one located directly under the circuit board between the flash and the lens and the other located between the lens and the speaker.
- Using a screwdriver, push the metal tab toward the center of the circuit board.
- This frees the lens in that corner. However, this step may take some tweaking to properly release the lens.
- As you pull the lens up and out of the casing, push the hook in the lower right hand corner of the lens out of the way.
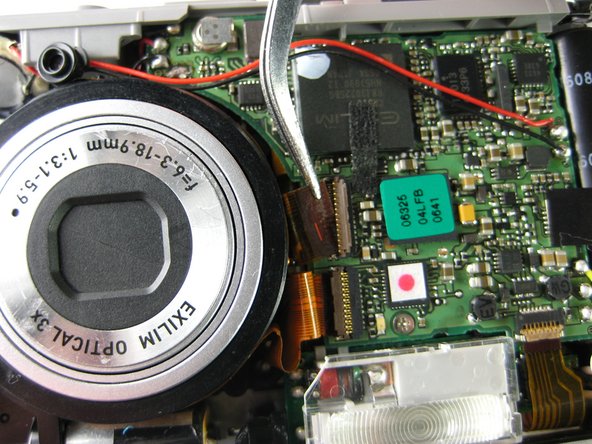
- At this point the lens should be connected to the camera solely by two orange plastic strips.
- Using tweezers or your finger nails, pull up the brown flaps where the two orange film strips connected to the lens meet the circuit board.
- Use the tweezers to pull the orange film strips out of the port. It should come out easily.
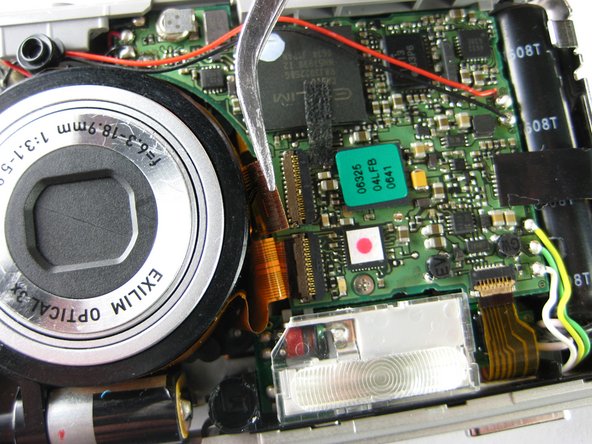
- There are two additional film strips connected to the circuit board that do not need to be removed. These are connected to the side of the circuit board that is opposite to the lens
- You can now remove the lens completely. There should not be anything else holding it in place.
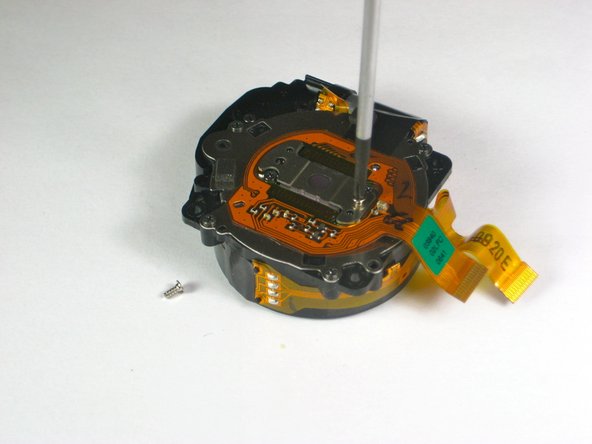
- Turn the lens over
- On the back are four screws. Remove the two silver phillips screws (4.36 mm) from the back of the lens.
- Remove the now loose orange piece from the back of the lens and set it aside.
- The lens is now ready to cleaned and maintained or replaced with a new one.
- Since a new lens does not come with the orange film or electronic image sensor, make sure that you keep both the 4 screws and the image sensor and replace them when you install the new lens.