Sony Cyber-shot DSC-P9 LCD Replacement
ID: 9036
Description:
Steps:
- Slide the battery latch down the side of the camera with your hands.
- The latch will automatically pop open.
- Unlatch the clip over the battery.
- The battery will partially pop out.
- Remove the battery from the camera.
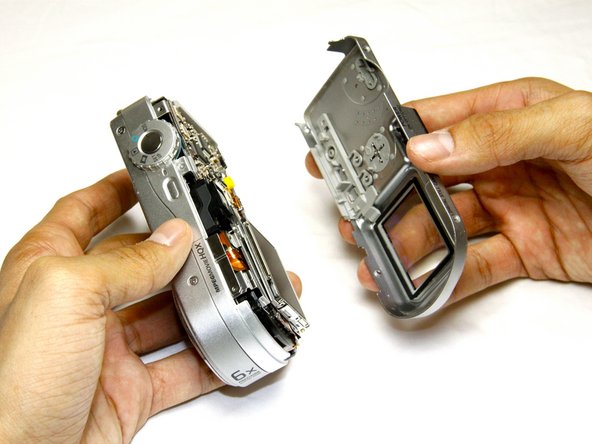
- Unscrew the four 3.0mm Phillips #000 screws holding the back case onto the camera; there are two screws on top and two on the bottom.
- Pull the back case gently away from the rest of the camera.
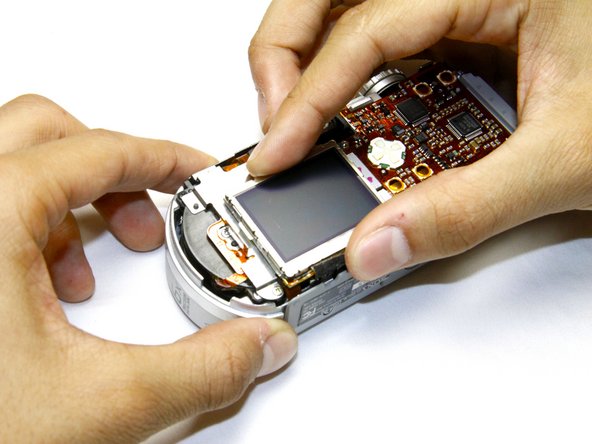
- Remove the two 3.0mm Phillips #000 screws holding the display to the metal backing.
- Unlatch the display by sliding it towards the circuit board.
- Remove the two ribbon cables attached to the circuit board by gently pulling them out of their slots.
- Be careful not to rip the ribbon cables while disconnecting them.
- The LCD is now separated from the camera.