Plantronics CS50 Headset Microphone Replacement
ID: 9046
Description: The following steps will teach you how to...
Steps:
- Flip the headset face down.
- Squeeze both sides of the battery cover.
- While squeezing, pull the cover up slowly to remove it.
- Locate and detatch the white connector that connects the wires of the battery to the wires of the headset.
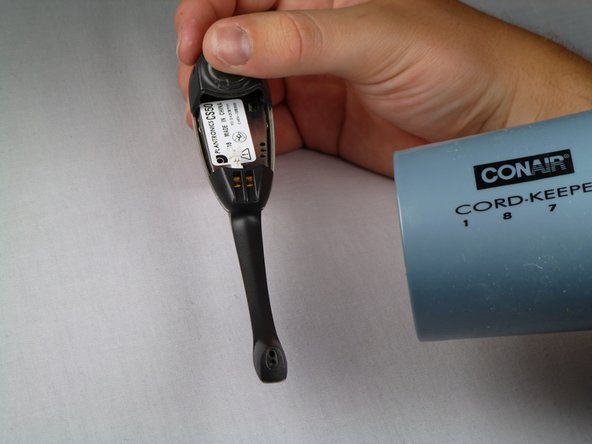
- Use a hairdryer or heat gun to melt the adhesive along the crevice that joins the black and silver components.
- Apply additional heat at the tip of the microphone.
- After heating the headset, use the plastic opening tool to carefully pry the black cover from the headset.
- Be aware of the two plastic connectors inside the headset. If the black cover does not come off smoothly, apply additional heat on the connectors.
- Remove the microphone from the tip of the plastic.
- You will have to lift the microphone straight up because it is held in place by a small piece of plastic.
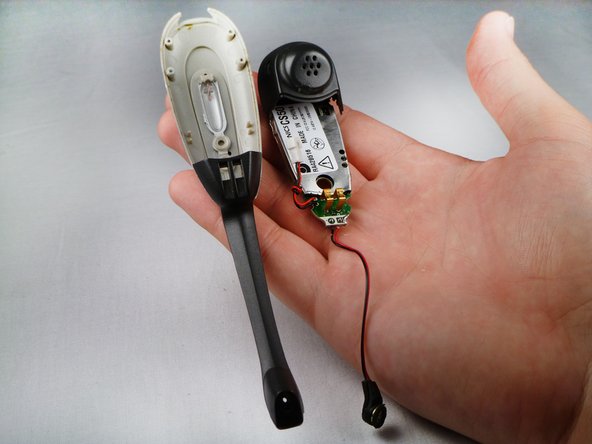
- Use the heat gun to melt the adhesive connecting the headset face to the speaker casing.
- Use the plastic opening tool to separate the speaker casing from the headset face.
- Add extra heat to the sides to melt the adhesive between the plastic connectors.
- Slowly separate the motherboard from the rest of the headset.
- Locate the microphone wires on the bottom of the motherboard.
- Use a hairdryer or heat gun to melt the glue off of the motherboard.
- Flip the device over.
- Use a soldering iron to remove the solder that holds the wires to the motherboard.
- For help soldering, click here.
- The microphone piece should be completely detached from the motherboard.