Kodak EasyShare C195 LCD Screen Replacement
ID: 9152
Description: This guide will show you how to take out and...
Steps:
- To start, remove the Philips #00 4.5 mm screws on both sides of the camera.
- On the bottom, there are three Philips #00 4.5 mm screws. Two are for the front panel and one is for the back panel. To remove the back panel, take out the screws indicated in the final picture of the sequence.
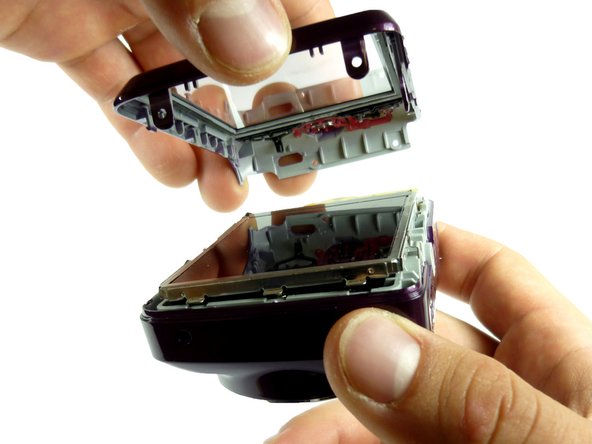
- Once all the screws are out, remove the back panel.
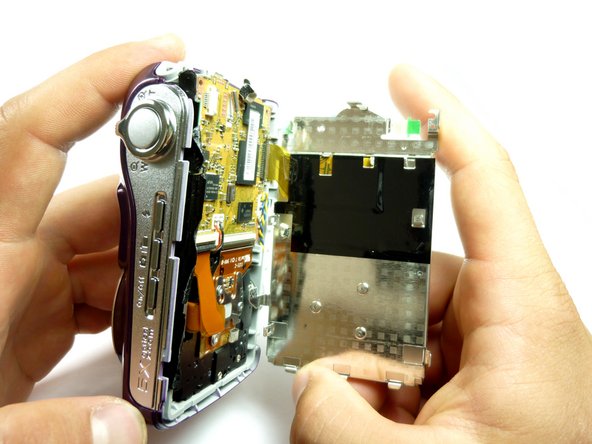
- The front panel does not need to be removed for replacing the LCD or the Lens.
- To do this, start by removing the bottom of the panel.
- Once the bottom part is unhooked, unhook the top, and the whole panel should come off.
- Be sure to gently pry the cover off.
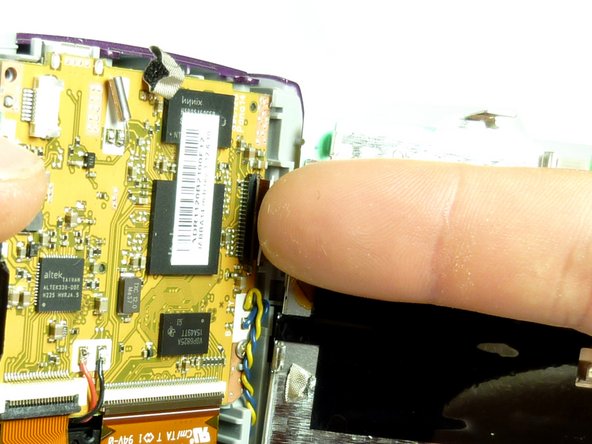
- In the top right hand corner of the inside of the camera, there is a Philips #00 4 mm screw that needs to be removed.
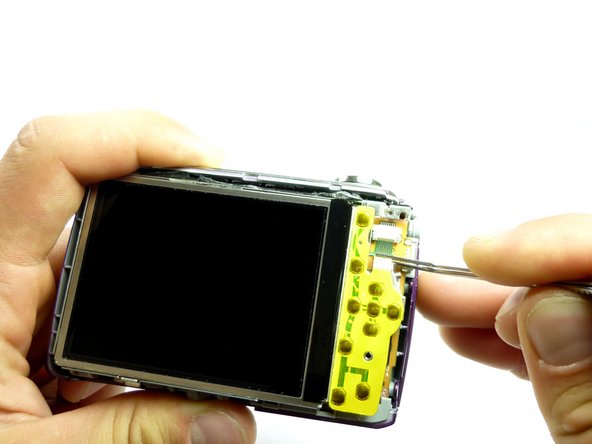
- The next step is to remove the white ribbon on the upper right hand corner next to the LCD screen.
- This can be done with or without tweezers.
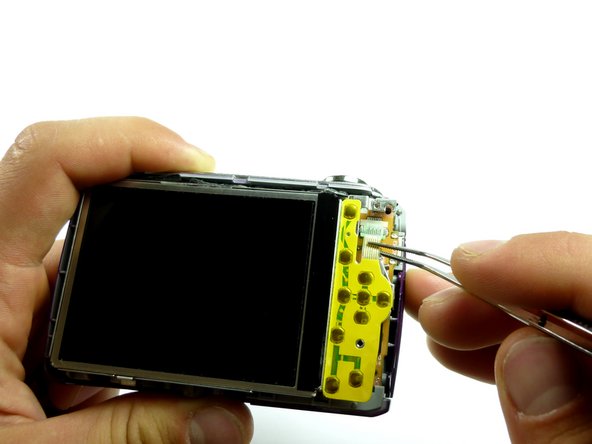
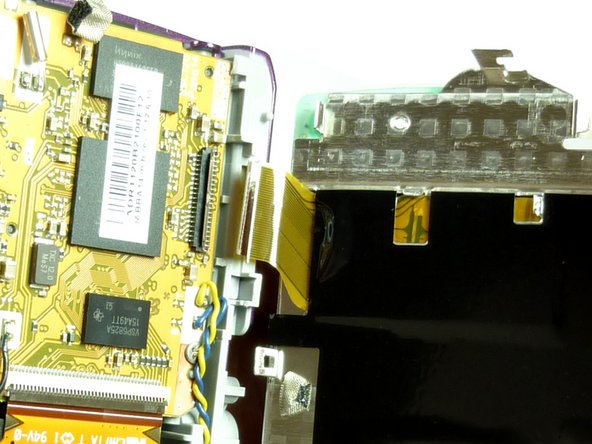
- The screen is still attached at the bottom, so do not take the screen off yet.
- Carefully pry the top portion of the screen from the camera.
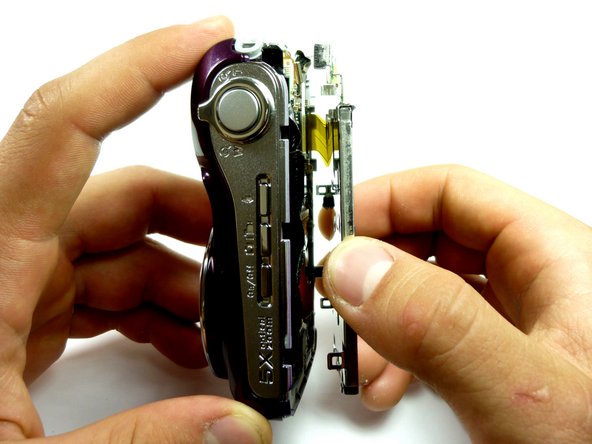
- The screen is still attached to the camera via a yellow ribbon at the bottom of the camera.
- To remove the screen completely, push down on the rectangular tab indicated in the picture.
- The LCD screen is now completely removed from the rest of the camera.