How to Position a Vernier Caliper
ID: 95077
Description: These instructions will cover the techniques...
Steps:
- Use the metal wheel contacting the measured surfaces.
- This will allow for a more repeatable measurement.
- Extend the calibration life of the device. Preventing damage to the measuring surfaces or measured part.
- Make use of the locking mechanism.
- Occasionally the device has to be positioned in a way that cannot be read.
- Always prioritize comfort. If there is a change the jaws can move when attempting to read. Lock the device. Move it to you.
- Ensure the part is secure, use flat surfaces, try to use the vernier comfortably with both hands.
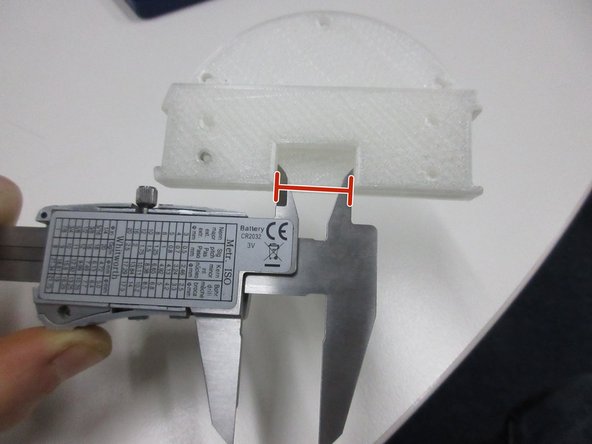
- External features are measured as shown.
- These sections of the jaws have a knife edge,
- Used to measure smaller features with low clearances.
- These sections have a flat edge.
- Used to measure larger features with perpendicular surfaces.
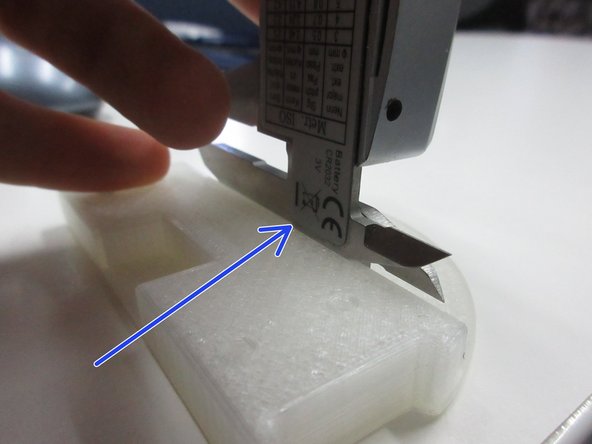
- Internal features are measured as shown.
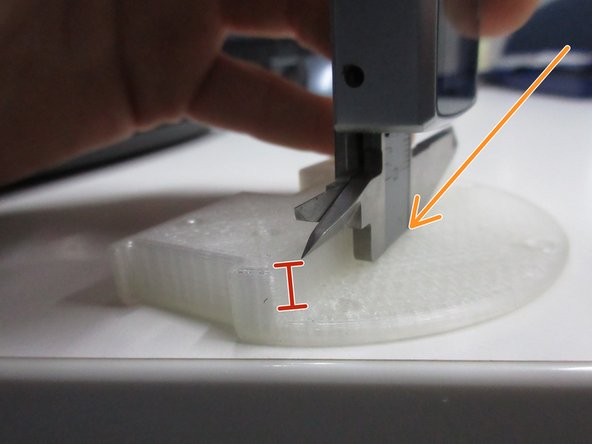
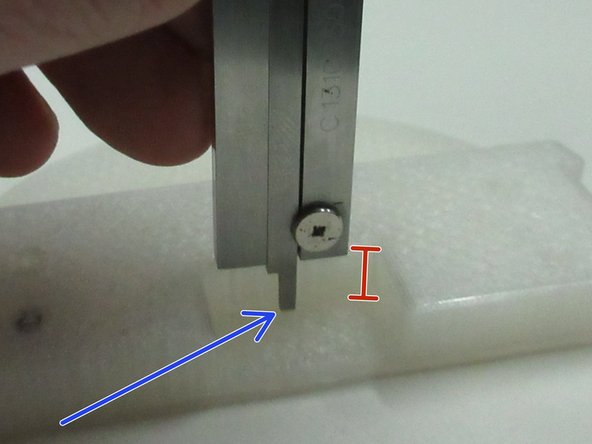
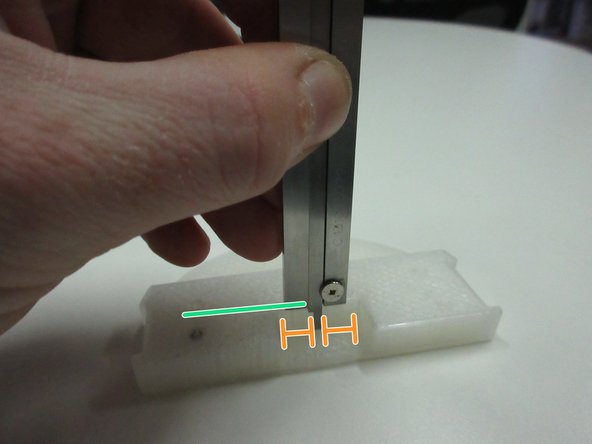
- Heights of steps are measured as shown.
- Butt the head of the caliper against one surface.
- Butt the head of the slider against the other surface.
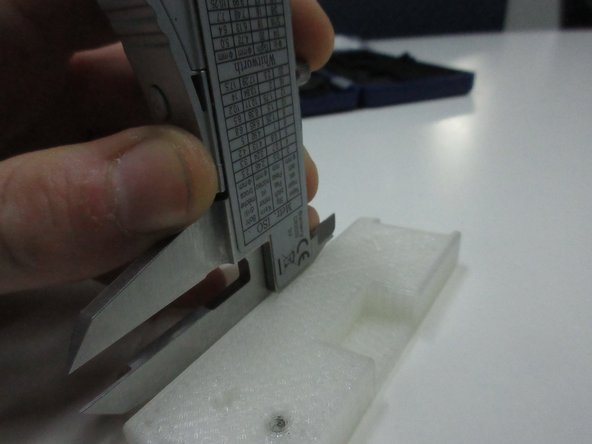
- Depth of holes are measured as shown.
- Position the blade to the center of the hole.
- Hold the end of the caliper flush the surface of the hole.
- Extend the slider until the blade bottoms out the hole.