Sony XPERIA Tablet Z Motherboard Replacement
ID: 95593
Description: Use this guide to replace the motherboard of th...
Steps:
- Remove the back cover by using the plastic opening tools.
- Disconnect the battery by lifting the connector straight up from the motherboard with a plastic opening tool or equivalent.
- Do not pry on the wires. Only pry up on the white plastic part of the connector that is closest to the battery itself.
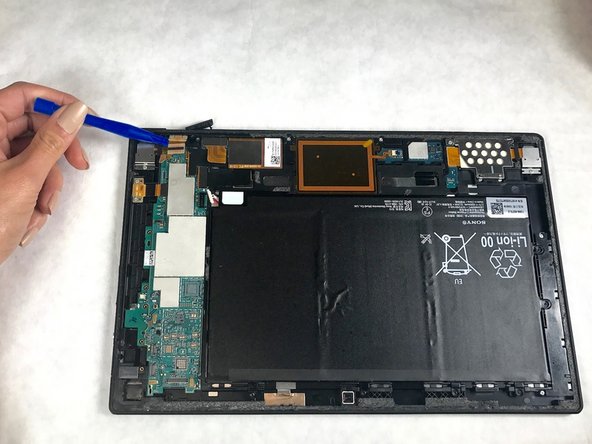
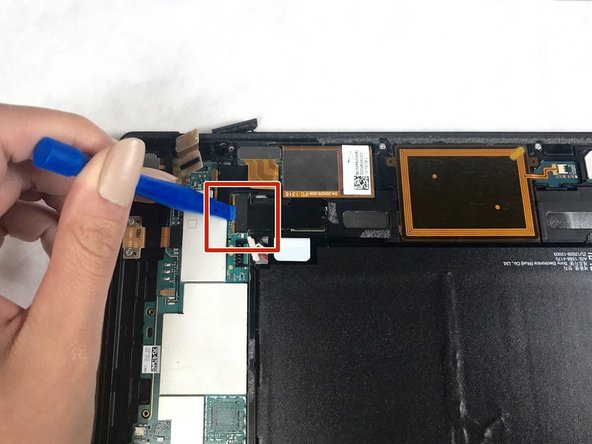
- Pry up the tape and ribbon cable connector for front facing camera.
- Remove front facing camera and cables.
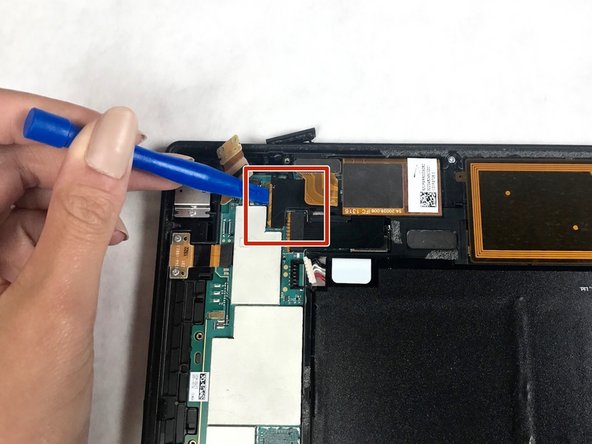
- Slide the ribbon cable out of motherboard.
- This cable is the only one in this guide that slides out from the motherboard in a motion that is parallel to the motherboard.
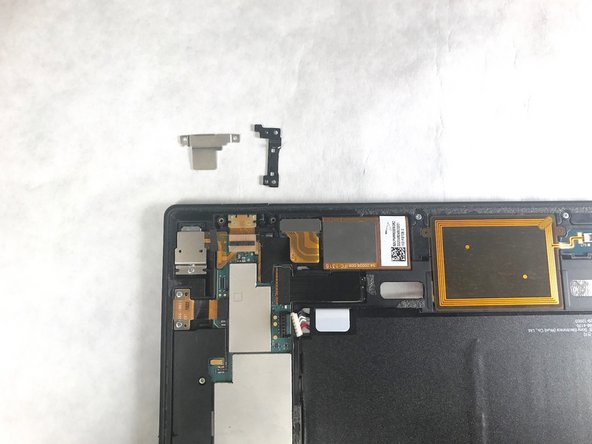
- Use a Phillips head #0 screwdriver to remove the 3.06 mm screws from the Micro USB retaining plate.
- Remove the cover plates.
- There is plastic plate and a metal one.
- Remove the USB port partially from its position. It can stay connected just moved out of the way.
- Use a Phillips head #0 screw driver to remove the 3.43 mm screws on the volume control retaining plate.
- Remove the volume control.
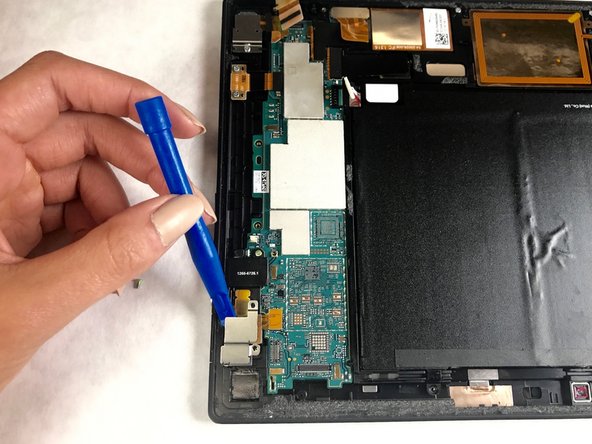
- Lift up the connector for the rear facing camera.
- Remove the rear facing camera.
- Use a Phillips head #0 screwdriver to remove the 3.43mm cover plate screws for headphone port, power button, and status LED assembly.
- Remove headphone port, power button, and status LED assembly cover plate.
- Disconnect the connectors for the headphone port, power button, LED from the mother board.
- Remove the headphone port, power button, and LED from the mother board.
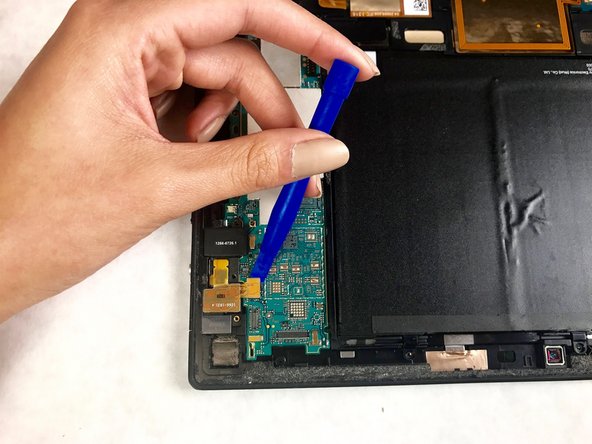
- Disconnect the 3 ribbon cable connectors from the mother board near the USB port and speaker.
- Remove the motherboard by gently prying up. Once it is loosened from the adhesive you may need to slide it away from the battery while lifting.