Solve stuck focus of AF-S VR Zoom-Nikkor ED 70-200mm f/2.8G IF
ID: 96068
Description: It is a very common issue the AF-S VR...
Steps:
- The lens. Focusing mechanism traps in close-up end, worsens over time.
- First, you better download the "AF-S VR Zoom-Nikkor ED 70-200mm f/2.8G IF REPAIR MANUAL". (The attatchment)
- Remove Tripod mount (The one can be removed with only hands)
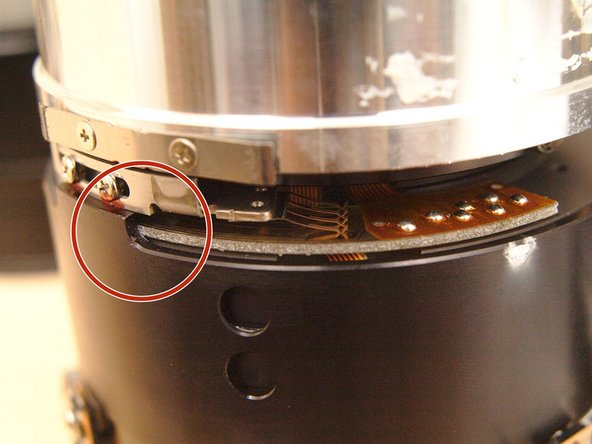
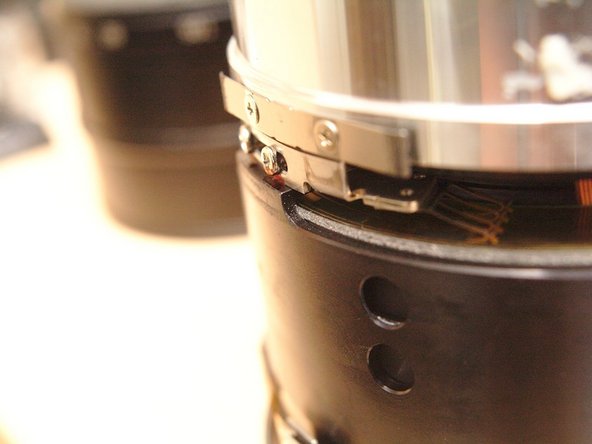
- Remove tripod mount base by remove four screws.
- short
- long
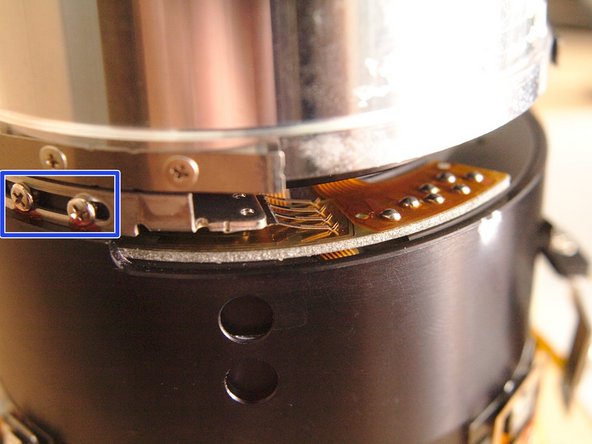
- Unscrew switch board and disconnect all three FPC's
- Remove tripod ring, by removing three hidden screws. check the Repair Manual
- Remove eleven screws and separate rear group. There is an empty hole.
- Take the front group. remove zoom rubber ring.
- Peel the tape, and keep if you don't have a replacement.
- Remove two screws.
- Remove three screws and remove "4th Lens Group"
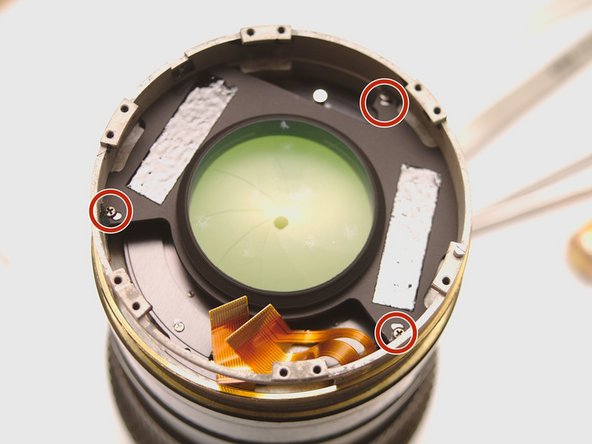
- Unscrew three outer screws and remove Aperture Blade Unit
- Do NOT manipulate the Aperture calibration screw! (RED mark)
- Do NOT manipulate the whatever calibration screw! (YELLOW mark)
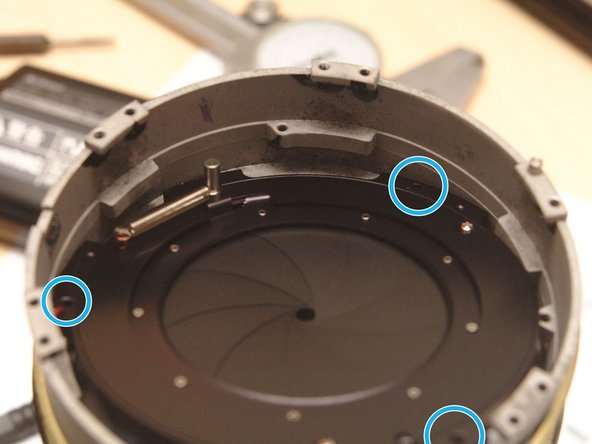
- Remove eight black screws and lift "Zoom Fixed Ring" and "MF Ring"
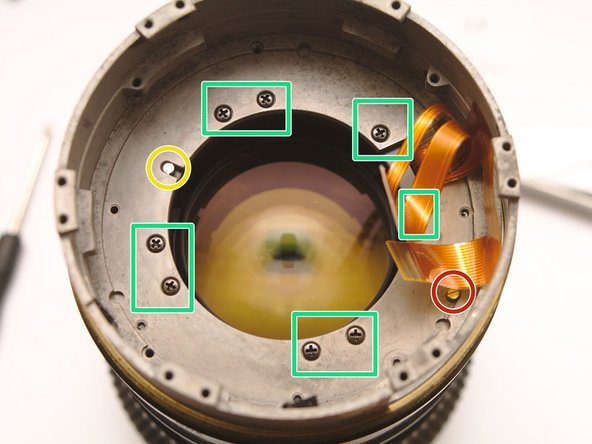
- Here is the ISSUE. internal focus ring has contact with Distance readout PCB. The PCB is mounted by double sided tape. This is a design flaw. double sided tape drifts over time, and let the PCB slip out.
- More detail. The infinity end is glued using some better glue(dark material), while the close end is NOT.
- The fix is
- Mark or remember the position BEFORE removing two screws and contact brush! but relax, this part is not extremely precise.
- Lift the PCB. Cleanup double sided tape. Glue the PCB back firmly against the inner edge.
- Use proper glue, like "high viscous super glue" or "2-part epoxy resin". Do NOT use low viscous glue, it will mess up and contaminate the contacts.
- Now put it back, following these instructions in reverse order.
- Screw tighten torque list.
- Internal M1.6 screws: 0.12N.m.
- Tripod mount M2.0 screws: 0.2N.m.
- 2 screws on switch panel: 0.06~0.08N.m (watch out the plastic is very fragile)