Nostalgia GCM200 Power Button Replacement
ID: 96362
Description: It's a simple process to replace the parts of...
Steps:
- Remove the two 1.3 mm Phillips #2 screws.
- Remove the S6 spanner screw.
- Carefully place these three screws somewhere safe to use later in reassembly.
- Split the device in half to expose the internal parts of the device.
- Again, there are two more Phillips screws to remove.
- Remove the two screws from both sides of the heating coil.
- Split the device into 2 parts to change the power button.
- Power button hold the other parts, so be careful.
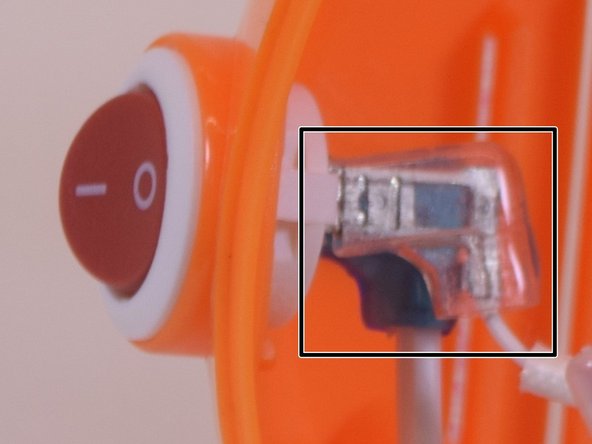
- Remove (flexible) plastic sleeves from the inside end of the power cable.
- You might want to use force, pull out while shaking it.
- Inside the product, ensure you look at the power button and try to understand this step before you take action. There are two notches, push them at the same time on both sides to push the button out of the device.
- Depress the little tab inside the top portion of the device to remove the On/Off switch.
- Replace the power button, and put the plastic sleeves in the original position.
- Great, you just finished replacing power button
- To reassemble your device, follow these instructions in reverse order.