Lenovo Ideapad 110S-11IBR Wi-Fi Card Replacement
ID: 98904
Description: Step by step guide to replacing the Wi-Fi card...
Steps:
- Ensure that your device is completely OFF before performing this procedure.
- Unscrew the eleven 4 mm Phillips #0 screws on the bottom of the device.
- Separate the back lid from the laptop using a plastic opening tool.
- Lift the back lid off of the device.
- Remove the battery connector from its socket by pulling the cable away from the hinge using your fingers or a plastic opening tool.
- Do not pull on the socket itself or you risk damaging the motherboard.
- Remove the two pieces of tape that are holding the battery down.
- Remove the five 4 mm Phillips screws securing the battery.
- Lift the battery up and out of the device.
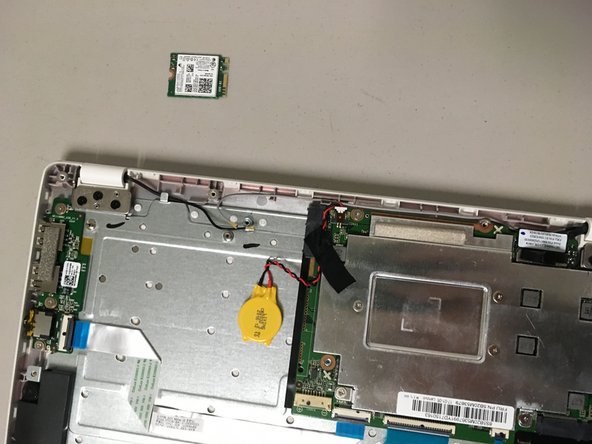
- Locate the Wi-Fi card.
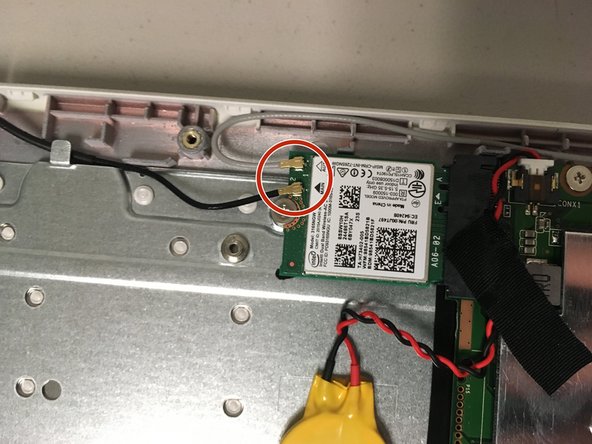
- Disconnect the two wires that are connected to the Wi-Fi card by gently pulling them up.
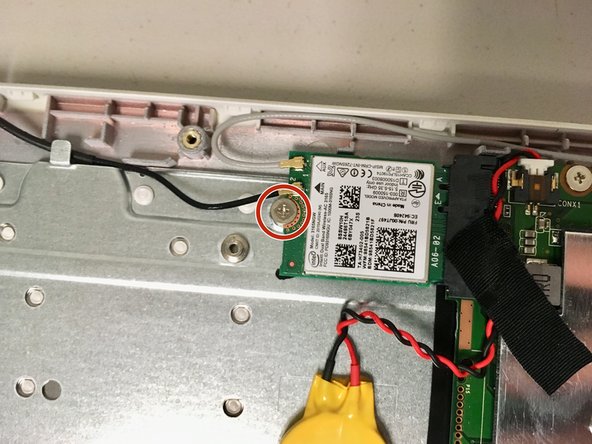
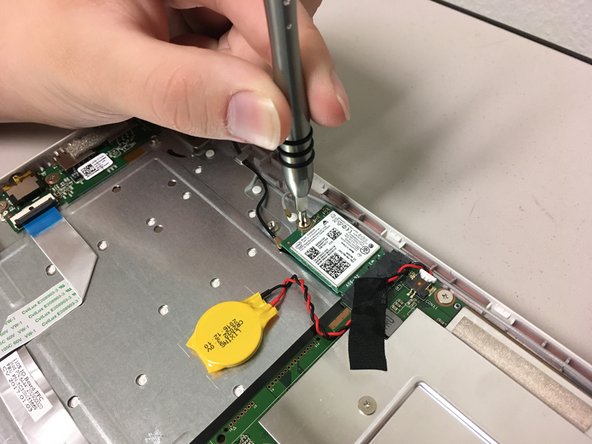
- Unscrew the one 4mm screw keeping the card in place.
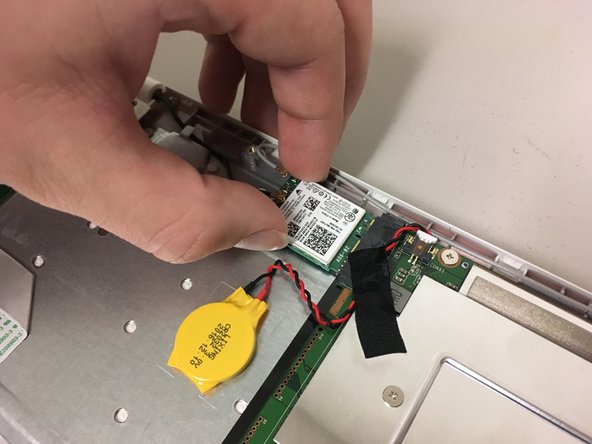
- Gently pull the Wi-Fi card out of place.