Protocol Dronium III AP Camera Replacement
ID: 98909
Description: This guide explains how to replace the Protocol...
Steps:
- Ensure the drone is powered off.
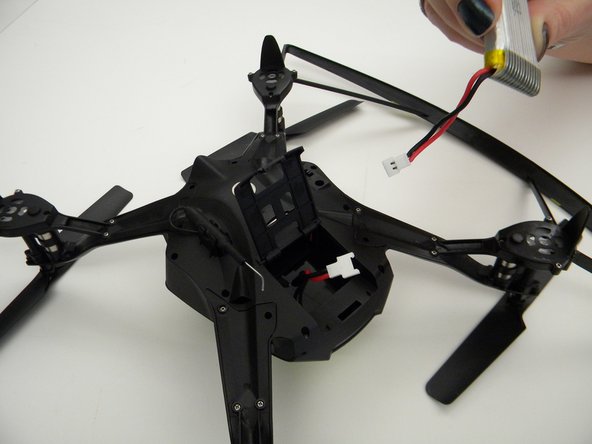
- Press in and lift battery compartment cover.
- A soft pry tool may be used for easier access.
- Remove battery pack from body of drone.
- Disconnect white connectors between the battery pack and drone.
- Remove the eight (8) 5mm screws attaching the motor arms to the body using a JIS #00 screwdriver.
- Remove the six (6) 5mm screws attaching the Body Cover to the Body of the drone using a JIS #00 screwdriver.
- Remove the Body Cover.
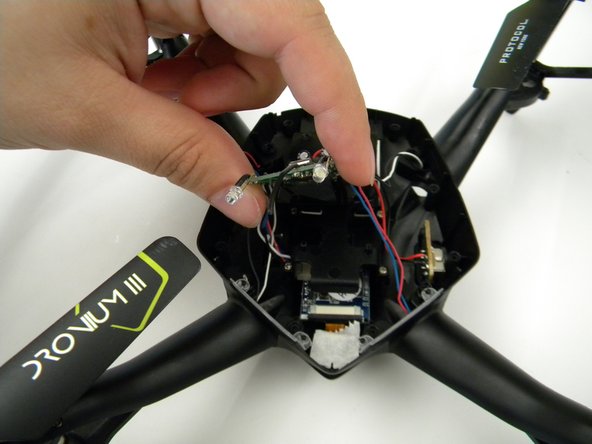
- Remove the two (2) 5mm screws attaching the Motherboard to the body of the drone using a JIS #00 screwdriver.
- Lift the Motherboard off the mounting position.
- Do not pull hard on the Motherboard as solder connections are fragile.
- Remove the tape covering the camera with the tweezers.
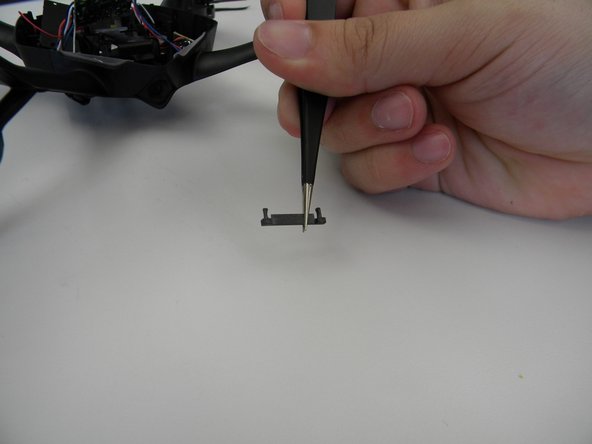
- Remove the plastic holding the ribbon cable connector with the tweezers.
- Be careful with the ribbon cable, it is easy to damage.
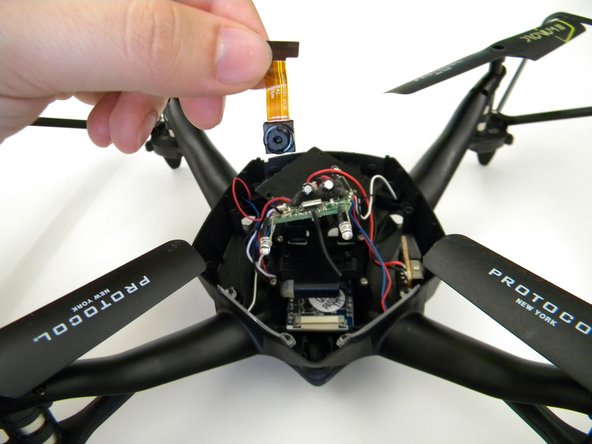
- Move the ribbon cable out of the way with the Spuger.
- Remove the camera by gently prying it out of the bracket with the spudger.