Samsung Chromebook XE500C21-A03US SD Card Reader Replacement
ID: 98927
Description: This guide will help you replace your SD card...
Steps:
- Turn the power off before beginning this step.
- Most Chromebooks contain rubber circle pads on each of the four corners to cover the screws. In order to remove the rubber pads, simply use any opening tool.
- Lay the Chromebook down so that the bottom cover is facing upward.
- Using a Phillips #00 screwdriver, remove all seven 5.5 mm screws from the back cover.
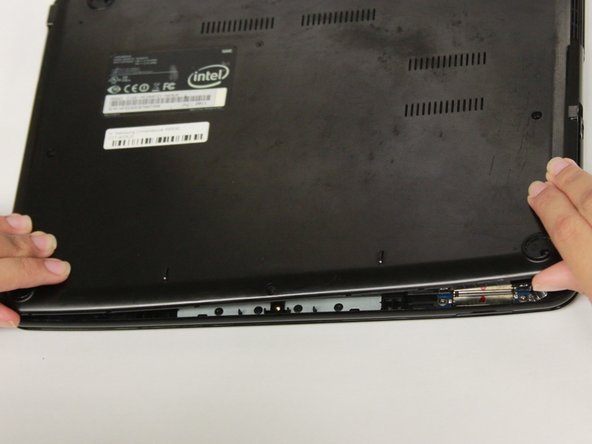
- Place the opening tool in the divot between the spine of the Chromebook and the back cover.
- Slowly glide and push down the end of the opening tool along all sides of the Chromebook to detach the brackets. You will hear the brackets detach.
- Using the opening tool, pry off the back cover of the Chromebook
- Be gentle while prying to avoid breaking the back cover.
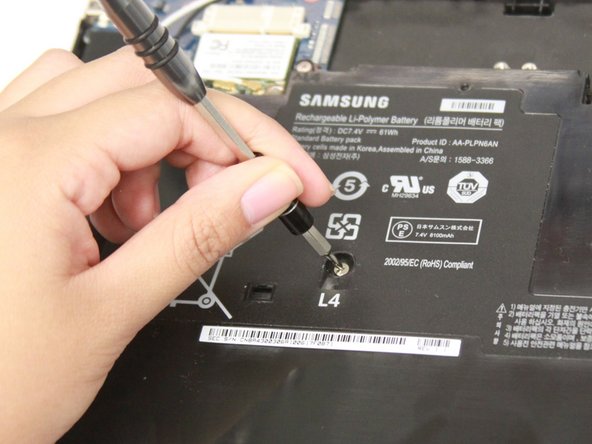
- Remove the four 3 mm screws using a Phillips #000 screwdriver.
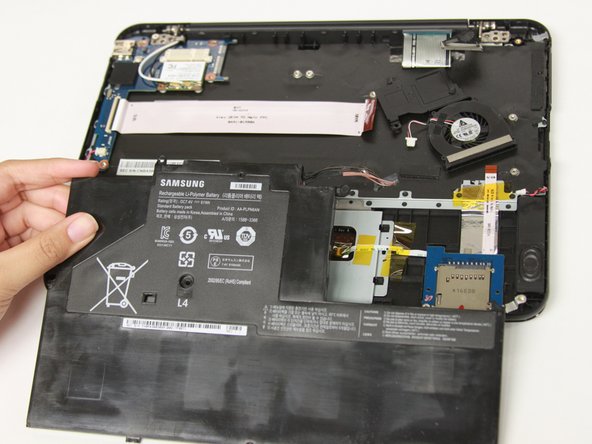
- Carefully lift the top of the battery then pull it away from you to remove it.
- Some batteries may be attached via a battery connector. Disconnect the battery connector by simply pulling straight up at its base.
- Remove both 3 mm screws using a Phillips #000 screwdriver.
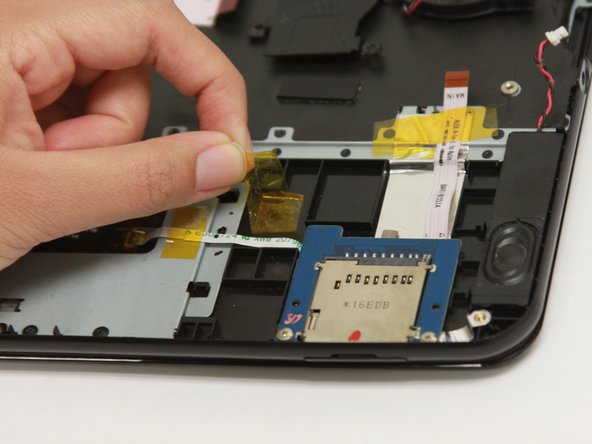
- Remove the yellow tape on the left ribbon cable with a spudger.
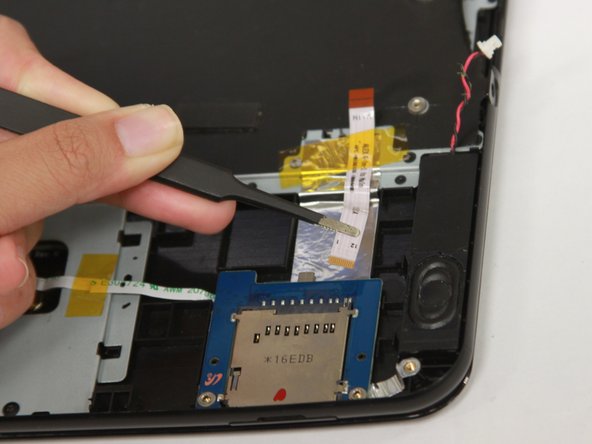
- Use a blunt precision tweezer to remove both ribbon cables attached to the SD card reader.
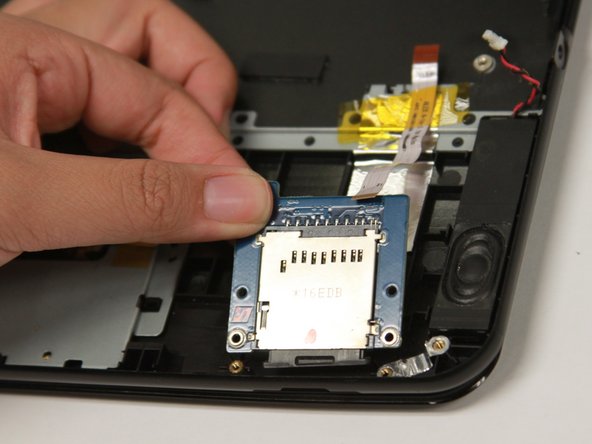
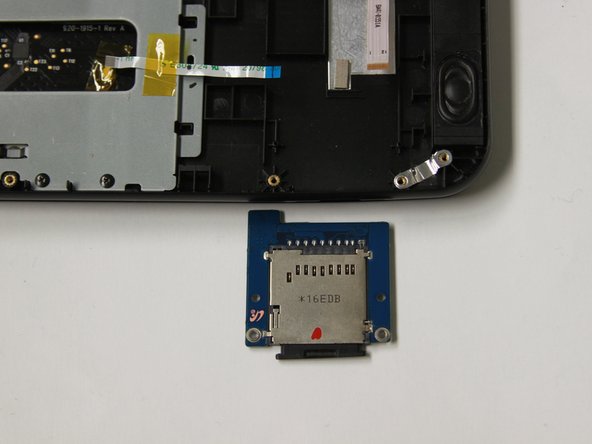
- Gently lift the top portion of the SD card reader and pull it away from you to remove it.
- To reassemble, first insert the bottom of the SD card reader then carefully push downward.