Sony BDP-S3200 Disk Tray Belt Replacement
ID: 98930
Description: The disk tray belt is what allows the disk tray...
Steps:
- Remove all cables from the device.
- Use a #1 Phillips screwdriver to remove the three screws located in the back of the device.
- Pull the top cover off by sliding back from the device once the screws have been taken out.
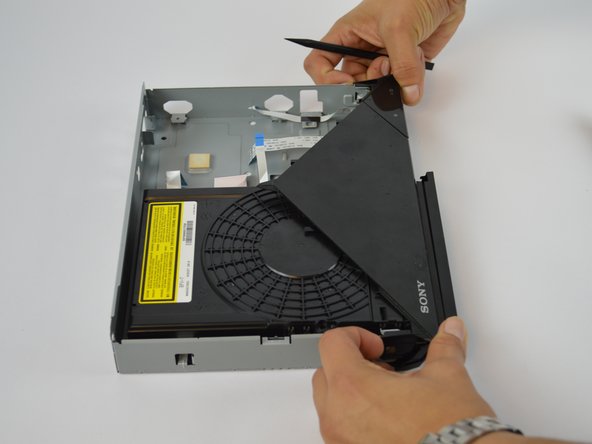
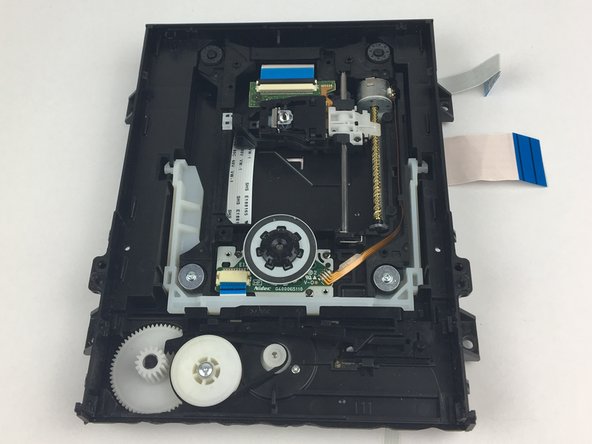
- Locate the disk drive
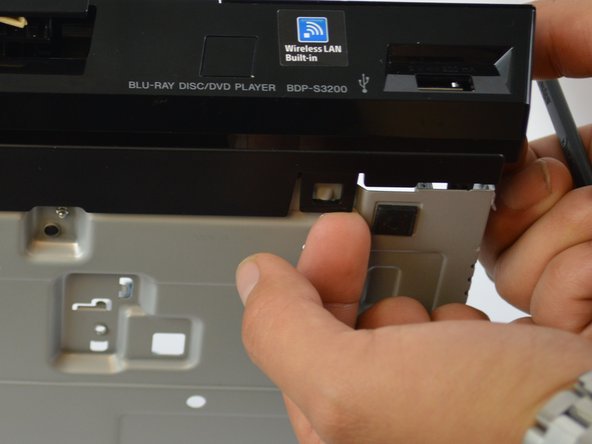
- Lightly lift off the hook on both front rear side and the bottom of the device to remove the front panel
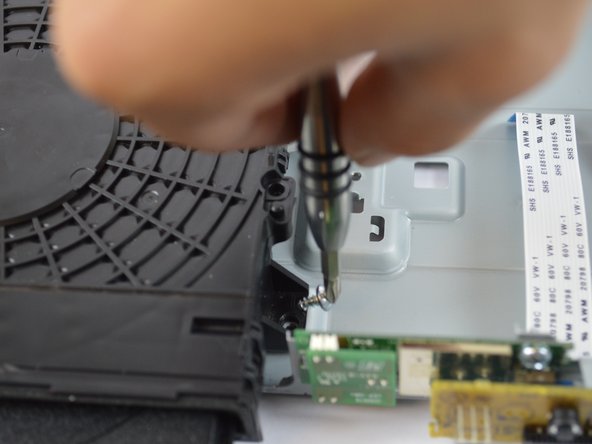
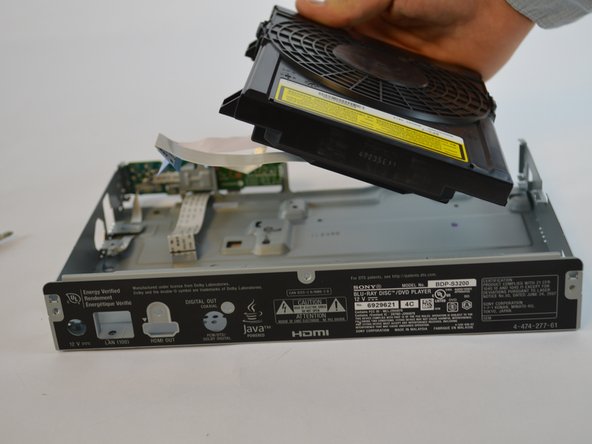
- Remove the two screws that attach the disk drive to the frame using a #1 Phillips screwdriver.
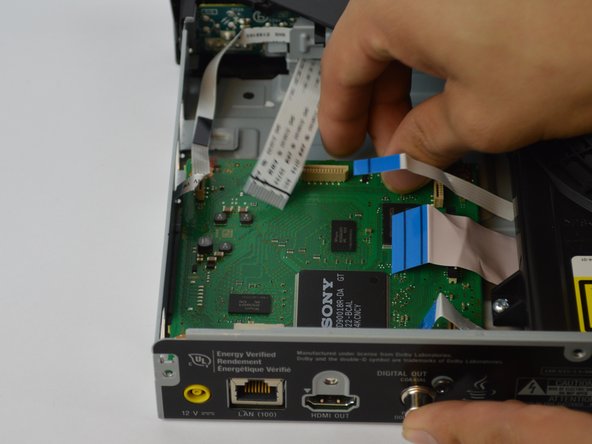
- Carefully pull the (3) three bands off vertically.
- NOTE: There is a latch that needs to be lifted off before pulling the band out for the middle band.
- Lift the disk drive off of the device
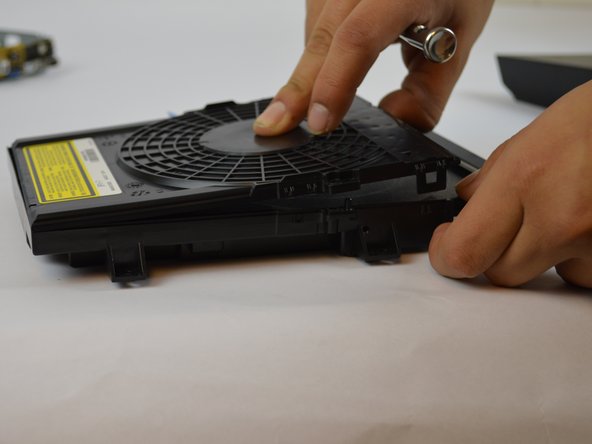
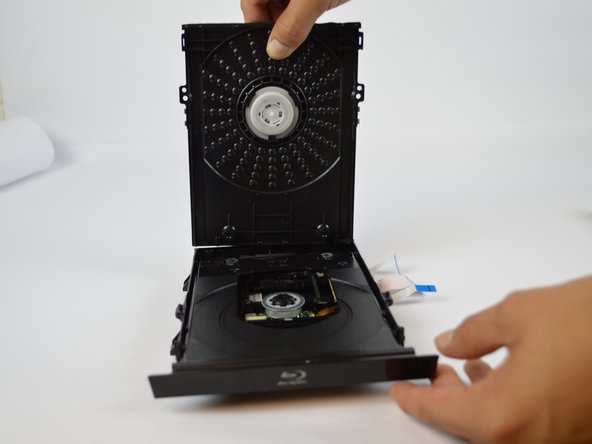
- Remove the top of the disk drive by gently lifting up on the four latches located on both sides of the disk drive while lifting upwards.
- The latches are very thin and can break off easily so make sure to use caution when lifting them to remove the disk drive top.
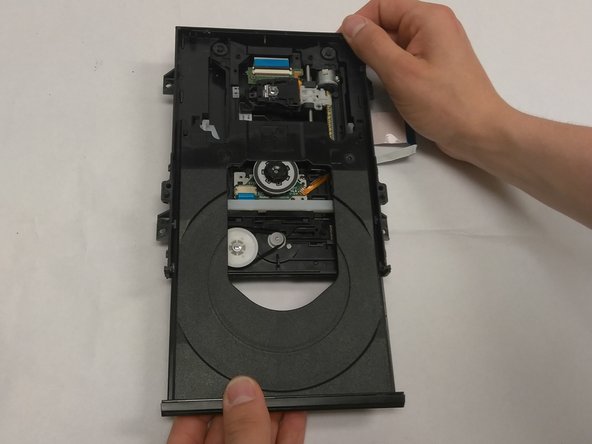
- Slide out the disk tray.
- If the disk tray does not come out easily don’t force it out this could break the gears that allow the tray to move. Gently lift the disk tray upwards while sliding it out.
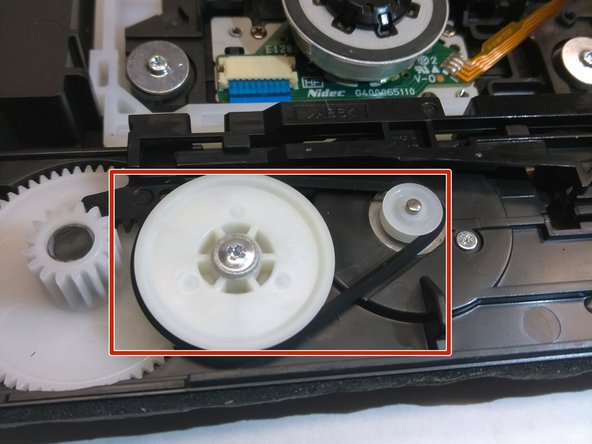
- Remove the disc tray belt.