LG Volt Screen Replacement
ID: 99032
Description: When the screen is not responsive or it has...
Steps:
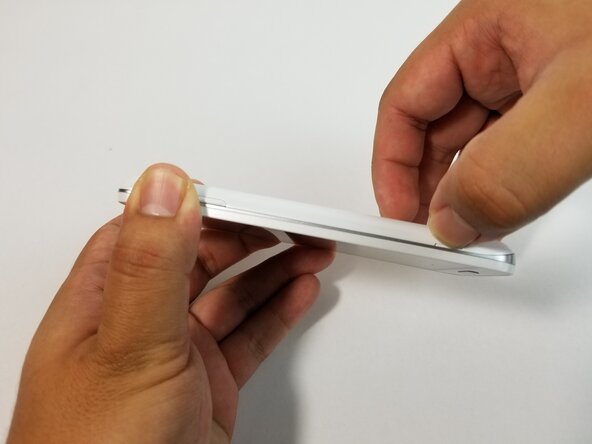
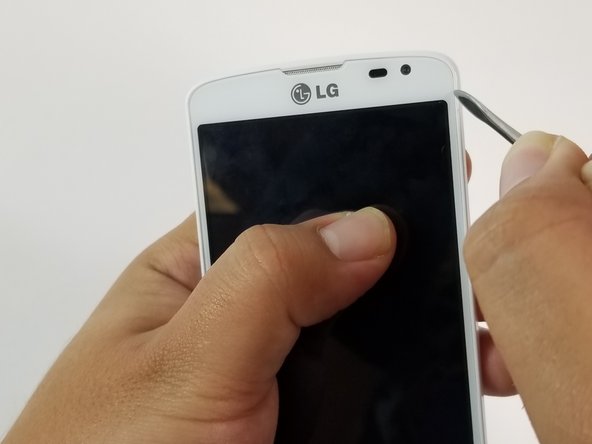
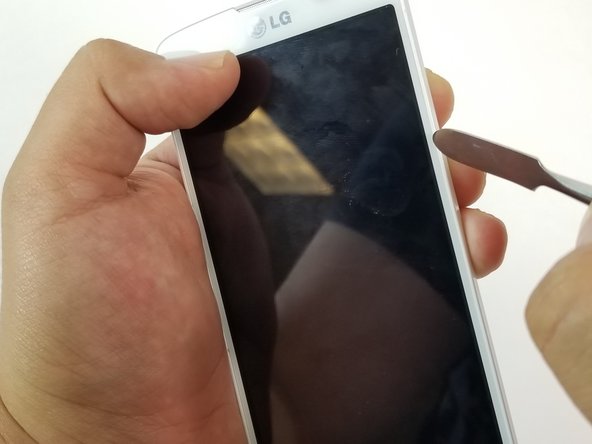
- Pry back cover with finger in the crease.
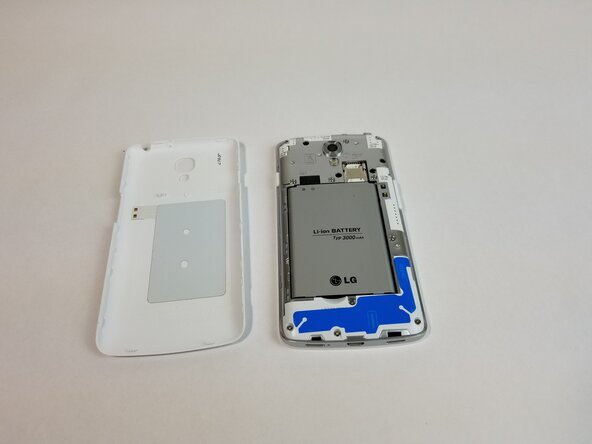
- Remove back casing.
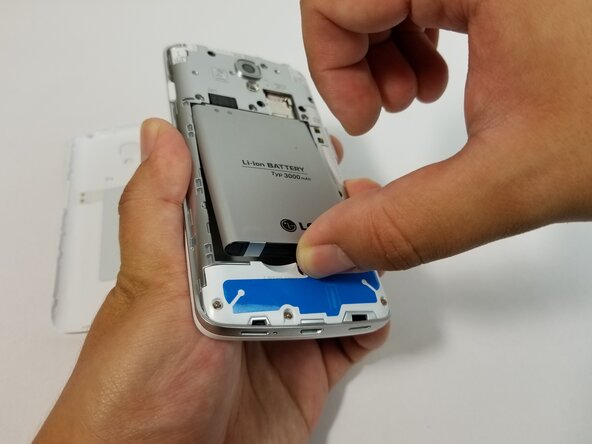
- With your finger, pry the battery out through the crease made for removal.
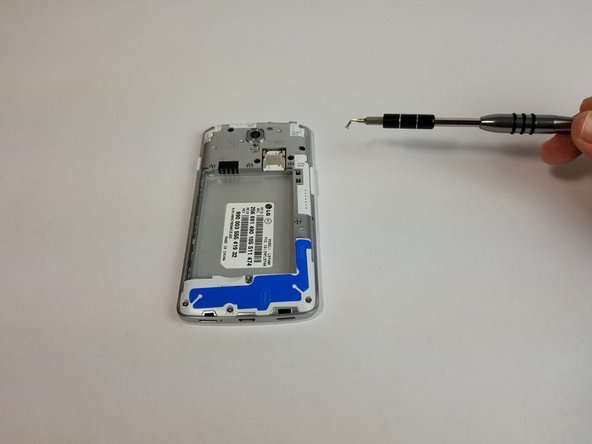
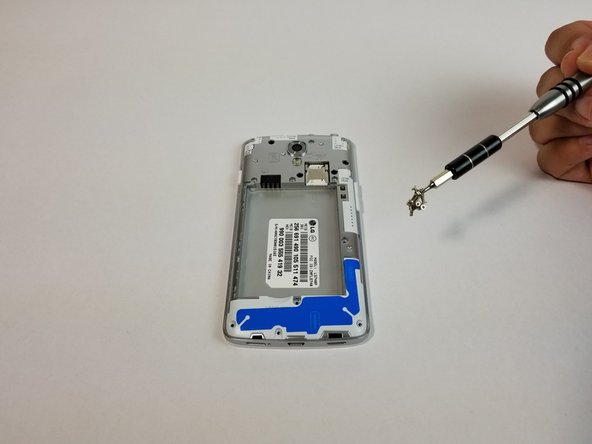
- Remove all 11 (4mm) screws with the JIS #000 screwdriver.
- There are three screws on top, three above the battery, one next to the battery, one under the battery and three at the bottom of the phone.
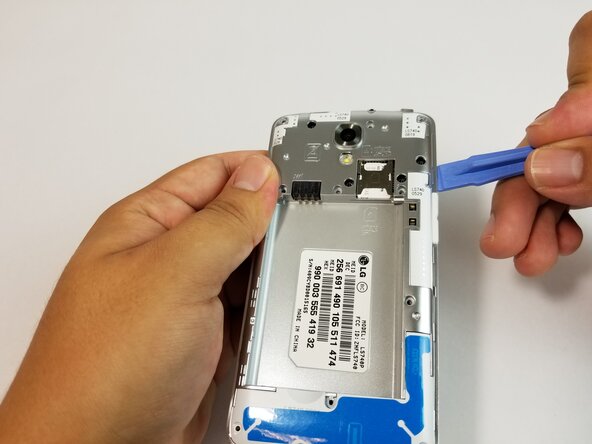
- Use the plastic opening tool to remove the back housing from the frame of the phone.
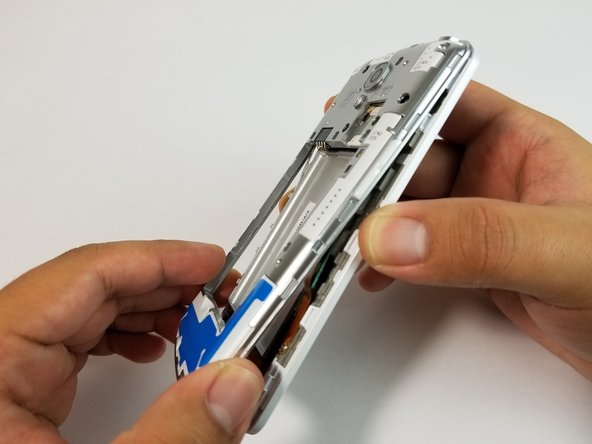
- Carefully lift all the indicated tabs.
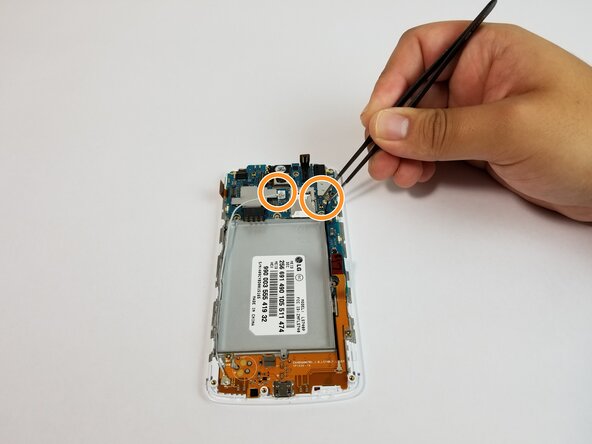
- Carefully unplug the marked cables.
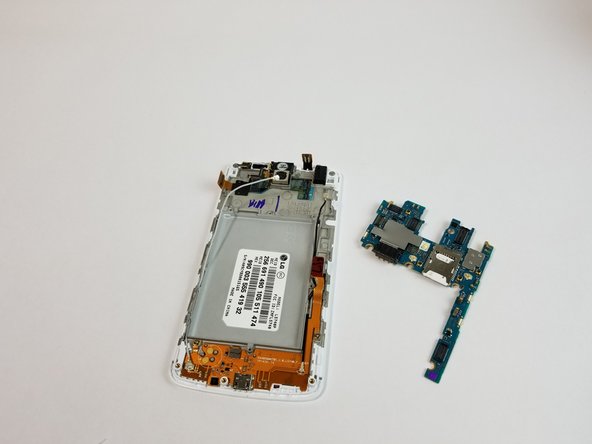
- Remove motherboard carefully.
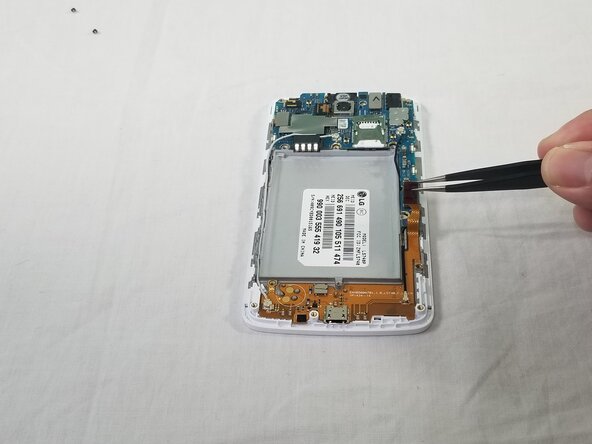
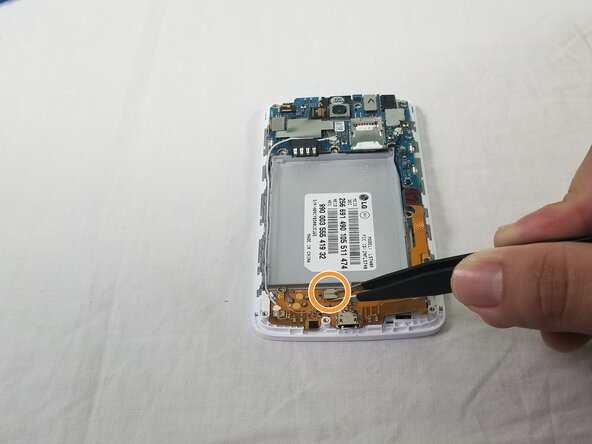
- Using the precision tweezers set lift the copper tab located on the right side of the device.
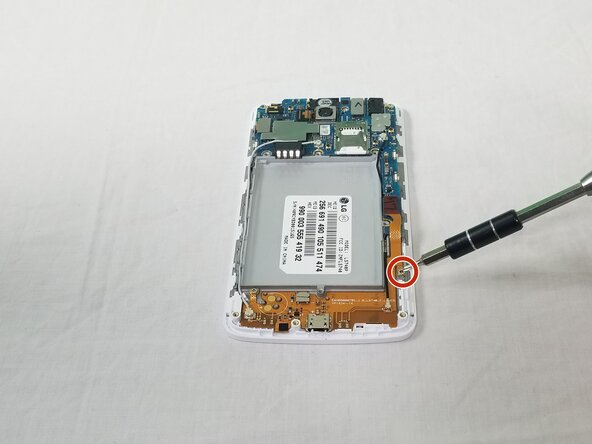
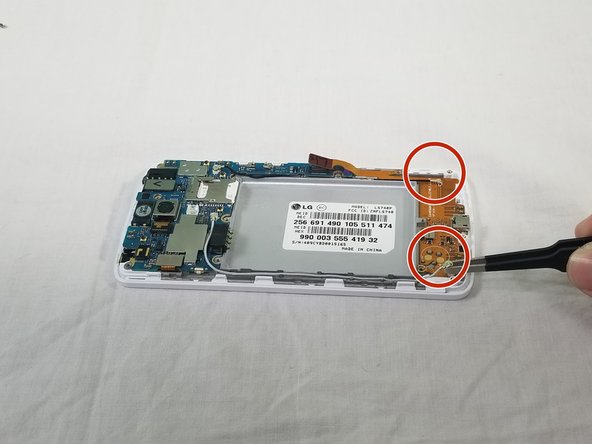
- Using a JIS #000 screwdriver, remove the 1 (4mm) screw on right side under copper tab.
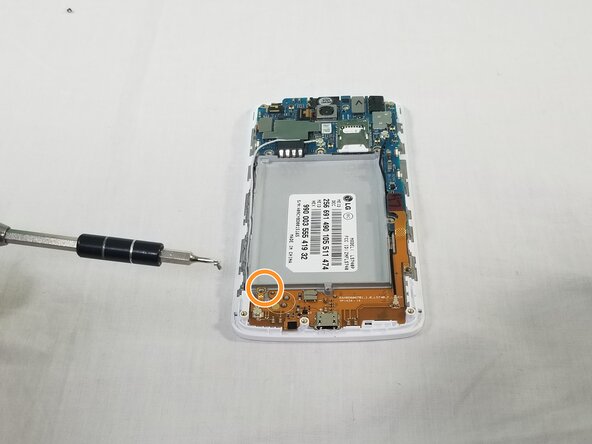
- Using a JIS #000 screwdriver, remove the 1 (4mm) screw on bottom left under battery tray.
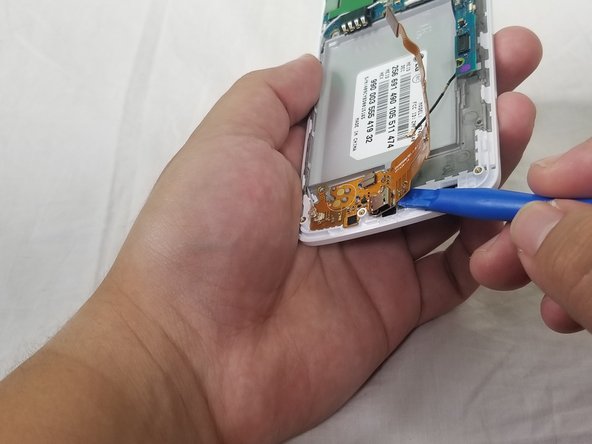
- Disconnect the white and black cables as indicated using the precision tweezers set.
- Lift indicated flap as shown.
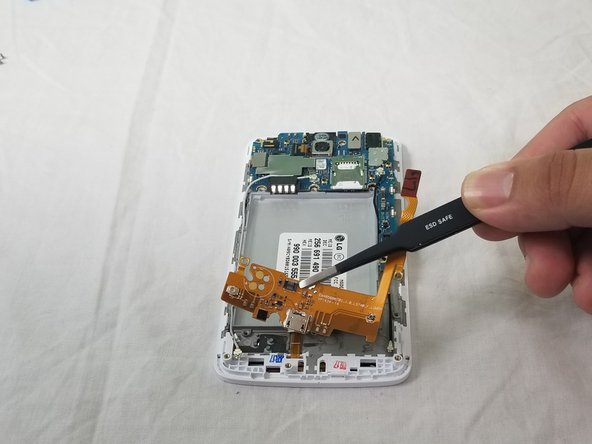
- Use the plastic opening tool to carefully lift the charger assembly from the phone.
- Start from the copper tab and continue in a clockwise direction.
- Once it is loose remove the assembly from the phone.
- Heat up iOpener for 30 seconds in the microwave.
- Place iOpener on right side of the screen with the phone facing up for 90 seconds.
- If necessary, heat up the iOpener for an additional 30 seconds in the microwave.
- Place iOpener on left side of the screen with the phone facing up for 90 seconds.
- Once the phone is hot, use the small, pointy tipped metal spudger to remove the adhesive.
- Once removed, use the large, flat tipped metal spudger to pry the screen off carefully.