Dell Chromebook 13-7310 Web Camera Replacement
ID: 99054
Description: Use this guide to replace your broken web cam...
Steps:
- To remove the screen, start by using the black nylon spudger to pry off the plastic hinge cover. This allows easy removal of the screen cover.
- Using the same spudger and your finger nails, gently pry the outer casing around the screen itself. Once it is 1/3 to 1/2 of the way removed, gently pull the rest free by hand.
- CAUTION There will be popping/snapping sounds when removing. This is normal, just be careful not the crack any plastic or the cover may not reinstall properly.
- Once the clips are undone, remove the cover and you are ready for the next step!
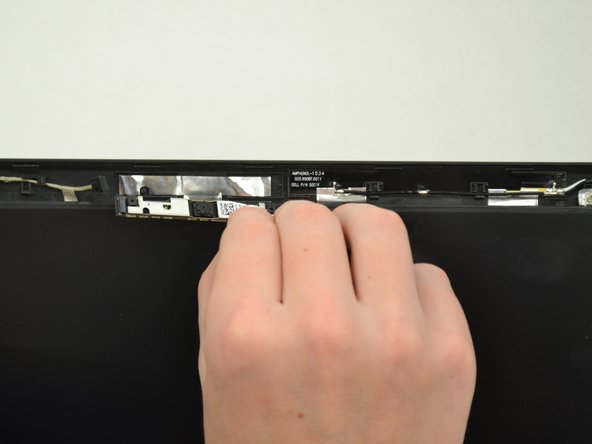
- Now that the camera is exposed, disconnect the wire by hand to untether the camera unit from the motherboard.
- To disconnect, pull to the straight back from the camera connection point.
- Once you have disconnected the camera, use the small nylon pry bar to dislodge the camera assembly from the computer housing.
- CAUTION The camera assembly is held very securely to an thin alloy backing plate. Pry slowly and gently as to not damage the backing plate when removing.
- After the camera assembly is free from the backing plate, remove it from the housing bay hand.