Toshiba Satellite Radius P55W-B5220 Motherboard Replacement
ID: 100448
Description: The motherboard of your device acts as a...
Steps:
- Using the plastic opening tool, remove the two rubber feet closest to the hinge.
- Remove the 12 M2x4mm PH0 Philips screws.
- Near the hinges, wedge a plastic opening tool under the back panel.
- Unlatch the LED indicator from the back panel.
- Using a P0 Philips head screwdriver, Remove the four M2x2.5mm P0 Philips screws from the battery.
- Lift the battery.
- Disconnect the battery.
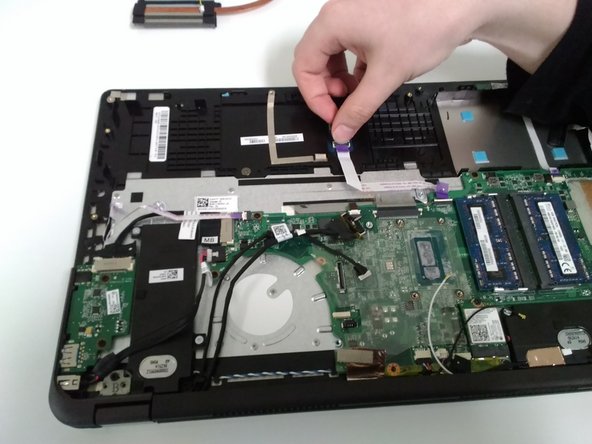
- Disconnect the ribbon cable of the touchpad from the motherboard.
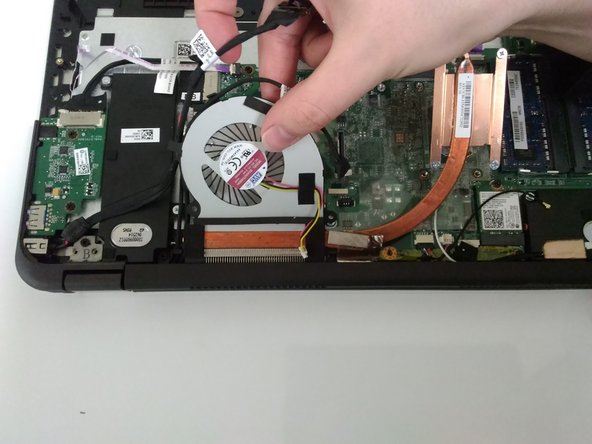
- Remove the two M2x2.5mm P0 Philips screws from the fan.
- Disconnect the fan cables.
- Carefully unhook the wires from the base of the fan.
- Unscrew the four M2x4mm PH0 Philips screws from the CPU mounts on the motherboard.
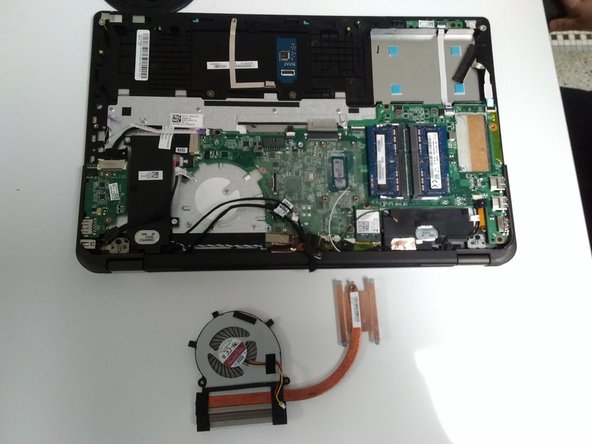
- Carefully lift the heatsink off the CPU.
- Avoid bending or kinking the tubing.
- Delicately lift the fan out with the heatsink.
- Remove the M2x2.5mm P0 Philips screw from the USB controller.
- Lift the USB controller from the motherboard.
- Detach the USB controller from the motherboard.
- Disconnect the left speaker from the motherboard.
- Remove the two M2x4mm PH0 Philips screws for the speaker mounts.
- Unhook the speaker from under the hinge cable mounts.
- Unhook the right speaker cable from the motherboard.
- Remove the copper tape from the speaker cord.
- Unhook the speaker cables from under the catch under the hinge.
- Remove the eight M2x2.5mm P0 Philips screws from the motherboard.
- Remove the motherboard.